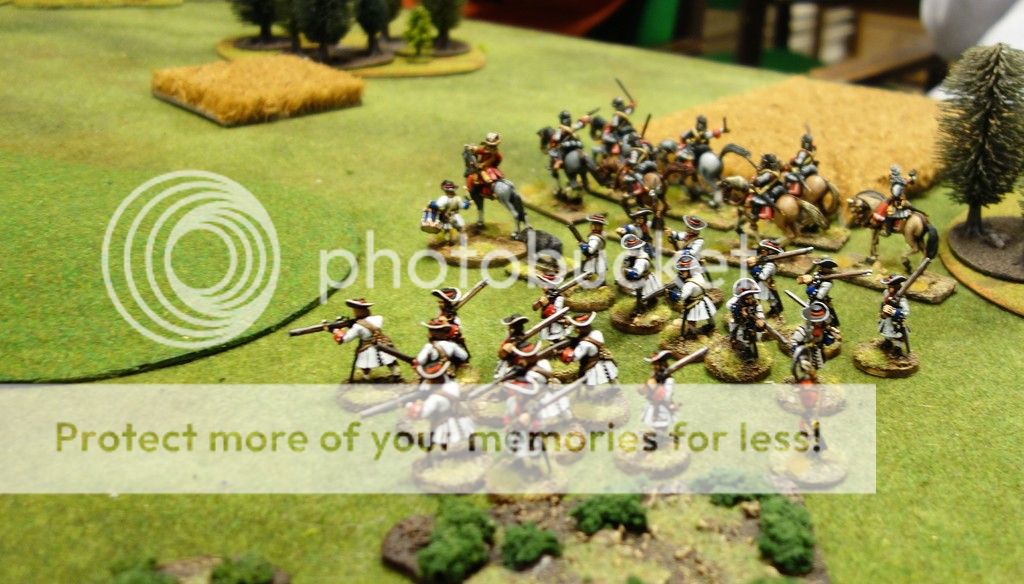
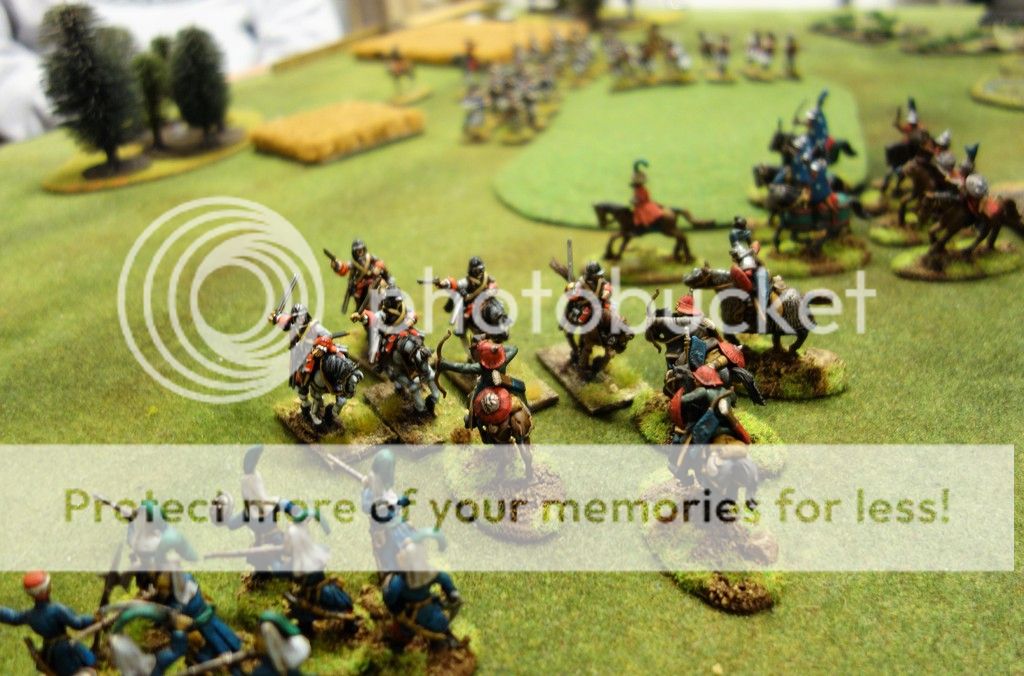
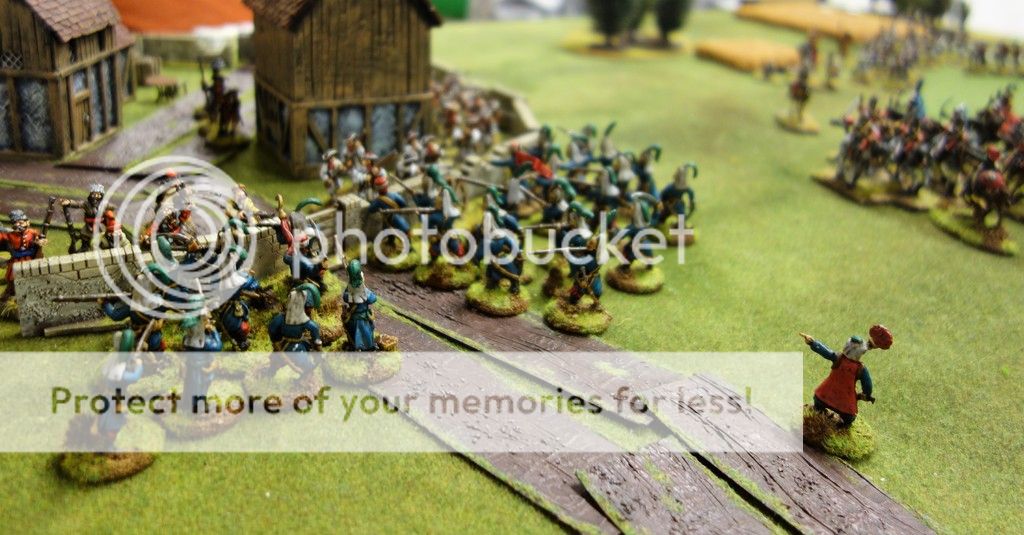
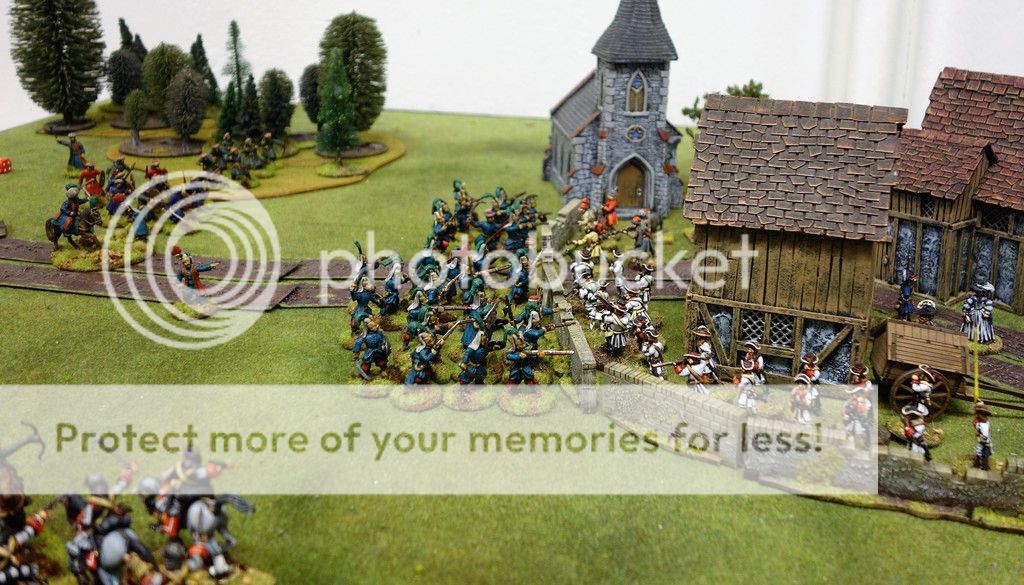
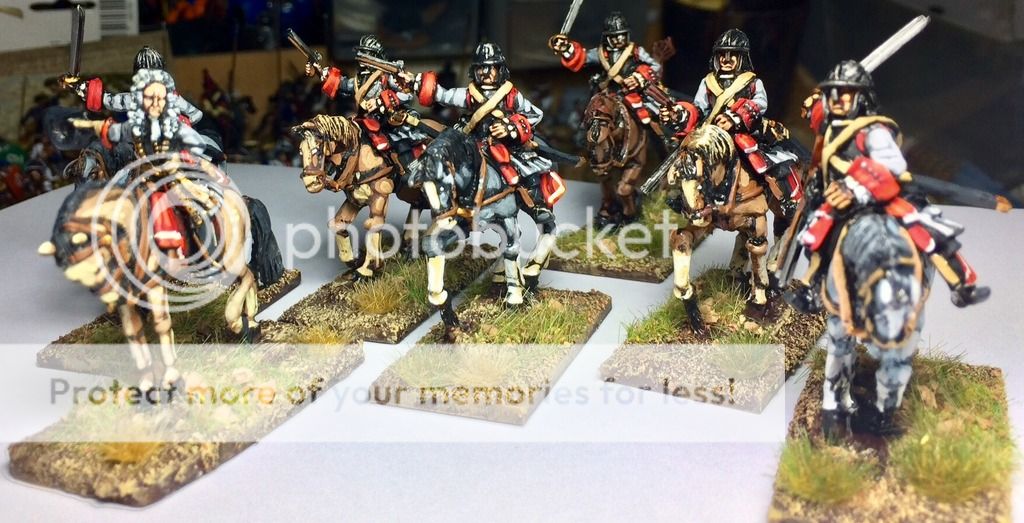
The miniatures are all from Warlord. It has to be one of their finest miniatures available. Crisp details and a joy to paint.
Sunday, March 26, 2017
Winged Hussars, Vienna 1683
The miniatures are all from Warlord. It has to be one of their finest miniatures available. Crisp details and a joy to paint.
Sunday, March 19, 2017
Vienna 1683, Defending the Hills
By now we are well on our way with our new theatre of war - Vienna 1683. We have painted up a Turkish and an Imperial German/ Austrian force.
The historcal events these games are basen upon took place in 1683. The Turks Siege Vienna and a relief force was sent from the rest of the German empire(and Poland) to break the Siege. IT all culminated with the battle of Kahlenberg on the 12th of September 1683. The Turks were utterly defeated and the siege was lifted. The battle of Kahlenberg was also one of European history's greatest cavalry battles. Especially the Polish contribution consisted of large contingents of cavalry. The perhaps best known part of this contribution was a force of Winged hussars - the last armoured knights of Europe.
The initial stages of the battle - the Austrians have just deployed on the hills in front of the village
The Austrian Commander Colonel Wolfram von und zu Kessel with his pet pig
After the siege followed a campaign hat would oust the Osman empire from much of present day
Hungary. It is also in this campaign that the name Eugene of Savoy was first made known.
Hungary. It is also in this campaign that the name Eugene of Savoy was first made known.
In our games thus far we have had two very different armies pitted against each other. One highly mobile(the Turks) and one that relies more on cohesion and fire power(the Austrians). If the Austrians stick together and first delivers a coordinated volley the result is often devastating on the other side. If the Austrians fight in piece meal then the execellent close combat fighting abilities of the Turkish side turn the whole Austrian effort into Shish-kebab.
The ambition of the Miniature Mayhem team is to create a set of rules that would span from the late 1600 century to the mid 1800. The name given to these rules is Musket Mayhem. Unfortunately we have to change the name eventually, since name may already been used for a gaming app on IOS.
A slight change of the otters and the addition of an extra word might do the trick. Since the project is still in development we will not make any name changes just yet.
A slight change of the otters and the addition of an extra word might do the trick. Since the project is still in development we will not make any name changes just yet.
When changing theatre we have to consider amendmens to these rules in order to make the rules fit into a new situation. After all the ambition is is to create a set of rules that somehow mirrors the general themes of musket combat prior to the advent of rifle dominance. The Turks are given very
good close combat fighting values and a firing doctrine that allows them to fire at will(but with slightly lower effect). The Austrian army relies on volley fire and fire discipline. There are som really good close camp at unit on the Austrian side, but the painter has not yet made ready for the field. There are for example the Austrian grenadiers as well as the heavy cavalry of the Poles(especially the
Winged Hussars).
The Scenario "Defend the Hills"
The field of battle. Two hills in front of an Austrian village
The Austrians deploy with the heavy cavalry defending the flank
The Turks are moving in...
Another view of the battle field
The heavy cavalry was the key to defend the flank. They soon got caught up with other tasks....and the Austrian defence fel apart
The Austrians retreat in order to stage working defensive line...
The heavy cavalry tries to plug the holes
The retreat soon turned into a rout...
The attacker took some beatings fromt he Austrian heavy cavalry, but this is the last picture in which the Austrians preformed well...the author stopped taking pictures after this....
This village was about to be sacked...
In our games to this date most battles have been won by the Turk. The Austrians have failed to coordinate their efforts. A good example is the game that took place last week. The game situation are as follows. The Austrians are to defend a village. In front the village there are tow hills. A third of the Austrian command are supposed to be deployed by the hills, the rest in the village. The Turks arrives on the short side of the table on the opposite side seen from the village. It is essential for the Austrian player to swiftly move up the main force to the two hills in order to form single cohesive force, if they are to stand a chance against the Osmans. Another alternative would be to let the lone third abandon the hills and move to the village. The later alternative is punished by the victory conditions of the game. The initial order for the Austrians is to hold the hills or suffer victory points. However one loses victory points if one looses units. Thus the Austrian player has to make an important decision. In our game the Austrian tried the first alternative. Unfortunately the force in the village got stalled and the defends of the hills deployed a bit too exposed. It ended in major disaster and the game was clear Turkish victory. The hill defenders got mauled instantly and the slow main force could not turn the tide. Instead they ended up in an other debacle - they got flanked. The high mobility of the the Turks makes this a tough scenario for the Austrians.
The scenario itself is a good one borrowed from one of the scenario books of CS Grant. However we need to do few adjustments in order to make the scenario work for this particular theatre of war. The Austrian players( they were two in this game, among them yours truly) also need to rethink their basic tactics until next time. More games are to follow.....
Sunday, February 19, 2017
Vienna 1683 Playtest: Capturing the Village
Musket Mayhem is our home-grown set of rules that a few of the club members are developing. Several previous posts on this blog have featured these rules already, and they are still far from finished, but we're getting there.
Here's a short AAR from one of our test games in a campaign using our new Austrian and Ottoman Turk armies set during the Great Turkish War, culminating in the siege of Vienna in 1683. This was the last major effort by the Ottoman Empire to conquer Austria. Some more historical background can be found here: The Great Turkish War and here: Vienna 1683.
The armies of the period were very colourful and the campaign of 1683 involved military units from all over Europe and the Middle East.
In this scenario, my Ottomans are attacking Jeppan's Austrian village. The village is protected by a small wall, not proper fortifications in game terms, and defended by a small garrison.
To complicate matters for the Turks, the Austrians have dispatched a relief force to aid their garrison. The Ottomans arrive at the village at the same time as the Austrian relief force. So the scenario is a race. Can the garrison hold off the attackers long enough for the relief force to arrive?
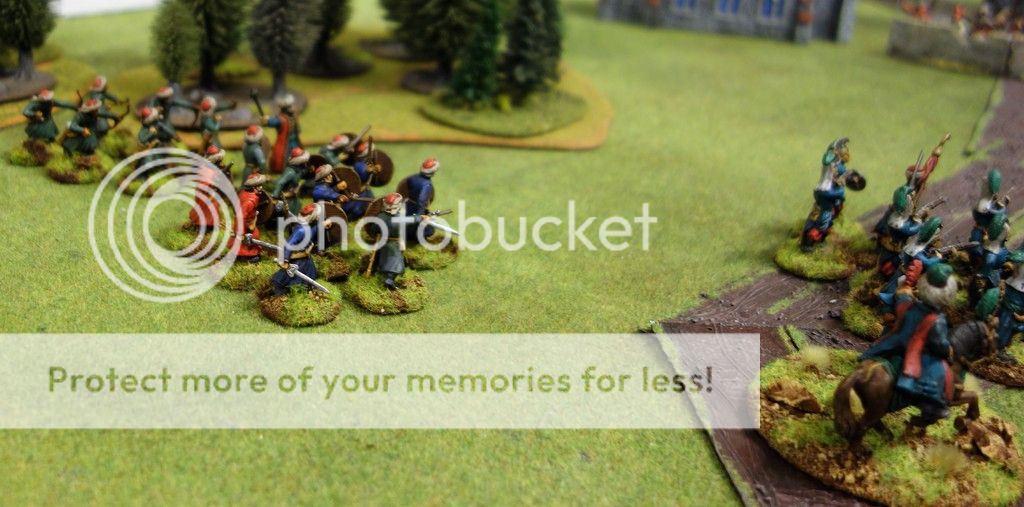 |
| Ottoman Siege Pioneer storming party supported by archers advance on the village |
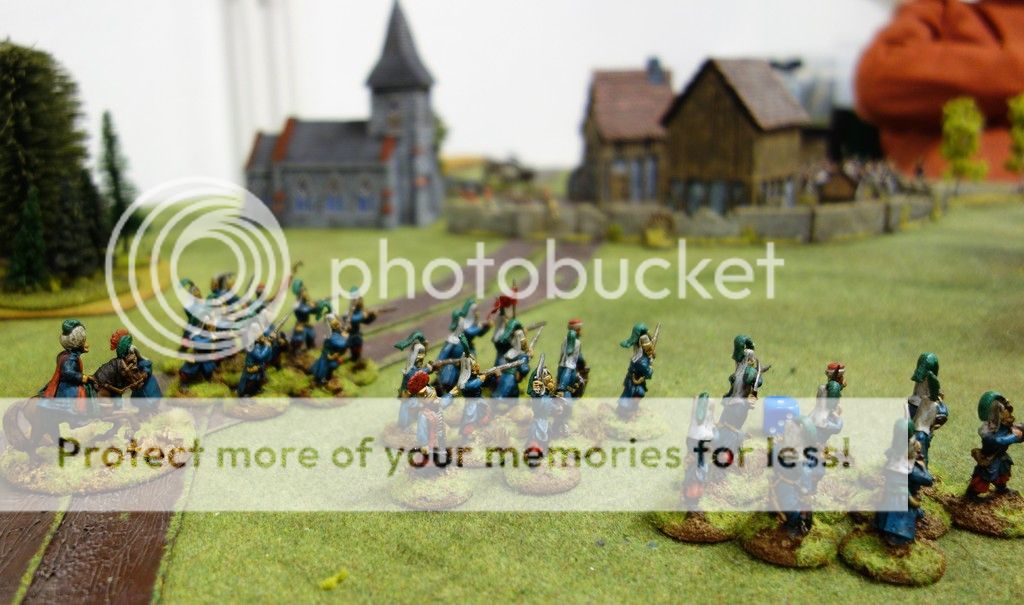 |
| Ottoman Janissaries lead the assault under the watchful eye of the commander |
- 2 Units of Musketeers
- 1 Unit of Light Musketeers (Skirmishers)
Austrian Relief Force
- 1 Unit of Cuirassiers
- 2 Units of Musketeers
- 1 Unit of Pikemen
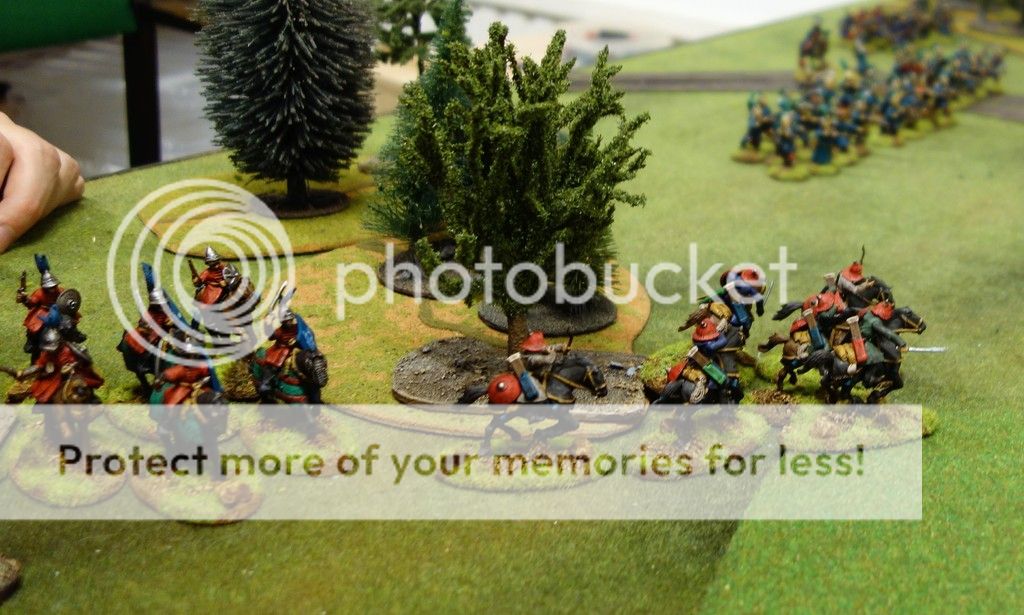 |
| Ottoman cavalry rush forward to protect the Janissaries' flank and delay the advance of the Austrian relief force. |
- 3 Units of Janissaries (primarily musketeers, but also close combat assault troops)
- 1 Unit of Siege Pioneer storming party (armed with melee weapons, pistols and grenades only)
- 1 Unit of Azab Light Archers (skirmishers)
- 1 Artillery Piece
- 1 Unit of Kapiqulu Spahis (Armoured Elite cavalry)
- 1 Unit of Tatar Light Cavalry (Skirmishers)
The village was on the Ottomans' left. The Austrian garrison deployed next to the village, while the relief force entered from the right flank.
My Ottomans could enter all along the long table edge. I chose to enter the infantry and the artillery opposite the village while the cavalry entered on right flank.
Our plan was to delay the advance of the Austrian relief force with the cavalry while the infantry rushed for the village. Not awfully subtle, admittedly. Bur if it works.....
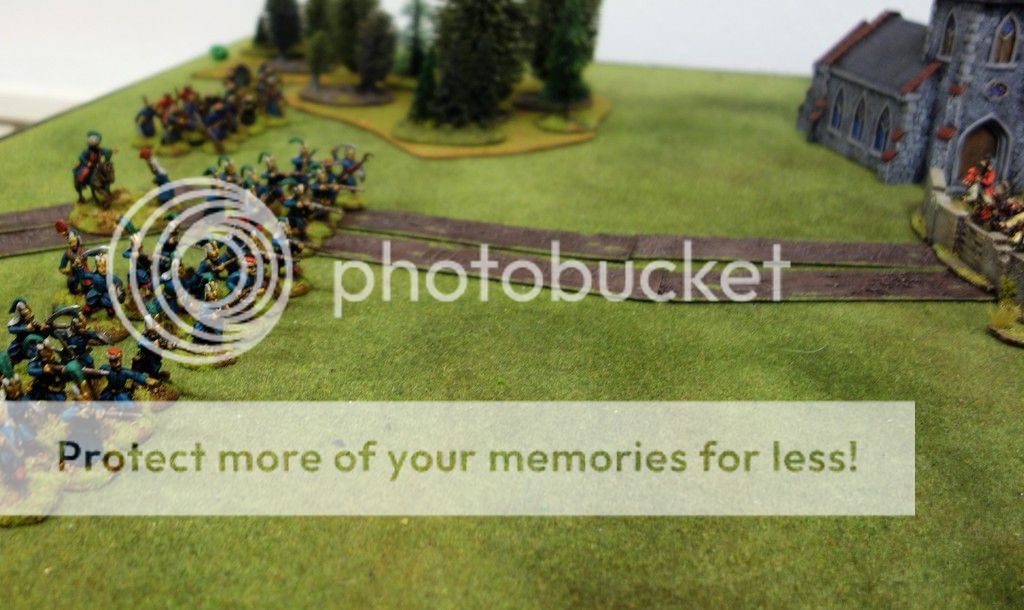 |
| The Janissaries advance as fast as possible towards the village. Will the Austrian relief force arrive in time to stop the Janissary steam-roller? |
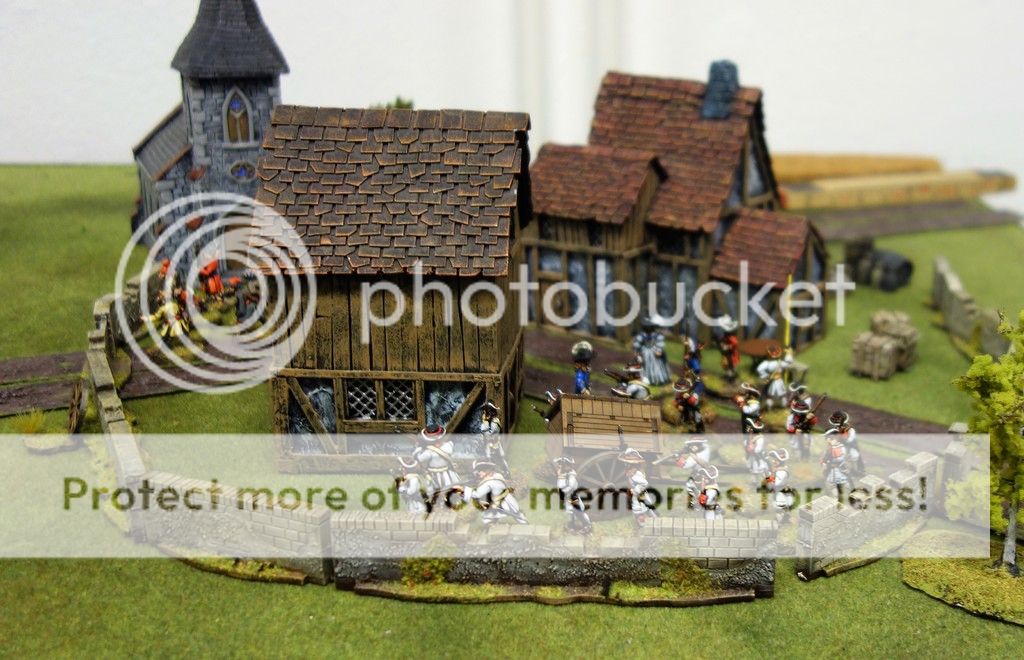 |
| The local Austrian garrison rushes to man the improvised defences before the Ottoman assault hits. |
Seeing this, the Ottoman cavalry commander wisely turned aside and sought cover behind a hill. The Tatar light horse is very fast and rushed out to skirmish against the Austrian cuirassiers.
The cuirassiers charged the Tatars and actually managed to catch their opponents.
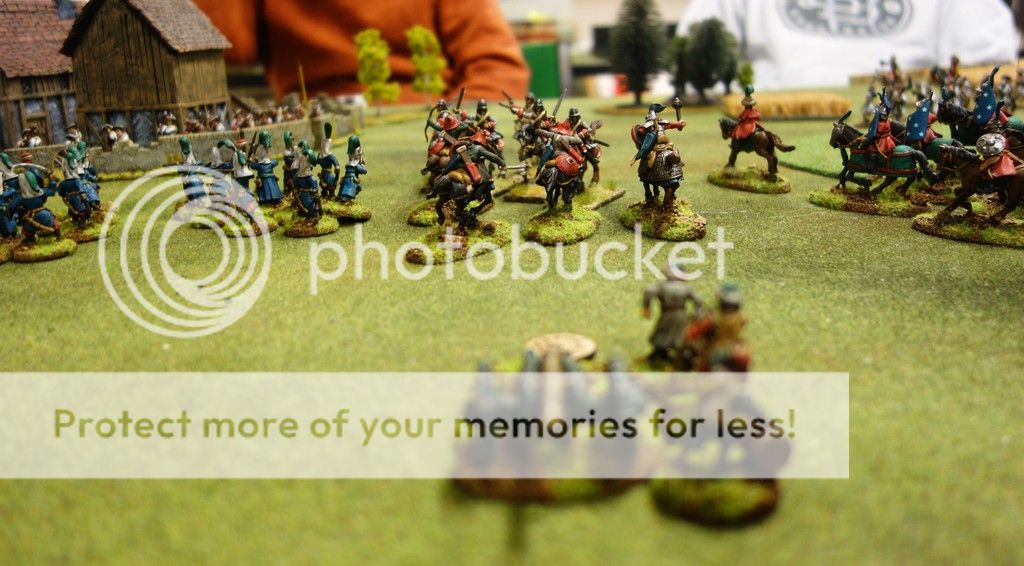 |
| The Austrian cuirassiers are trapped as the Turkish Spahis charge in to relieve their Tatar comrades. The Turkish artillery struggle to keep up with the rapid advance. |
The end came very quickly indeed. The Ottoman cavalry charged into the ongoing cavalry melee in support of their Tatar comrades. The Austrian cuirassiers hung on grimly but were suffering heavy casualties, while the rest of the Austrian relief force were still much too far away.
In the event, the Janissary charge was successful and both of the defending Austrian units were eliminated. They did manage to eliminate one of the three Janissary units, but this was not enough. A lone Austrian musketeer unit was left facing two surviving Janissary units inside the village.
And with that the game was over with an Ottoman win.
The rules worked well, we think. But the scenario needs a little tweaking to give the defender's relief force a better chance of making it to the village in time. In this instance, they really did not have much chance to accomplish much.
Wednesday, January 25, 2017
Cavalry Battle in the East
Last week we got together at the club to play a game celebrating the imminent release of the Pikeman's Lament rules.
If you've read this blog before, it will probably not come as a huge surprise that it was part of our ongoing club campaign set in the Swedish-Polish War in the 1620s.
This time, we were a total of 6 players with 3 on the Swedish side and 3 on the Polish side. This game was intended as a cavalry battle, so only mounted troops and commanded shot units were allowed. Each player could use 12 army points. This meant that each player had 2 or 3 units to run.
As usual I fielded my Pikeman's Lament officer, Henrik the Hammer. This time he was at the head of a unit of Aggressive Elite Gallopers. I also used a unit of cuirassiers (Trotters in game terms) and a unit of commanded shot.
The other two commands on the Swedish side each consisted of 3 units of Aggressive Gallopers. One of Swedes and one of Scots mercenaries.
The Polish force consisted of a Flemish mercenary command with two Cuirassiers (Elite Trotters) and two commands of tatars with a mix of Trotters and skirmishing light cavalry (Dragoons in game terms)
In this game the victory conditions involved controlling as many of 3 objectives as possible for as long as possible. On the Swedish right flank, there was an objective in a village, while the centre had an objective on a hill.On the left there was a bridge that was also an objective.
As the Swedish force consisted almost entirely of Aggressive Gallopers who will automatically attempt to charge the enemy if these are in range, our tactics were simple: Rush the enemy at the first opportunity and hope that superior close combat ability will be enough to win the day.
On the Polish side the Tatar light horse skirmished in an attempt to wear down the Swedish cavalry while avoiding close combat, while their Trotters (Flemish Cuirassiers and Tatar heavy horse) relied on pistol fire to do the same.
In this the Flemish and Tatars were largely successful.
The Swedes quickly won control of the objective in the village, while the Flemish took the bridge. That left the central hill objective, and the fighting was most intense there.
The Flemish and Tatars managed to use their firepower and skirmishing to weaken the Swedish cavalry before the Swedes could get into close combat.
Repeated Swedish charges all along the line did weaken the Tatars, but the Swedish cavalry suffered even worse and gradually lost several units.
The Swedish cavalry then made a concerted charge at the centre hill, but was eventually forced off it with heavy losses.
Eventually, the Swedish cavalry only had a couple of units still at reasonable strength. In a desperate final attempt to retrieve the situation Henrik charged the hill at the head of his personal unit of elite cavalry.
In a fine display of great bravery (if not terribly good thinking) Henrik's wild charge managed to wipe out one of the Tatar units on the hill, and then continued straight into another Tatar foe. Taking him ever deeper into the enemy ranks....
Courageously, Henrik's Västgöta cavalry smashed this second Tatar unit as well. Unfortunately this had depleted this last combat-worthy Swedish unit severely and left it stranded among a great number of enemy.
Amazingly, it managed to survive some Tatar shooting, but the last survivors fell when the wily Tatars lured them into some bad going.
So this was indeed a Swedish defeat, although Henrik claims that it was a moral victory for him personally....
And yes, Henrik did survive, although he was wounded. He will recover in time for the next battle, though......
As ever, this was another fun game of Pikeman's Lament.
If you've read this blog before, it will probably not come as a huge surprise that it was part of our ongoing club campaign set in the Swedish-Polish War in the 1620s.
This time, we were a total of 6 players with 3 on the Swedish side and 3 on the Polish side. This game was intended as a cavalry battle, so only mounted troops and commanded shot units were allowed. Each player could use 12 army points. This meant that each player had 2 or 3 units to run.
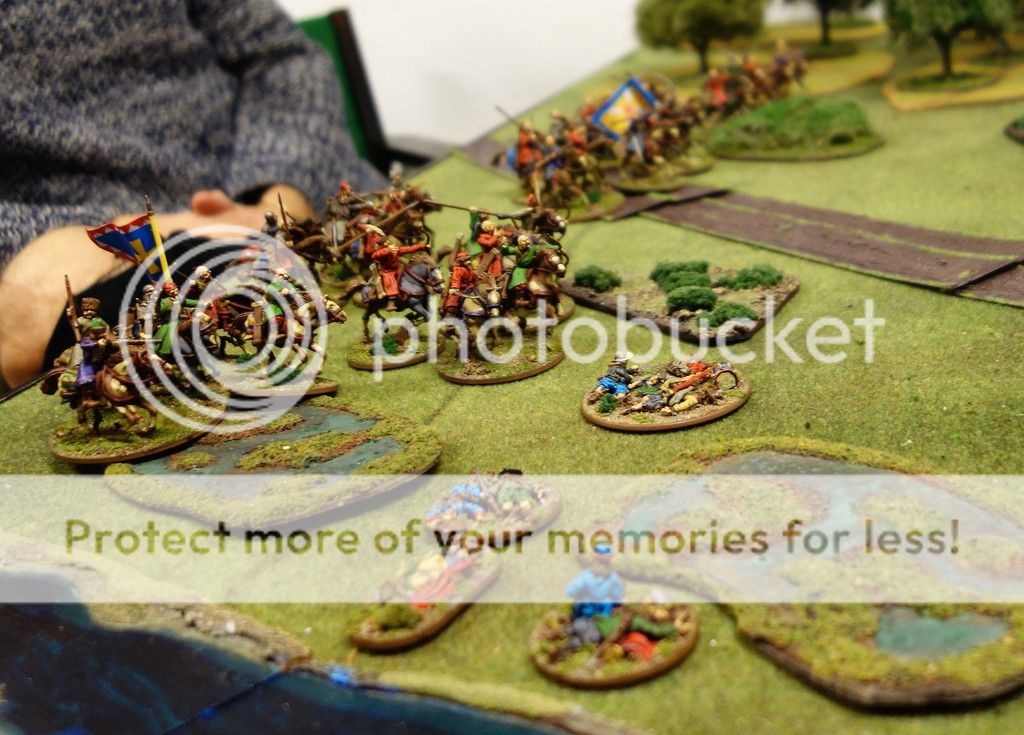 |
The Tatars arrive.
|
The other two commands on the Swedish side each consisted of 3 units of Aggressive Gallopers. One of Swedes and one of Scots mercenaries.
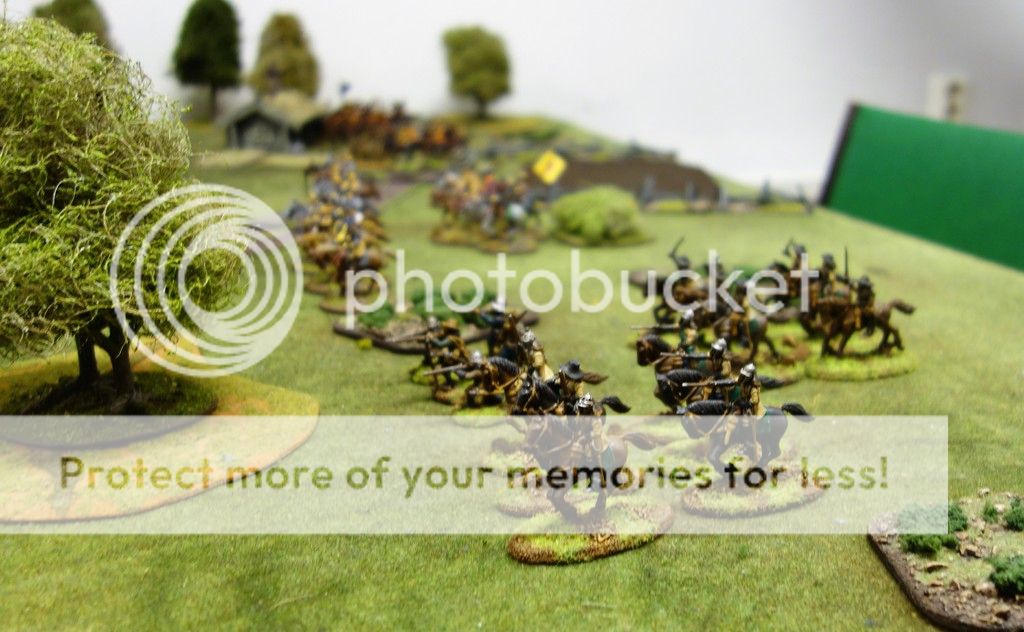 |
| The Swedish cavalry and commanded shot advance. |
In this game the victory conditions involved controlling as many of 3 objectives as possible for as long as possible. On the Swedish right flank, there was an objective in a village, while the centre had an objective on a hill.On the left there was a bridge that was also an objective.
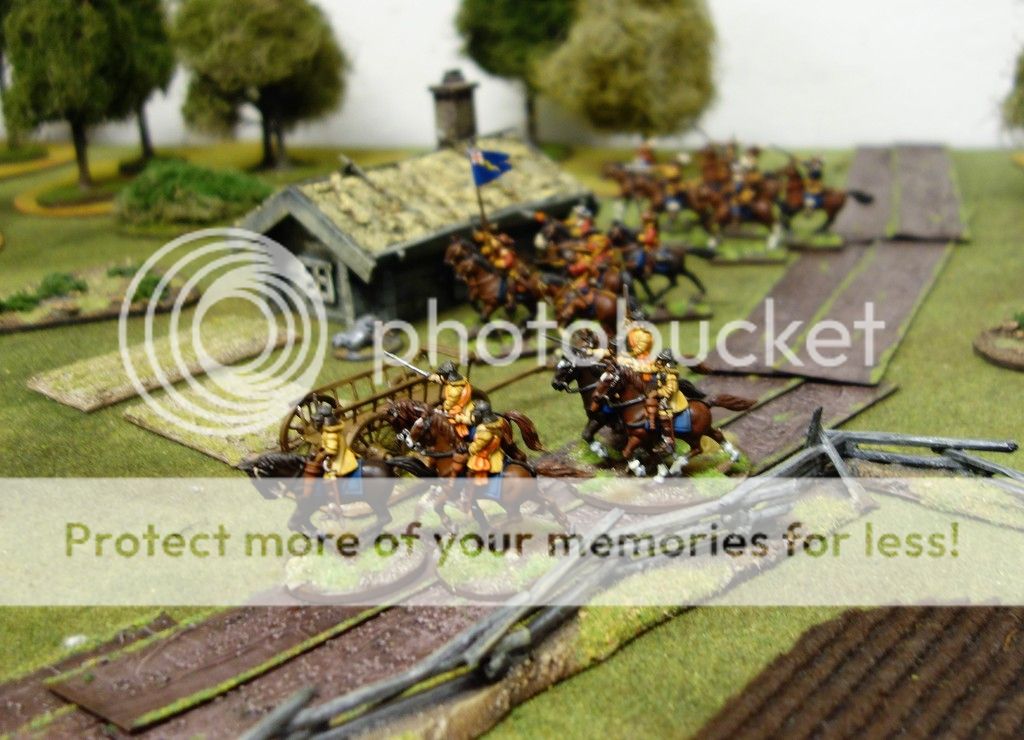 |
| The Scots cavalry rush forward |
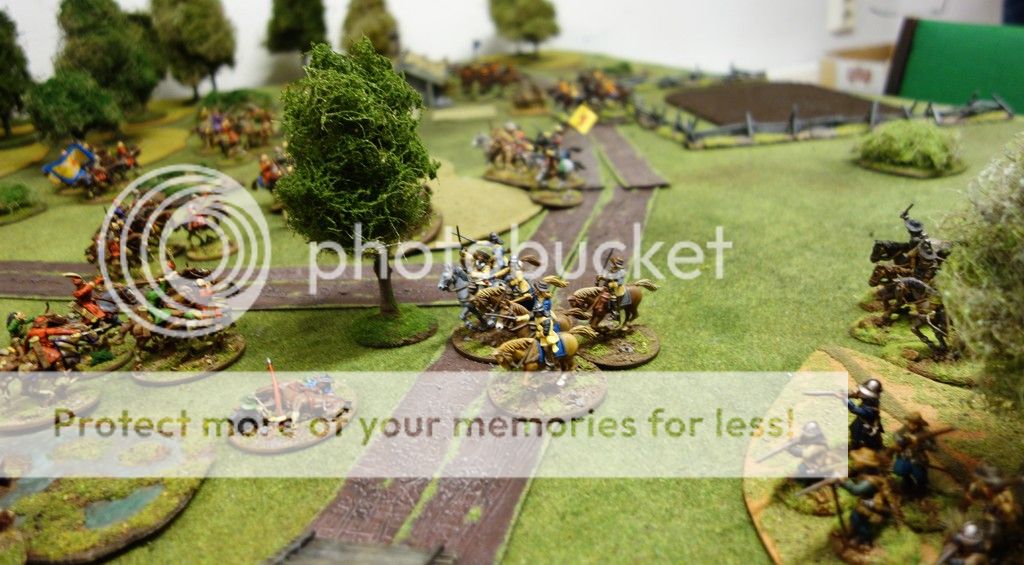 |
| The Tatars skirmish against charging Swedish cavalry supported by commanded shot |
In this the Flemish and Tatars were largely successful.
The Swedes quickly won control of the objective in the village, while the Flemish took the bridge. That left the central hill objective, and the fighting was most intense there.
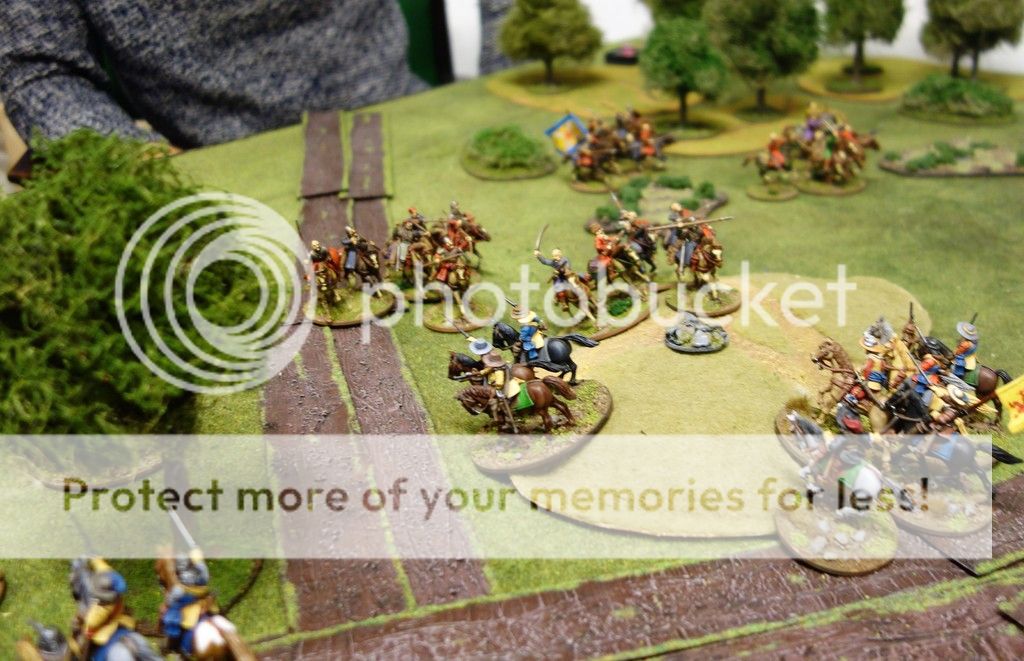 |
| Swedes and Tatars contest the central hill |
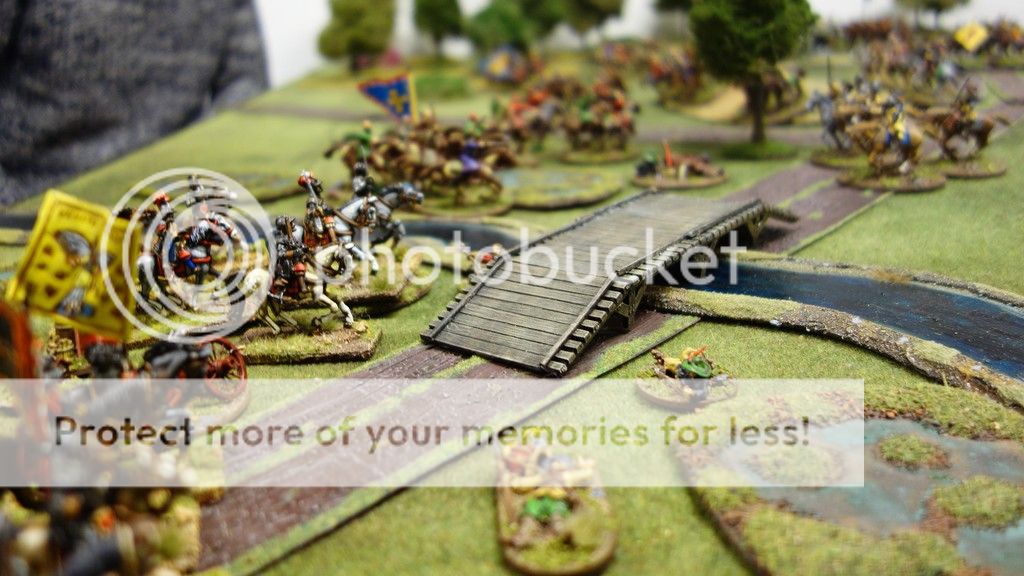 |
| The notorious Flemish Mercenaries approach the bridge. |
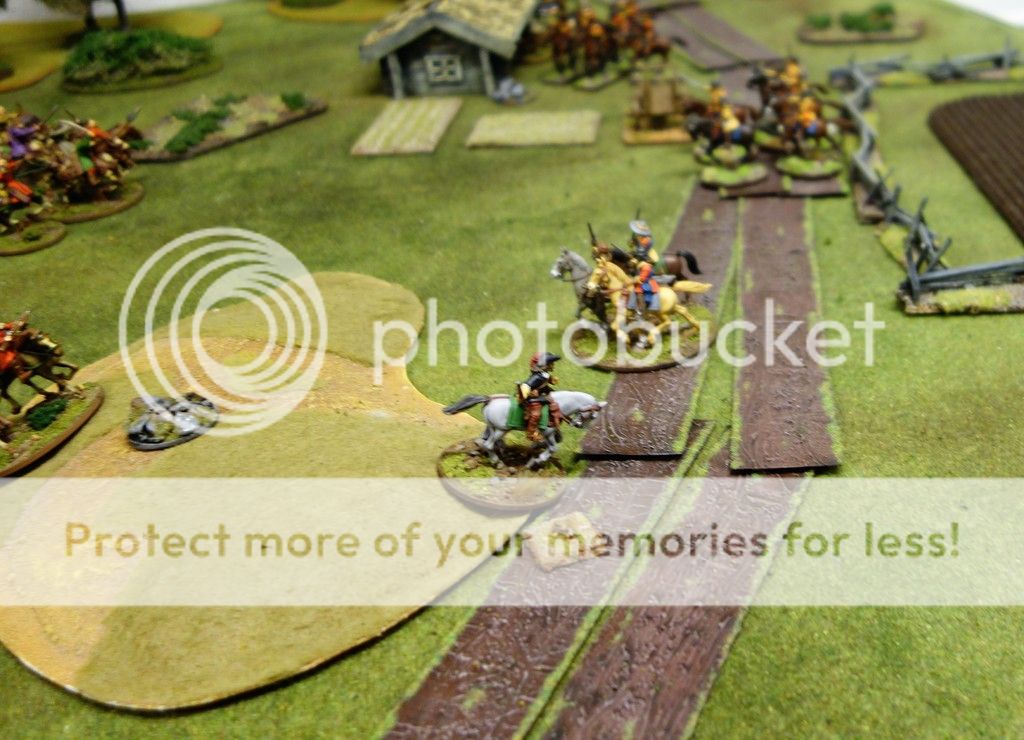 |
| The initial Swedish charge inflicts some losses on the Tatars, but is eventually repulsed with even greater losses to the Swedes. Darn.... |
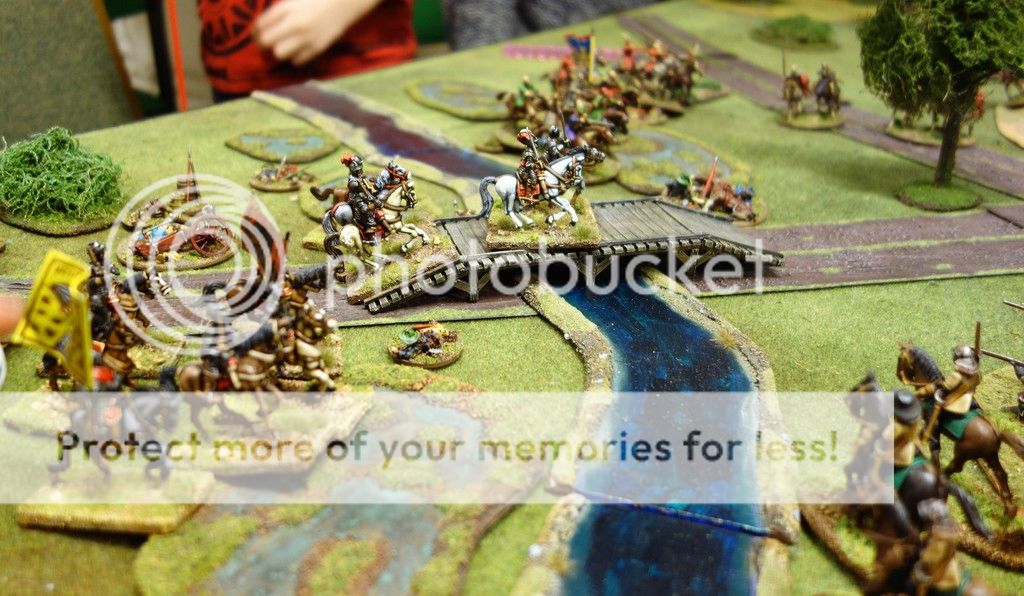 |
| Swedish Cuirassiers face their Flemish counterparts across the river. |
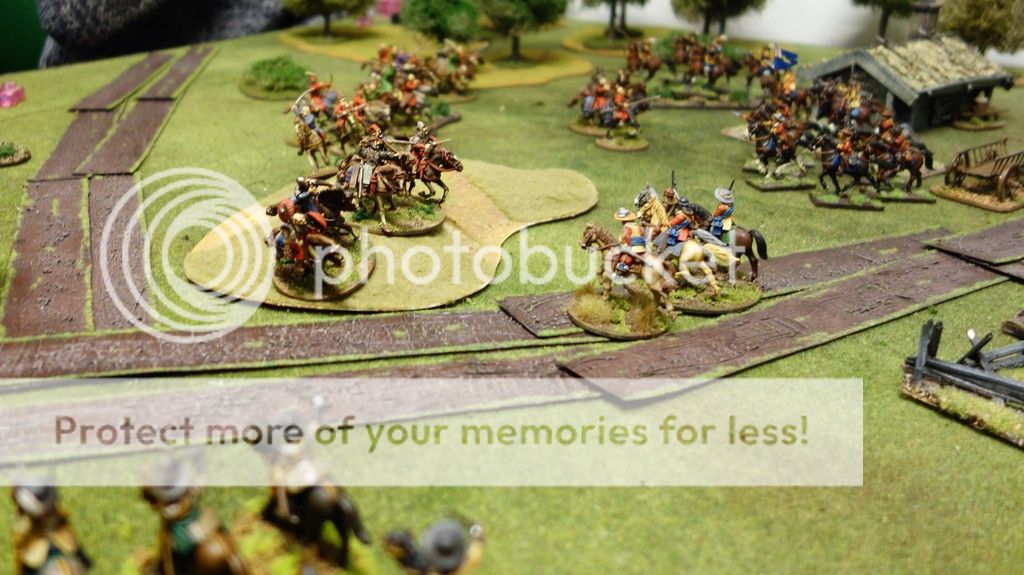 |
| The climax of the battle. The Tatars have secured the hill, but the Swedish cavalry prepares a final charge |
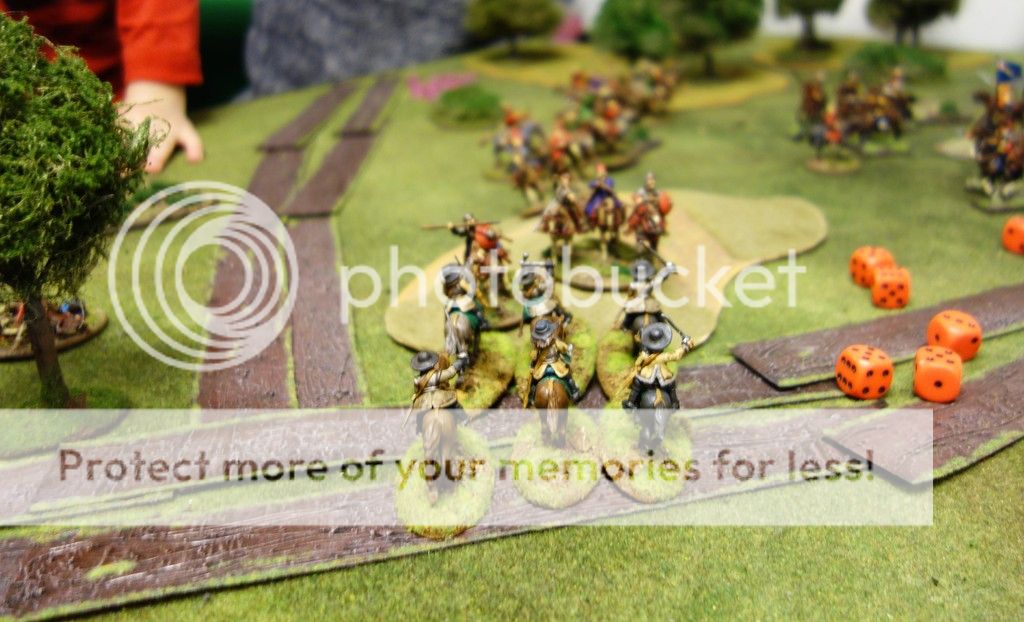 |
| Henrik the Hammer charges the Tatars. it is the last attempt to turn the tide... |
Amazingly, it managed to survive some Tatar shooting, but the last survivors fell when the wily Tatars lured them into some bad going.
So this was indeed a Swedish defeat, although Henrik claims that it was a moral victory for him personally....
And yes, Henrik did survive, although he was wounded. He will recover in time for the next battle, though......
As ever, this was another fun game of Pikeman's Lament.
Wednesday, January 11, 2017
The Siege of Vienna 1683: The Forces of the Sultan
I now have enough Ottoman Turkish figures to actually play some games of our home grown Musket Mayhem rules as well as for the upcoming Pikeman's Lament rules from Osprey.
There are now 3 units of Janissaries, 2 units of provincial cavalry and an artillery piece. There are also a few commanders.
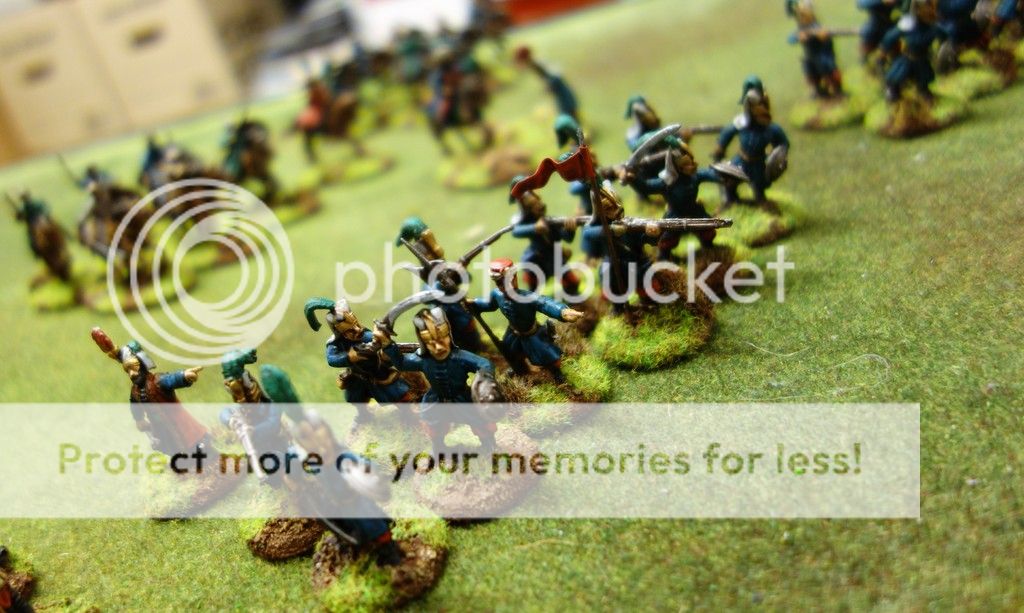 |
| A unit of Janissaries with cavalry in reserve. |
But to begin with, we are aiming at the campaigns culminating in the siege of Vienna in 1683. We chose this particular campaign as it is well documented, very dramatic and involved lots of different nationalities.
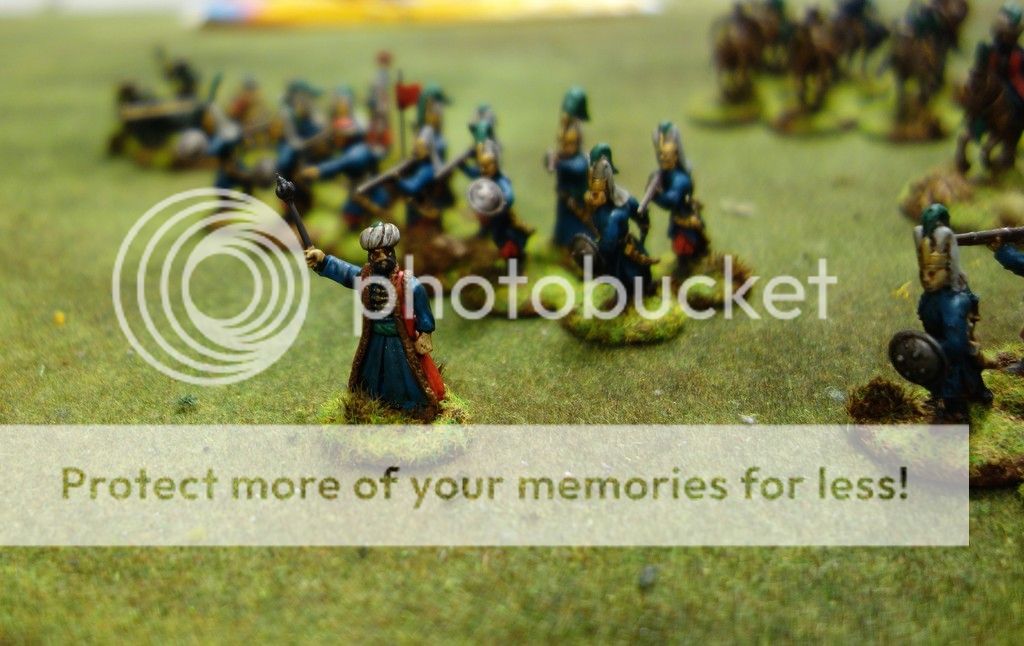 |
| The Janissary commander in front of his men. |
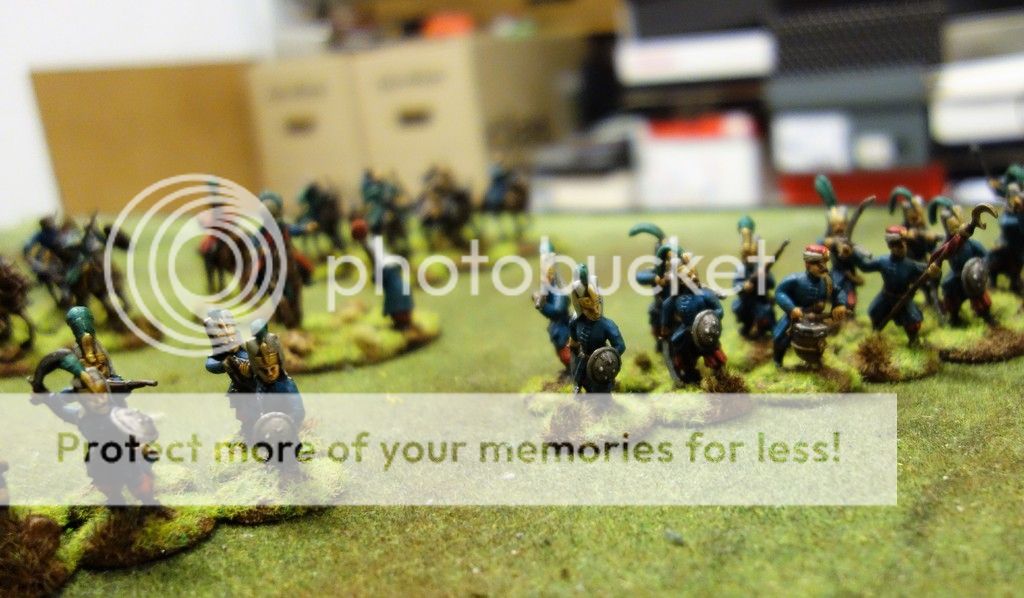 |
| Another view of the Janiisaries |
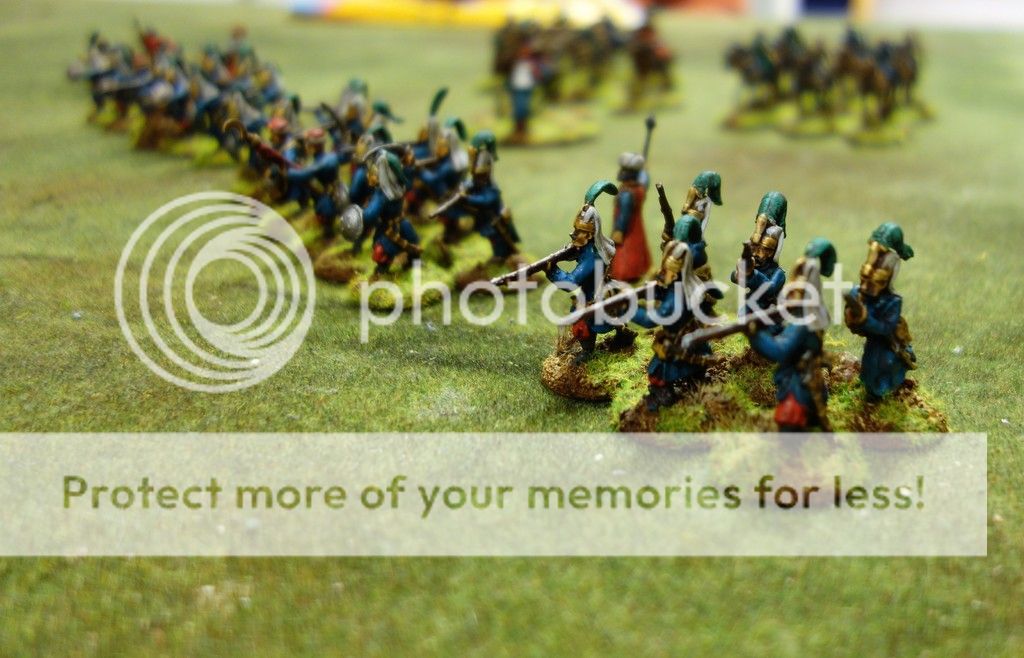 |
| The entire Turk force. But some reinforcements have yet to come.... |
There are still a few units to add. I will add a unit of Kapiqulu Spahis and a couple of irregular infantry units, for example.
Sunday, January 8, 2017
Siege of Vienna 1683, The Forces of the Empire
An Imperial/Austrian Officer
Time to show some more units for the upcoming Siege of Vienna project. The major battle of this campaign was the battle of Kaltenberg, a smashing victory for the Imperial forces. The German Emperor for once managed to call on his vasalls and they did what the Emperor asked them to do - defend the Empire. The bulk of this force comprised of German units or the different principalities of the empire. The largest contingents came from Austria, Bavaria and Saxony. An allied Polish force was also present. So whenbuilding an Anti-Turkish force one have to consider which units to build first. I have started with Austrians. I do wish to utterly defeat my adversary(you can see his evil minions in the last posting on this blog). Thus I do need some pikes and heavy cavalry. I might need some lighter cavalry units, but I have bought any suitable minis for that......a few decisions has to be made in a near future.
Imperial Austrian Curassiers, a unit know as "Graf Palfly-Erdöly"
Pikes, possibly a unit known as "Graf Mansfeld"
Wednesday, January 4, 2017
The Shape of Things to Come: The Turks Are Coming!
As Jeppan posted a little while ago, we are working on a project covering the campaigns culminating with the Siege of Vienna in 1683 for our home-grown Musket Mayhem rules.
I will be doing the Turks, with Jeppan covering the Austrians, Germans and probably some Poles as well.
This is still very much work in progress, and I have quite a few figs still to paint, but here are a few pics of the first batch of completed units.
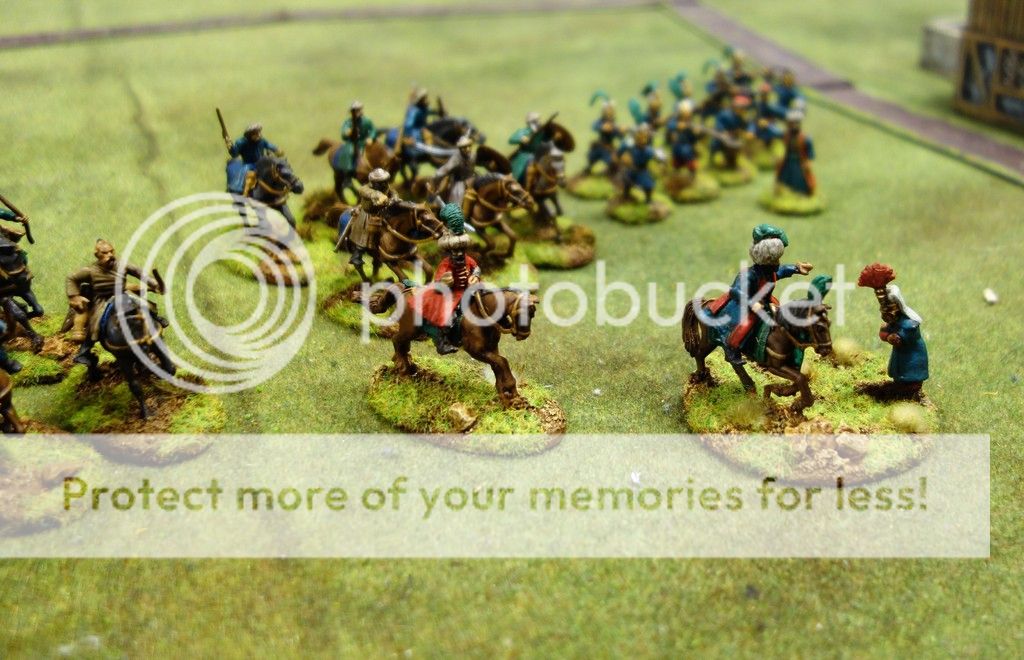 |
| The Turkish Pascha issuing orders in front of the provincial cavalry and some Janissaries |
The Turkish cavalry in these pictures are intended to depict the provincial turkish cavalry (Delis, Timariot Spahis, or similar). The figures are actually slightly converted 'Arab Light Cavalry' from Warlord Games.
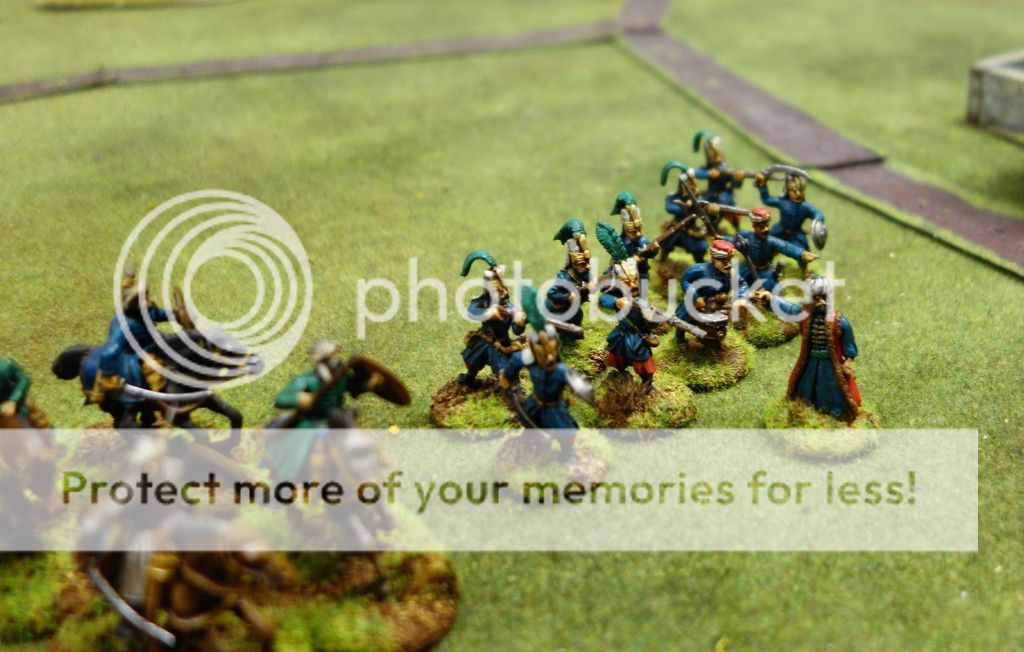 |
| A closer look at the turkish provincial cavalry and Janissaries |
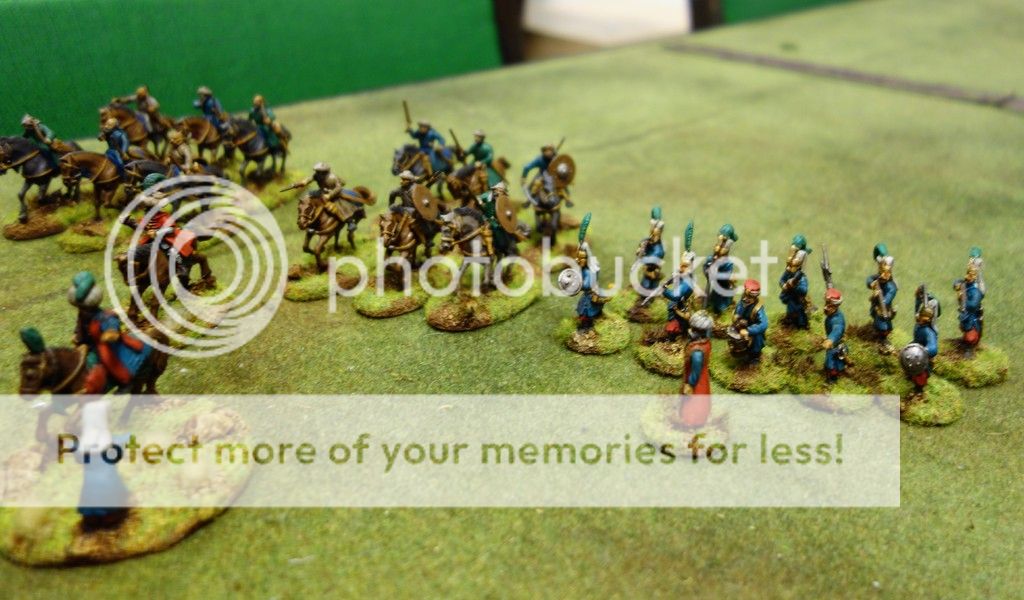 |
| The turk host from a different angle |
I will add a couple more units of Janissaries and some Guard cavalry (Kapuqulu Spahis), some irregular infantry (Sekban, Basi-Bazouk, Sappers or similar low-grade). There will also be an artillery piece.
Subscribe to:
Posts (Atom)


