Sunday, March 29, 2015

AAR-Oak Grove June 25, 1862 Virginia

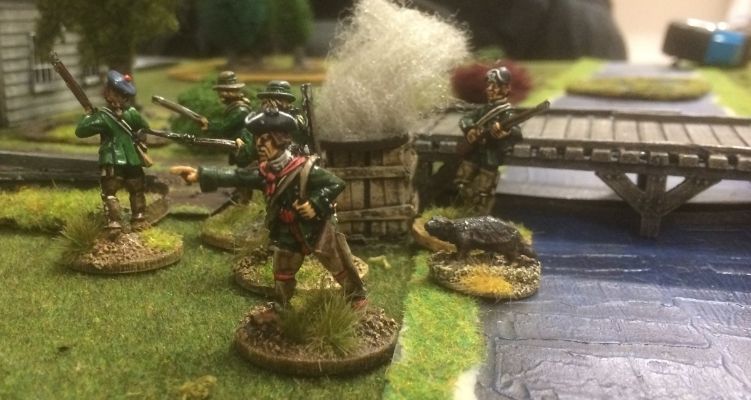
The Still is cooking while battle is raging...


BACKGROUND 

The battle of Oak Grove was fough on June 25th 1862. It was fought as part of the Union General Gerorge McClellan's peninsular campaign. It took place roughly 5 miles  from Richmond. It started with federal assault initiativ by the Union general Joespeh Hooker and his division against the Cofederate Division led by General Huger. This games is basically a recreation of this attack.  The historical event did not lead to the end of the Confederacy. The attack was intially successful, but somehow it phizzled out. If the momemtumt of the attack had been kept up the Civil War might have ended in 1862. Instead General Lee took the initiative and what followed was the Seven Days Battle. 


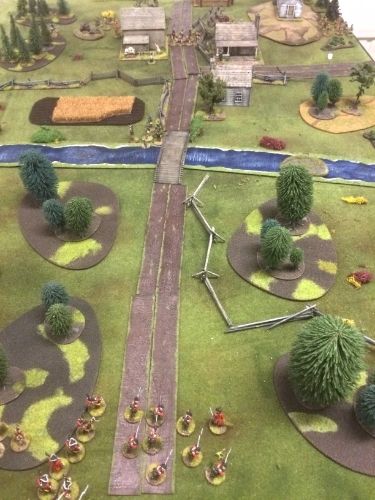
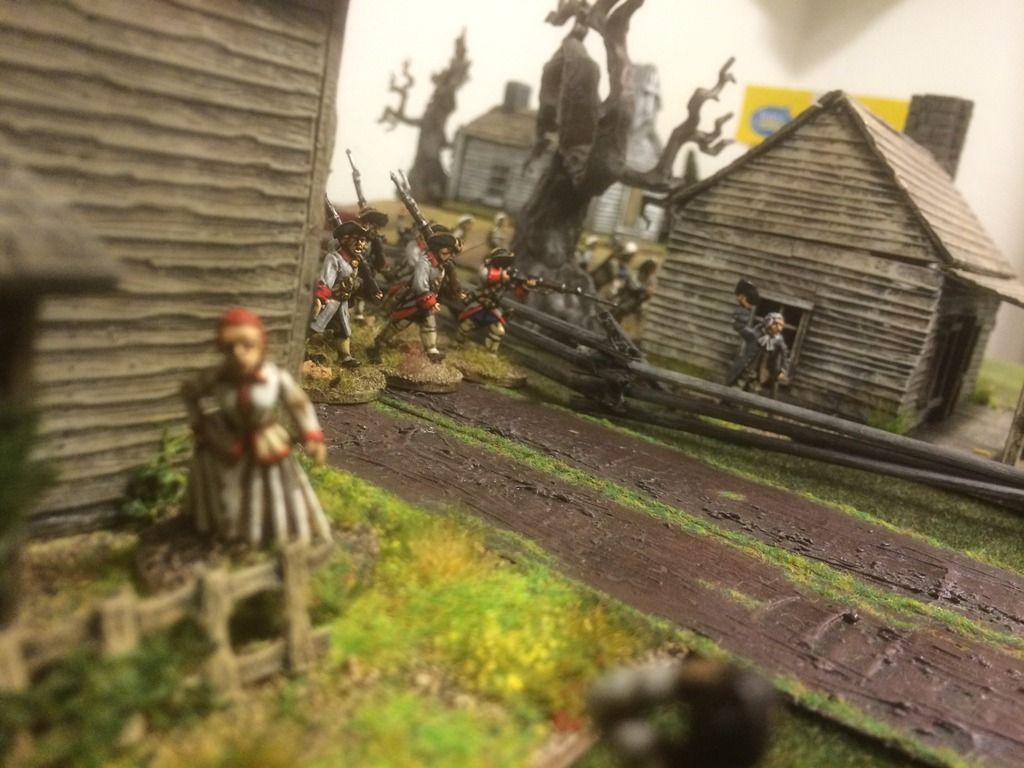
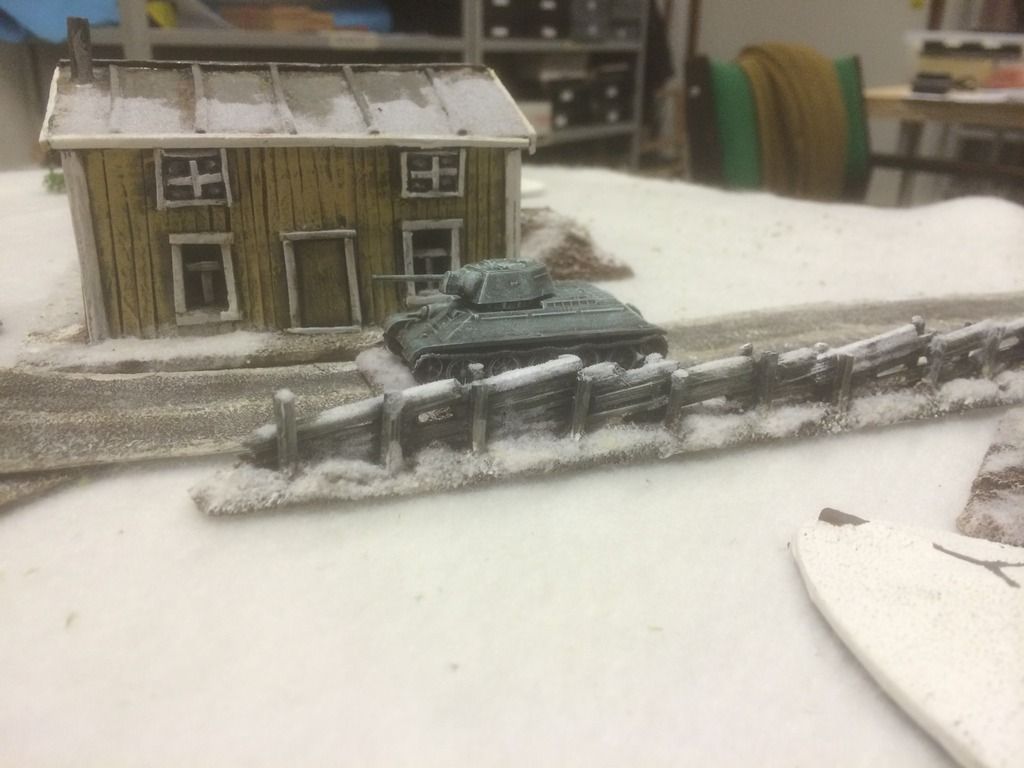
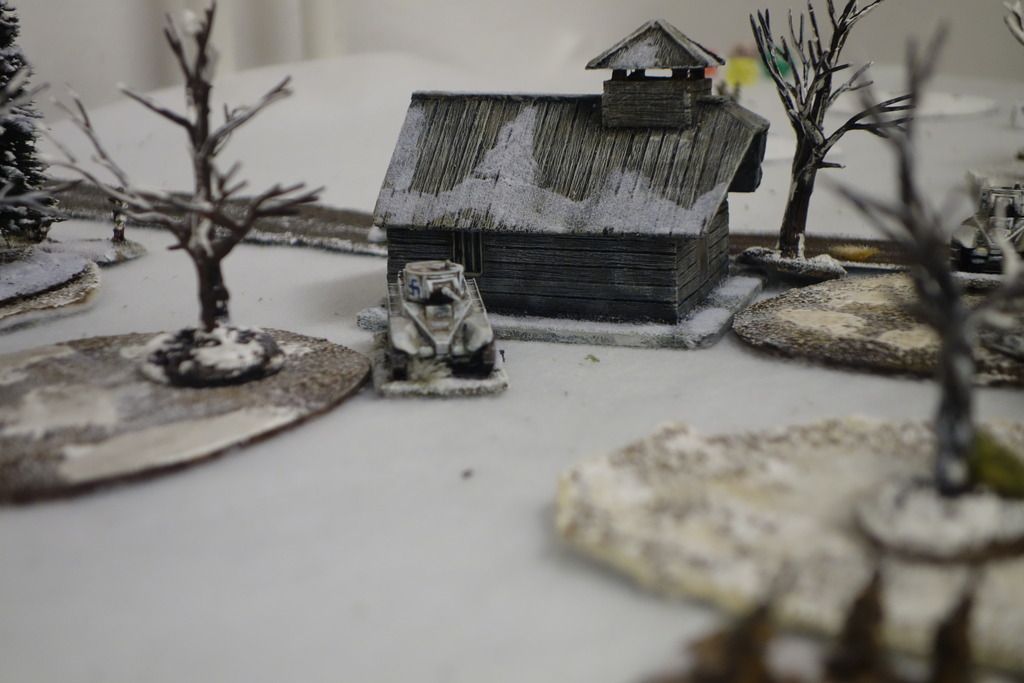
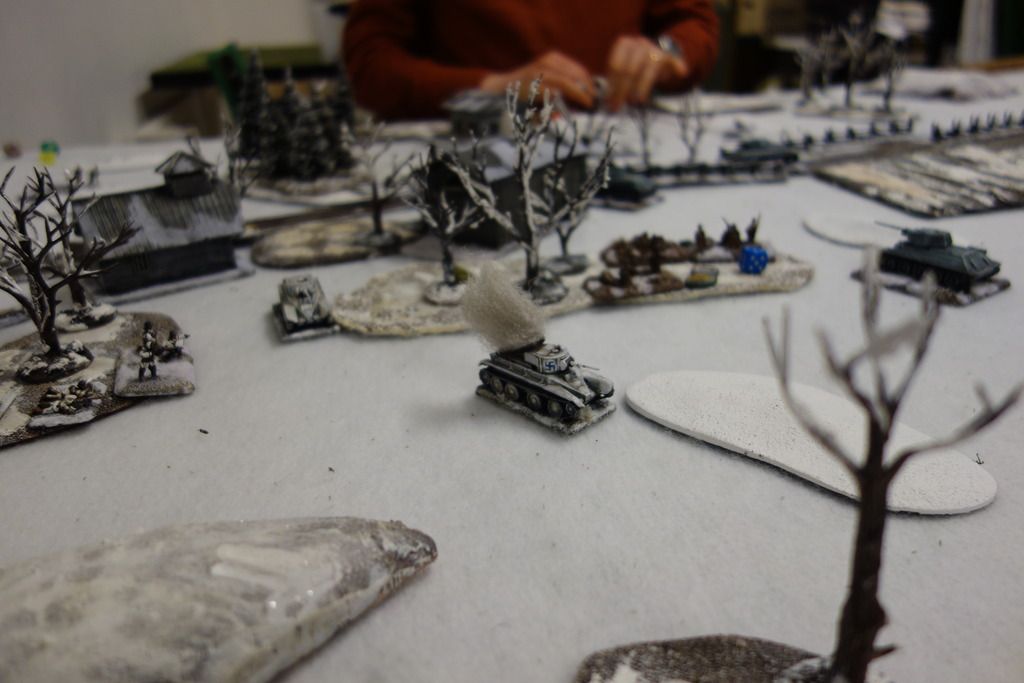
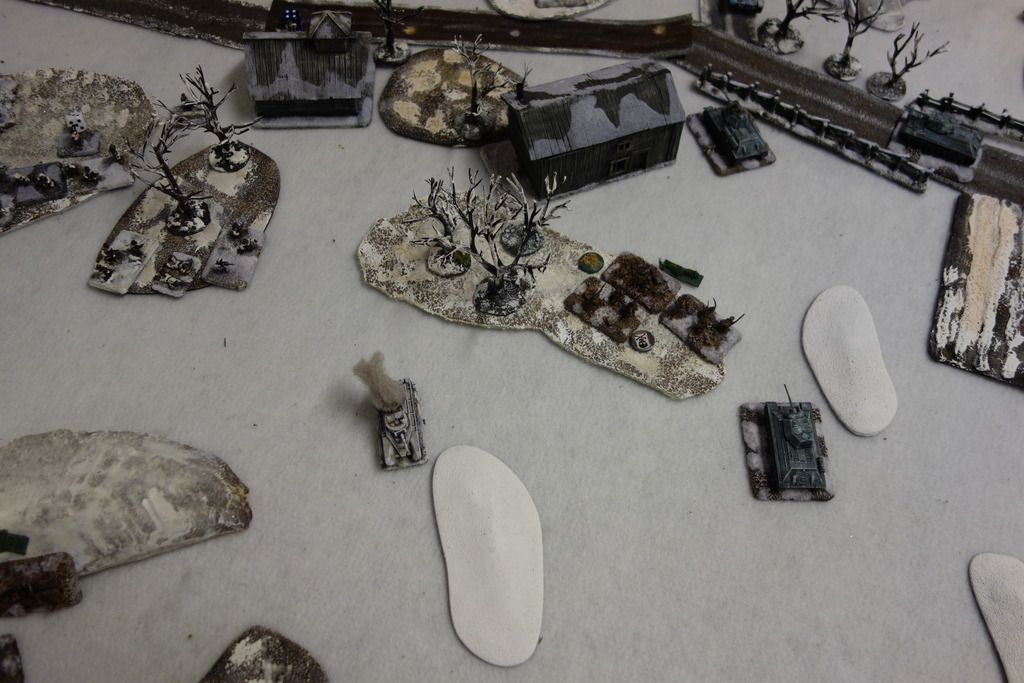
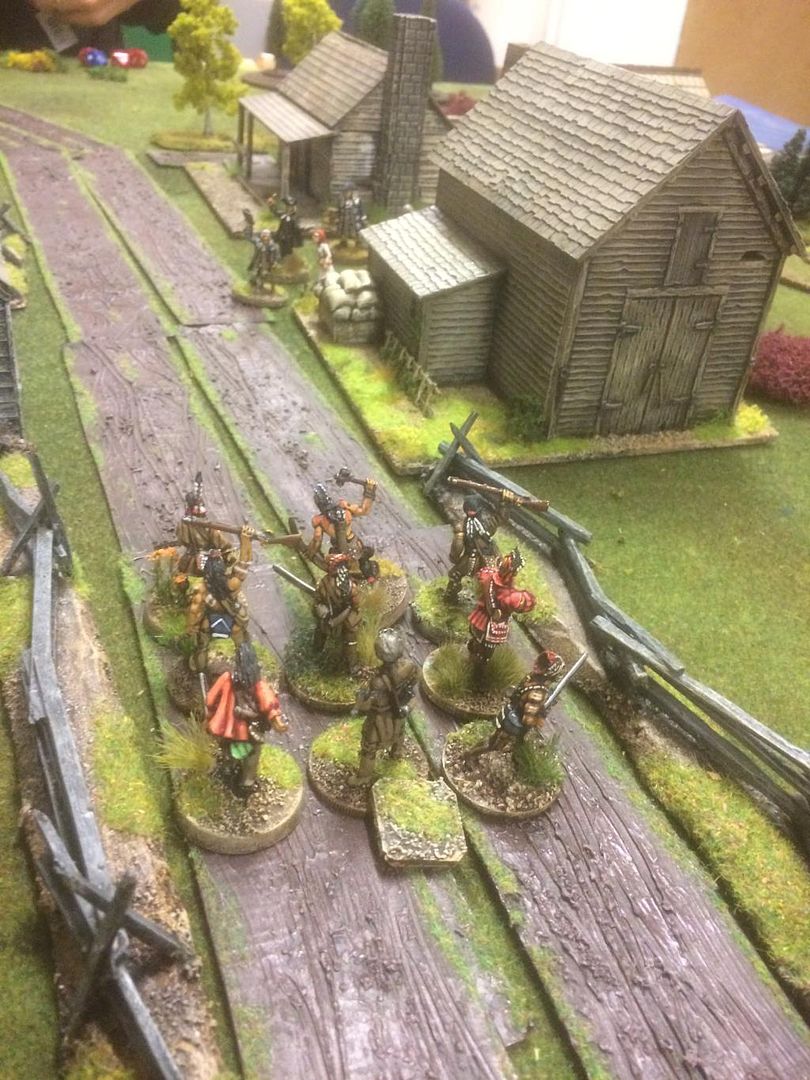
The battlefield a whole. The major objektives are the two houses


The rules used was Black Powder. As usual we had added extra rules to this particular scenario in order make it fit the period as well as being playable. The stats for the game can be last in this blog entry. Due to copyright issues I can not display the map we used, but I can give you a pointer were to find the background material that I used when I created this scenario. 
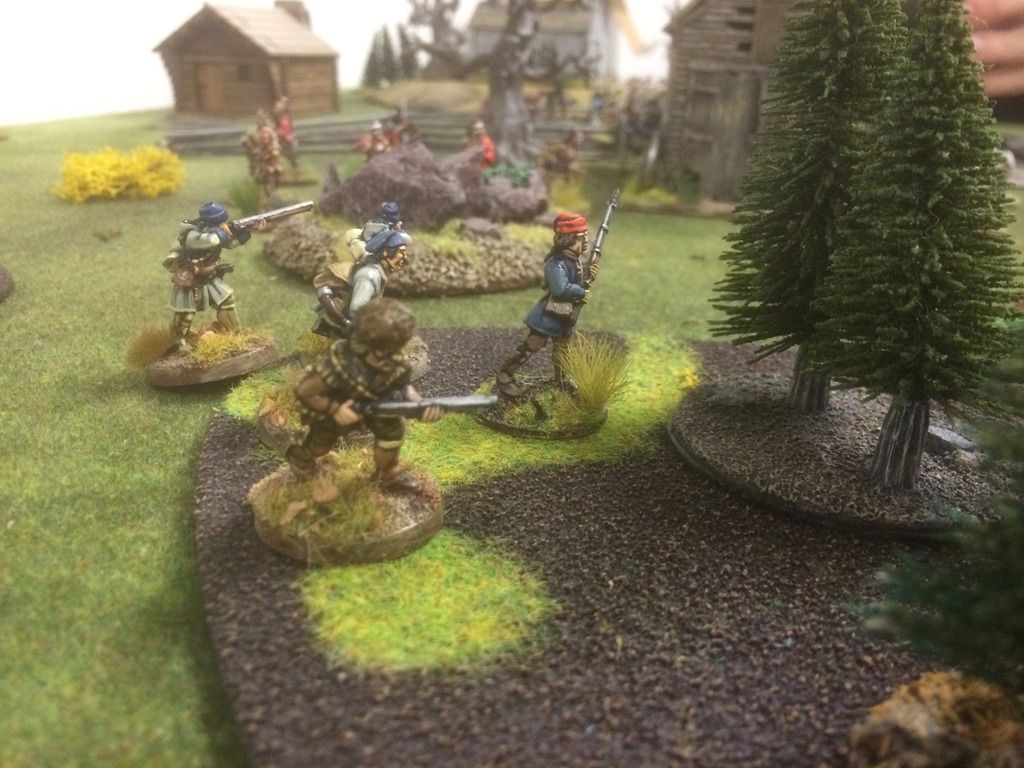
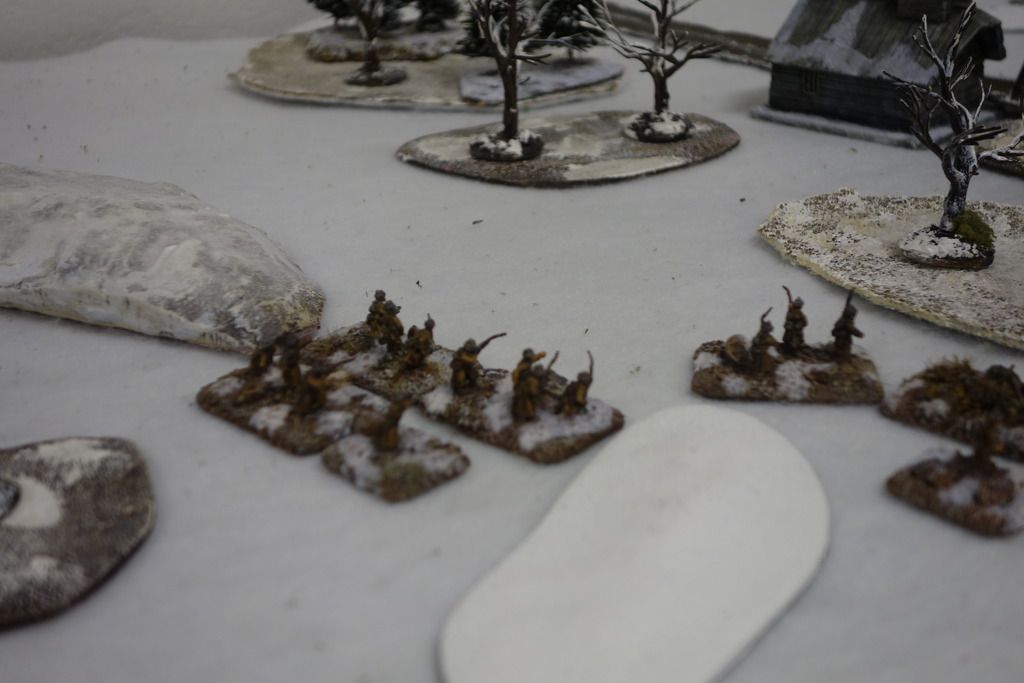
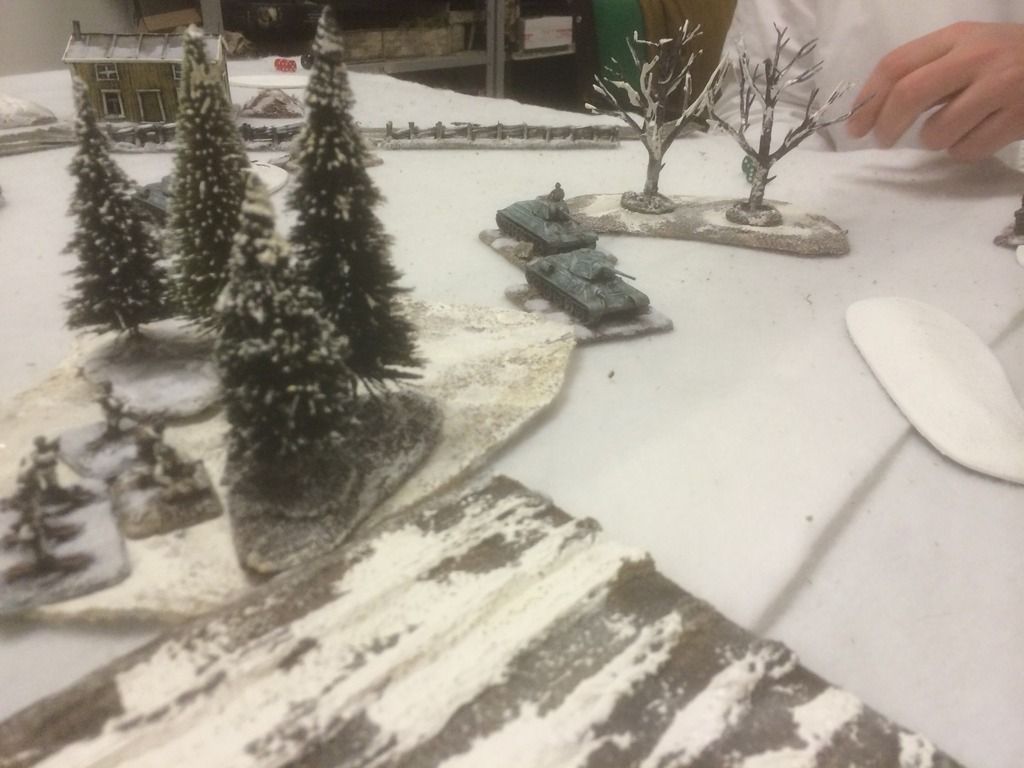
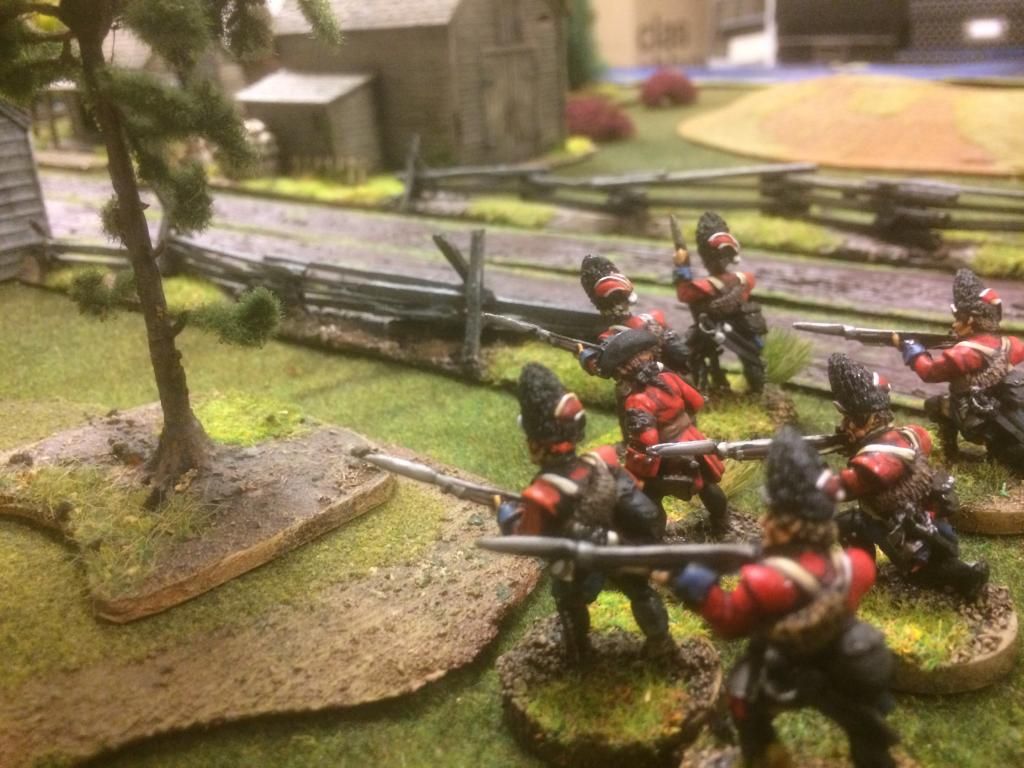
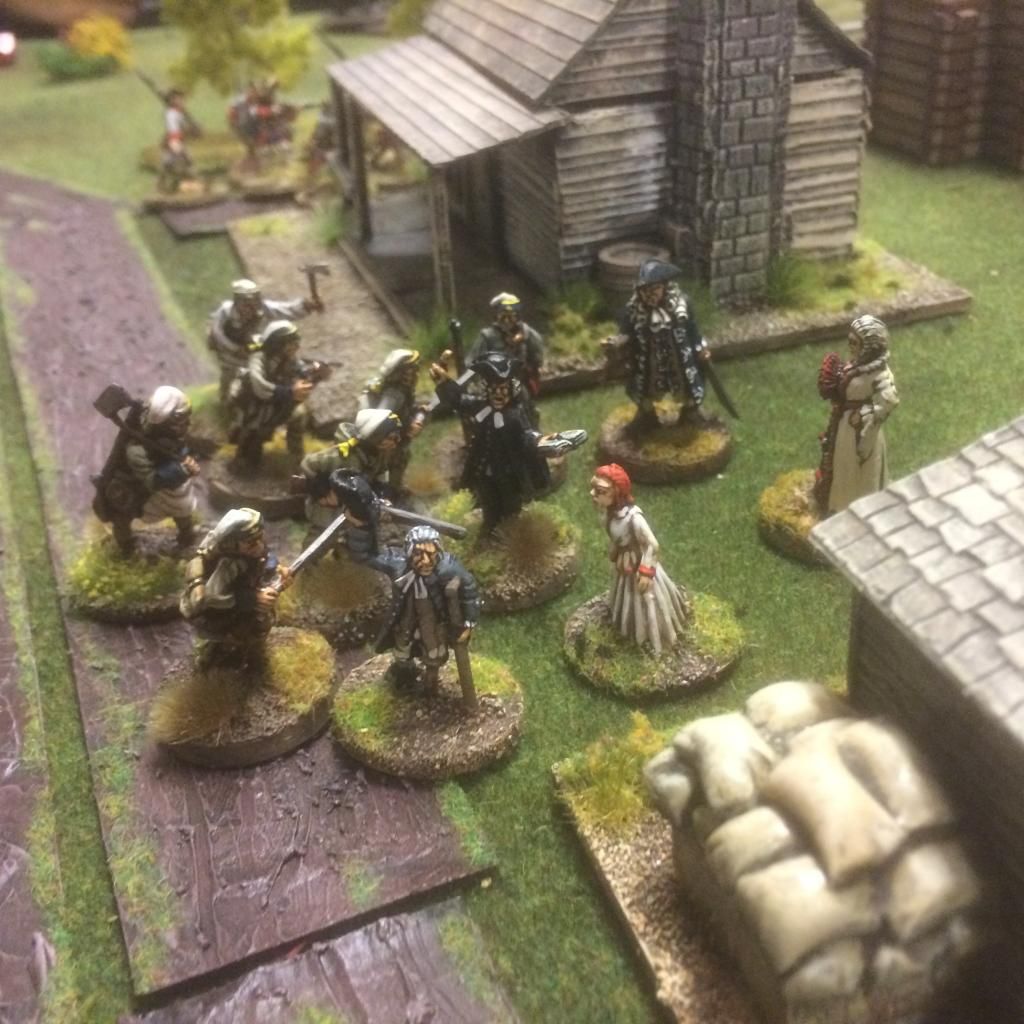
The Union troops on the Union right are moving up...


In our game the Union attacked first, just like the real battle. In game terms that meant that Union commanders started with the initiative. The Union side had three players and basically also three brigades. Unfortunatly the attack bogged  down i these early stages, especialy on the wings. Bad terrain slowed the advance on the left wing and choakepoints and bad Command rolls created a organisatorial nightmare on the right wing. 
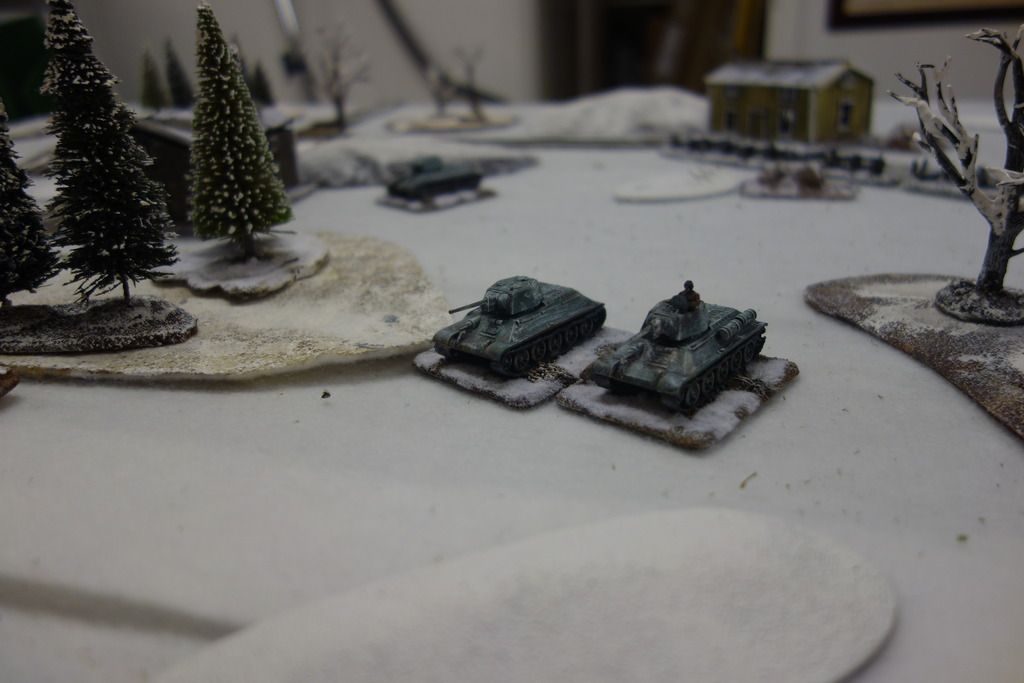
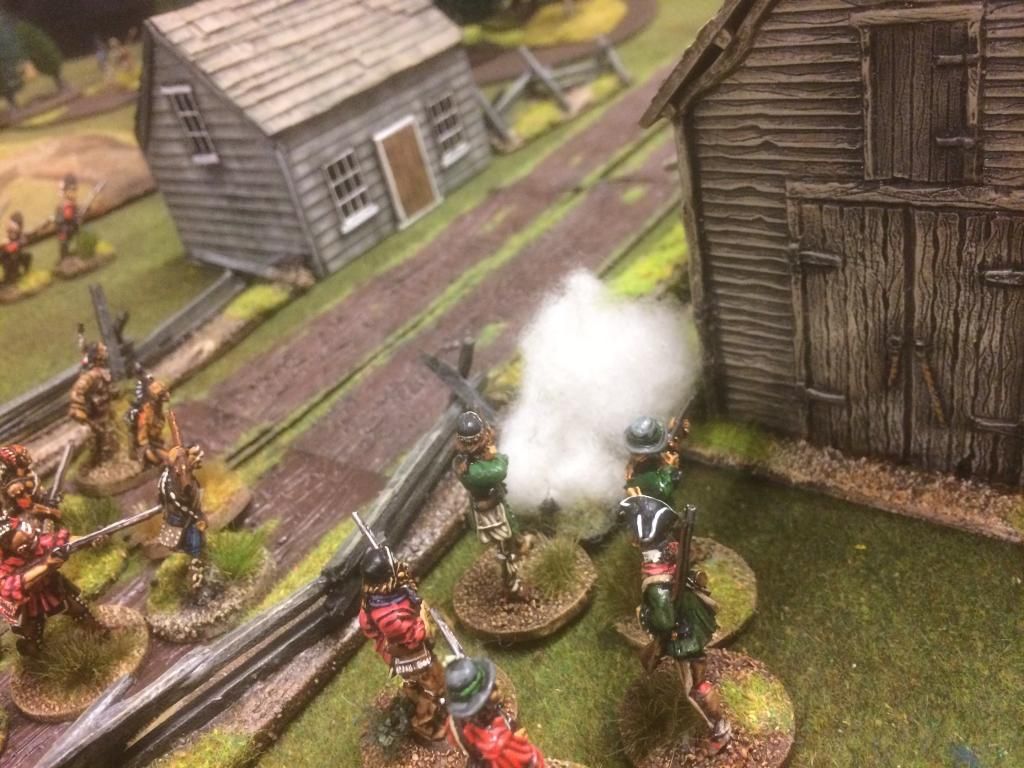
Hooker is directing the Union attack on the center...

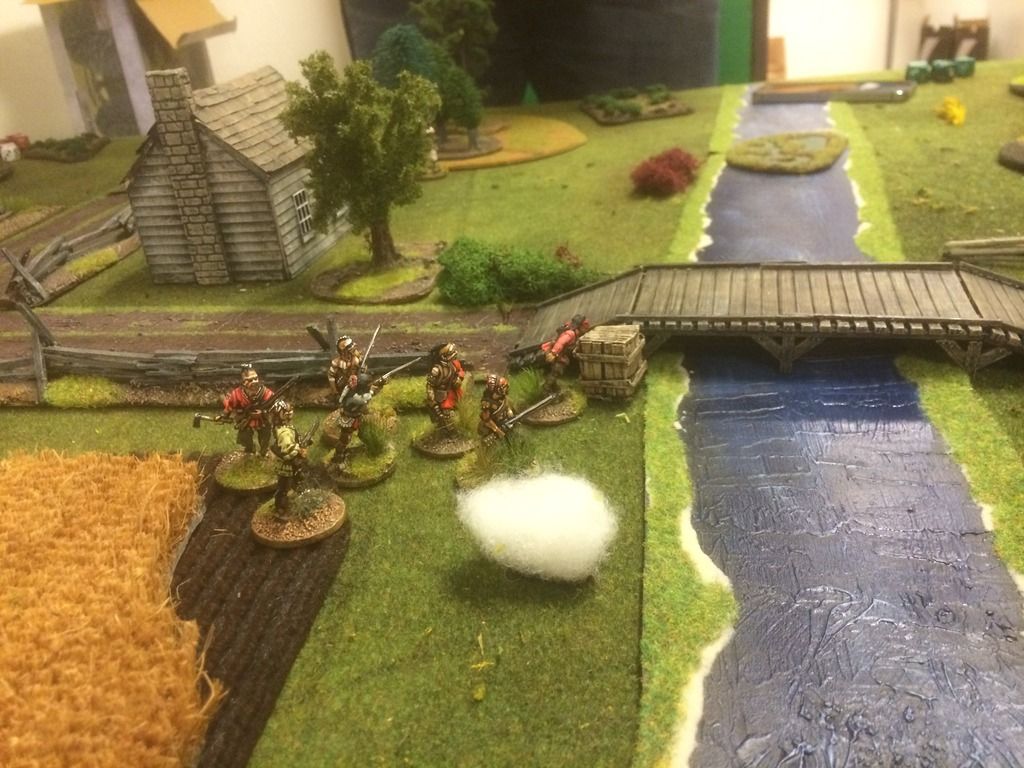
Things are getting heated in the middle of the battlefield

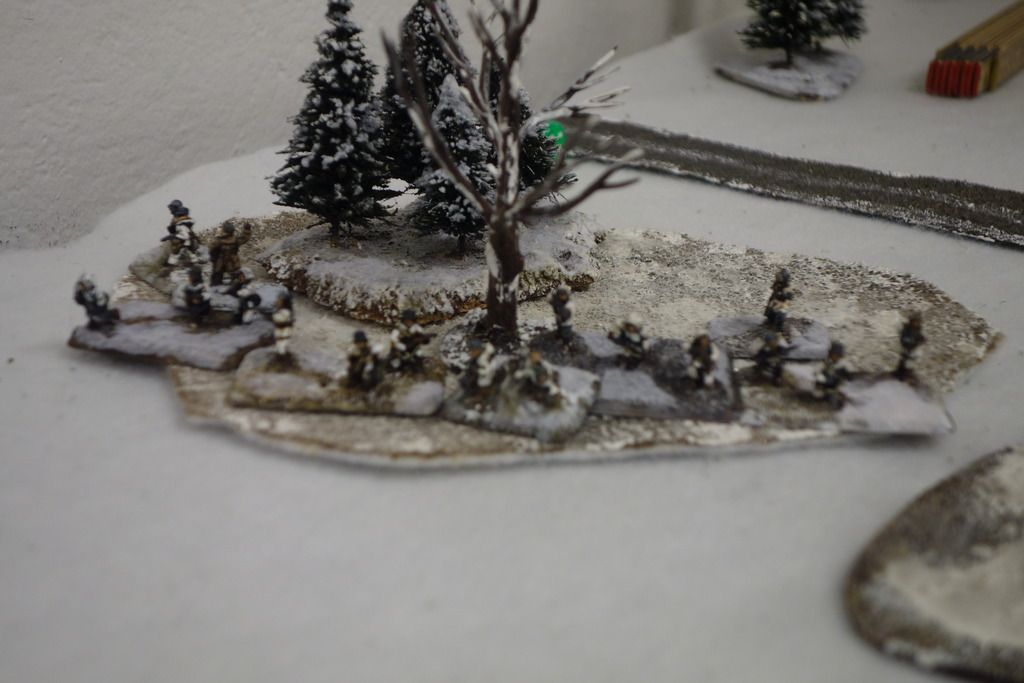
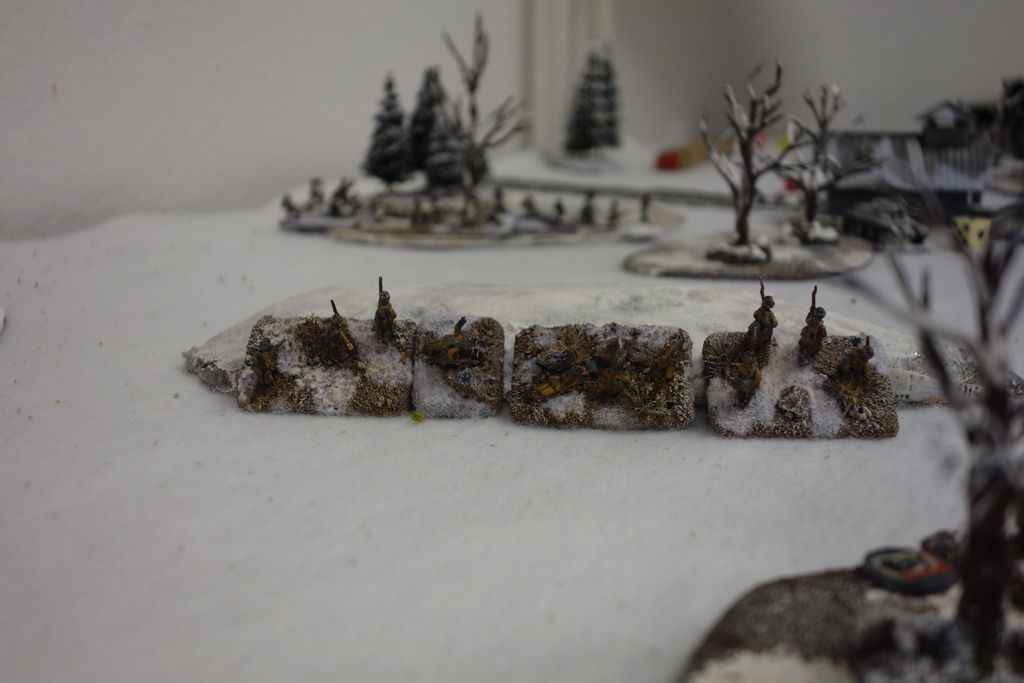
The Confederates are moving in reenforcements towards the Union right...

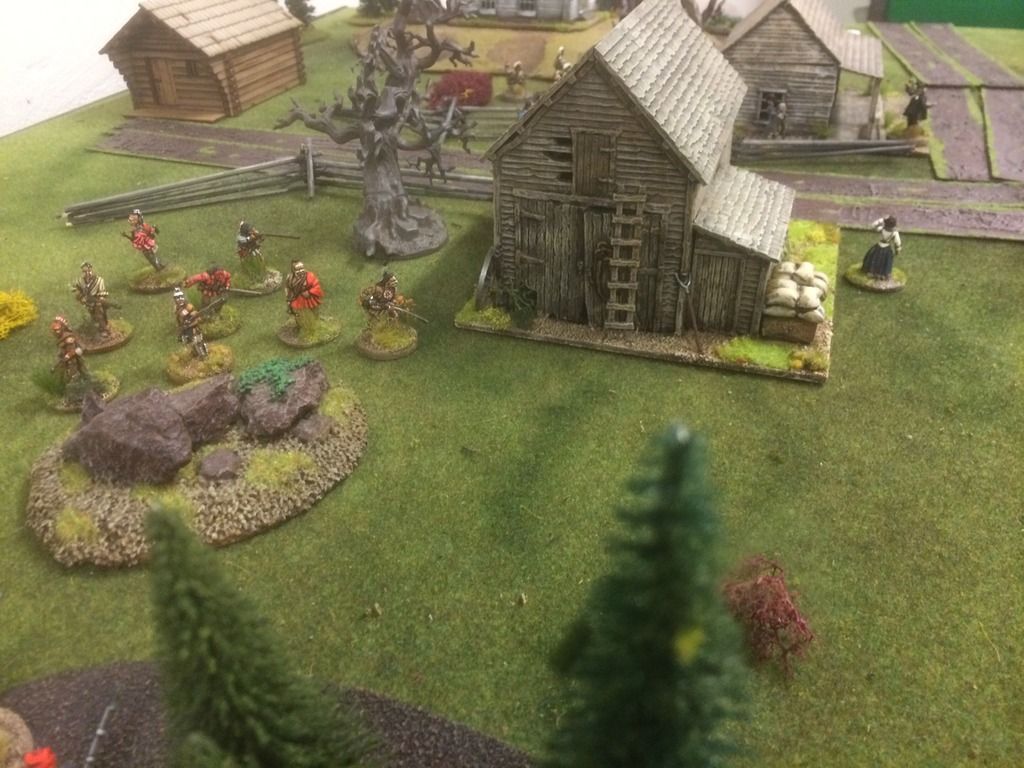
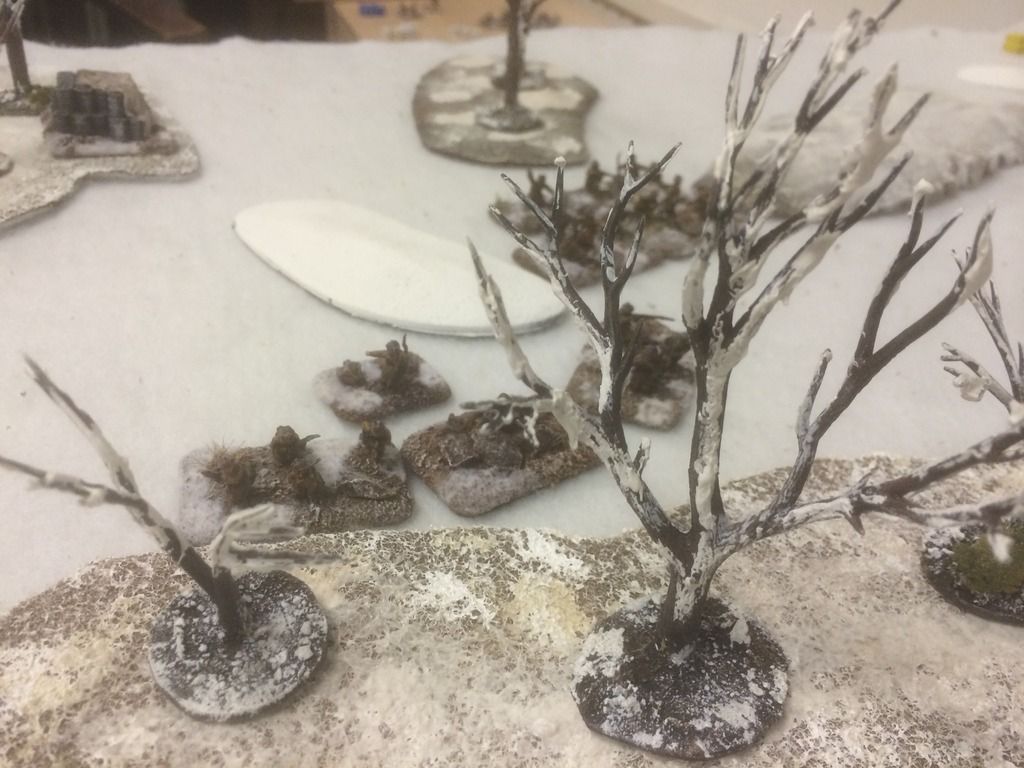
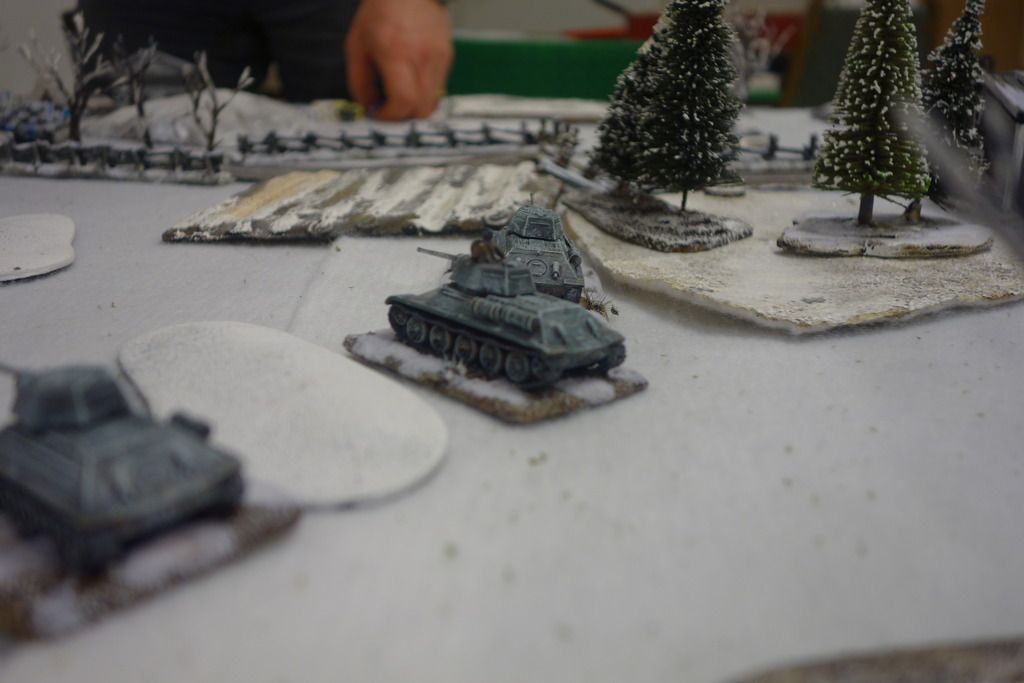
The failed CS flank attack on the Union right was the main cause why the CS left broke first

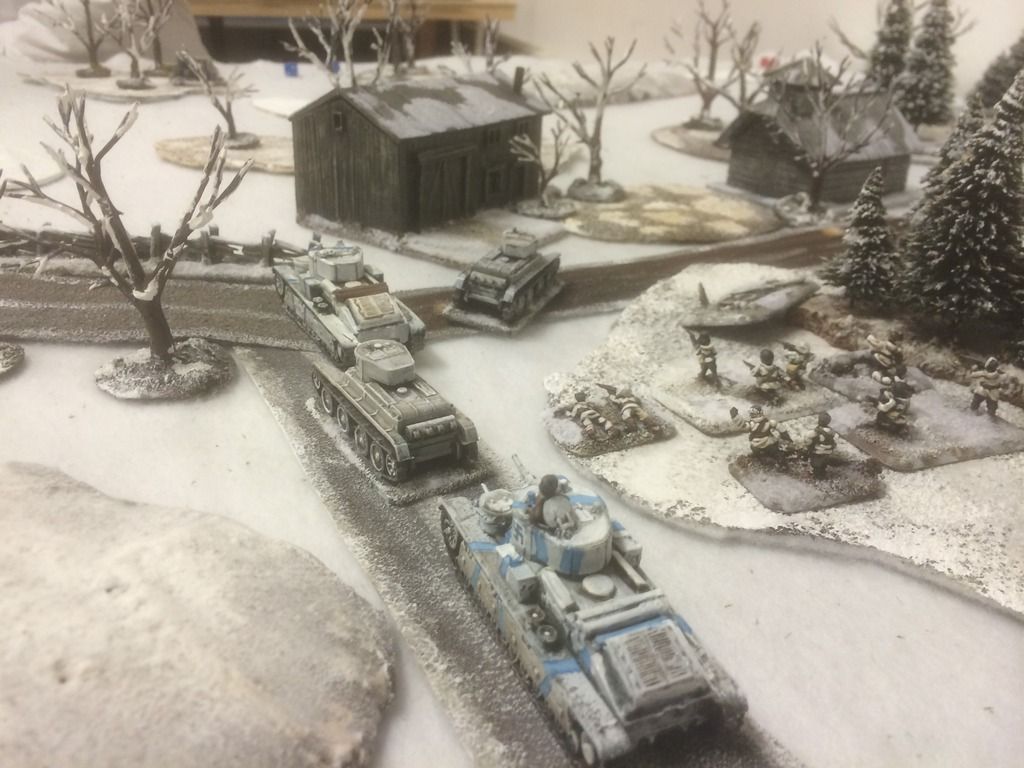
The concentrated fire by CS artillery was perhaps the main reason the Union side eventually lost....

In the middle Fighting Joe Hooker had full control and  he was directing the troops so this part of the union front kept up the momemtum  and the result was a kind of wedgeshaped advance that later on would create a bit of a problem. The Confederates were also experiencing some difficulties during the intial move, though their wings moved in a more coordinated fashion and thus their front was a bit more even. The Union center soon approached their objective( one of the three houses on the battlefield). Since the right union flank was still moving forth,the center and the right flank lacked coordination. The Union center could not keep up the pressue. The Confederate center held. 


The action on the union right eventually started to move forth, but so did CSA units opposing the advance. The Confederates managed to concentrated their artillery on the union right flank. The cannon fire was quite devastating. The fire could have ended the Union advance. However this did not happen. The line of fire soon got partially blocked by the nearby closequarter clashed as well as confederate units that move forth in order to charge the Union side.

The Union right and the opposing Cofederates clashed. A number of firefights and close quarter battles followed. Both sides took a heavy toll. The Confederates brigade on the Confederate left broke first, however the price was too steep for the Federals.  It took just a few more salvors and suddenly both the Union center as well as the right flank was talking too much damage.  Two out three Union brigades had collapsed and this ment it was game over for Hooker. So we did not manage to alter history. A quick analytisk of the battle gave at hand that bothe sides had a chance to win this engagement. Since the both sides were roughly equal in size it all boiled down to which side was able to coordinated cannon fire, and which side was able to move troops the fastest. On both accounts it was the Confederates that did the most out the given situation. 


UNION

Third Army Corps, Army of the Potomac
SecondDivision
Brig. Gen. Joseph Hooker,  Command 8, High decisiveness

First Brigade
Brig. Gen. Cuvier Grover, Command 8
1st Mass. RM, average , normal size, 3 bases
11th Mass. SB, average , large unit,  4 bases
16th Mass. RM, green, , large unit, 4 bases
 2nd N.H. RM, average, large unit 4 bases

Second “Excelsior” Brigade
Brig. Gen. Daniel Sickles, Command 7, High independence
70th N.Y.  RM, average, normal size, 3 bases
71st N.Y. RM, average, normal size, 3 bases
72
nd N.Y. RM, average, normal size 3 bases
73rd N.Y. RM, average , normal size 3 bases
74th N.Y. RM, average, normal size 3 bases
Section D, 1st N.Y. Art.  average , rifled cannon, 2 bases, special cannon rule

First Brigade, Third Division
Brig. Gen. John C. Robinson, average, Command 8
20th Ind.  RM, green, normal size, 3 bases
87
th N.Y. RM(p), average, normal size, 3 bases
57
th Pa. RM(p), average, normal size, 3 bases
63rd Pa. RM(p), average , normal size, 3 bases
105th  Pa. RM(p), average, normal size, 3 bases
Clark’s Section, 2nd N.J. Bty., average, rifled cannon, 1 base, special cannon rule

CONFEDERATE Huger’s Division
Maj. Gen. Benjamin Huger, average, Command 8

Second Brigade
Brig. Gen. William Mahone, average, Command 8
6th Va. SB, green,  large unit, 4 bases
12th Va. SB, average, large unit 4 bases
16th Va. SB, Green, normal size, 3 bases
41st Va. RM, green, normal size, 3 bases
49th Va. RM, average, normal size, 3 bases
Portsmouth Va. Art. average, 3 bases, special cannon rule

Third Brigade
Brig. Gen. Ambrose R. Wright, Command 8
3rd Ga. RM, average , normal size unit, 3 bases
4th Ga.  SB, Green, normal size unit, 3 bases
 22nd Ga. RM, average, normal size unit, 3 bases
1st La. SB, average, normal size unit, 3 bases

Huger’s Va. Bty. average, 3 bases, special cannon rule


Fourth Brigade

Brig. Gen. Lewis A. Armistead, Command 8
9th Va.  SB, average, normal size unit, 3bases
14th Va. SB, average, normal size unit 3 bases
 38th Va. RM, average , normal size unit 3 bases
53rd Va. RM, average , normal size unit 3 bases
57th Va. RM, green, normal size unit, 3 bases
5th Va. Btn. SB, average, small unit, 2 bases

All units have the following stats

Small units(2bases)
Hand to Hand Combat 4, Fire 2, Morale +4, Stamina 2
Normal units(3bases)
Hand to Hand Combat 6, Fire 3, Morale +4, Stamina 3
Large Units(4 bases)
Hand To Hand Combat 8, Fire 4, Morale +4, Stamina 4

-------------
Special rules

Give'm the Bayonet!: The attacker attacks head on with a coordinated charge together with an other unit. This will give the attackers the usual +1 for attacking and +1 morale. The two units in the attacking formation must be side by side or one after the other.  Attack column is not allowed in this scenario. This is a particular order. All other bonuses apply.

Special cannon rule: Each base counts as if 2 bases if firing. That means that it has got  2 dices when firing at long range, 4 dices on average range and and 6 dices on short range. The reason behind this rule is that I wanted to cut down on the number of cannon bases while still keeping the firing power.

Musket and rifles:

Units marken SB have smoothbore muskets, this affekts the range of the weapon( see rulebook page 183)
Units marked RM have rifles, this affects the range of the weapon(see rulebook page 183)
Units marked (p) have poor weapons that nullifies first fire.

Rebel yell: can be declared once in the game. All rebel units that attack get a +1 when attacking.  At the same time Federal units that are attacked and not veteran must make a break test before the attack
reaches them.

Average units: These units have been marked average in the list. They have the special rule first fire (se rulebook page 90).

Green units : These are marked Green in the list. They are freshly raised( see special rule page 90), undiciplined fire( the unit Fires att full effect the first volley, then go down one die. The will return to full effect if they pause firing one turn or do something else for for one turn).

Command and control: units within 2" of a road has better Command and control. Thus if moving beyond this range from a road your unit will recieve -1 on the Command roll. This does not affect the CinC

Broken brigades: brigades that has lost or have shaken units that accounts to more than half it's initial strenth is considered broken for the rest of the game. All rules that applied to broken brigades apply to the entire brigade. The status broken sets in at end of the following turn turn. This will give the commander of the brigade and the CinC one chance to save the situation before the unit falls apart.


Sources:

My main source in order to create this scenario was Potomac Publications'  " Forward the Colours!" writen by George Anderson and Ryan Toews.  I did some change sto the basic stats in order make a playable scenario, but in essence I tried to stat as close to the original set-up given by this generic
scenario book. If you wish to get a copy it is available from The Wargamer's Vault webpage. It's in a pdf format.

http://www.wargamevault.com

There is of coarse the Wikipedia entry that covers this battle....

http://en.m.wikipedia.org/wiki/Battle_of_Oak_Grove


Sunday, March 22, 2015

Donnybrook/FIW/ A Bridge too many- or Major Rodgers bites the dust.

Major Rodgers together with his Rangers (and his pet) has ignited the Box containing  the black powder.......

The basis of this scenario is that you have force that just has placed an explosive service beneath a bridge and is about to blow up the bridge. Since we are dealing with a 18th century war this is probably a matter of a fuse ignited keg of Blackpowder( highly volatile stuff - do try this for real)

 The Battlefield. The Anglo-Americans arrive from south side of the bridge. The French arrive from the North( the upper part of this picture)

The defender is the one with the burning desire to blow something up( in this case a bridge). The attacker will do his best to stop this. Usually a standard force in our games consist of 4 units. However in this game the attacker had one extra unit. The defender will choose one unit that is placed by the objective(the powderkeg)

 
The Coreur de Bois sneaks through the woods towards the bridge.

The Hurons moves through the village...the French force is building up...

More French .....this time drilled regulars...Major Rodgers is in big trouble.....

The fuse is lit already from the beginning of the game.   It will take 6 rounds plus 1d3 rounds before  the bridge belongs to the ages. The defender rolls a d3 in secret and he knows exactly how long the game lasts. If the bridge blows up the game is over.  If however the attacker comes in contact with the device the fuse is put out. The clock is then paused. The attacker now has time enough to clear the surroundings from hostile units. If the defender comes in contact with thedevice the clock is ticking again. The number of rounds left is the same as when the fuse was put out(So for example if the fuse is put out at Round 5 the relit fuse will start from round 5). The attacker can win the game by making it impossible to blow the bridge. He can also win by inflicting so much casialties on the defending side that it overshadows the effort of blowing the bridge. If any unit is within the bridge (4") when it blows the unit is gone as well

Rodgers is going down....

In this game Captain Castroulle's arch nemisis Major Roy Rodgers ( the less known brother of Robert Rodgers) of his Britannic majesty's Rangers has placed a box filled with gunpowder beneath the bridge of the River Patuxemnetonic( usually refered to as "The Tonic"). The idea is to stop the French from raiding the local settlements in the North Western part of the colony New York.  But who can stop the ever so vile and vilenous Captain Castroulle?

The Hurons manage to put out the fuse...


The Mohawks are storming the bridge and the bomb is lit again. 


The British Grenadiers are moving up to support the Mohawks


The Coreur de Bois fires at the Mohawks on the bridge....


In any case the French attack from the village side. The britts are comming up to support Roy and his merry men from the other side. The side that bring most firepower in time will be able to control the bridge area and decide if the bridge will be blow or if it will be left standing.

The Mohawks are shot down. This is the end of the game...


The first attempt by the French to remove the Rangers from the bridge area was done by a small group of Coreur de Bois. They were followed by a group of Huron-indians. The Coreur de Bois did not manage to remove the Rangers, but the Indians were more successful. The Indians decimated the Rangers and the fuse was put out. However a group of Pro-Britis Mohawks made a valiant counter attack and the fuse was back again. By now the French had brought forth more firepower. The Brittish forces on the other hand had made fatal tactical error. The Brittish moved their reenforcements through thick dense woods. The outnumbered Brittish force by the bridge had to wait in vain for the much needed extra firepower.  The Mohawks and the few Rangers still left standing were caught in a deadly crossfire. The French fired a concentrated volley from three diffrent positions. In the end it was a fairly small matter for the French-aligned Indians to remove the Mohawks. Roy was by then unconcious. His fate is still unknown. He might be dead and scalped, he may be Held captive by the Hurons. Later scenarios in this campaign might tell. ......and the bridge remained intact.


Friday, March 13, 2015

Encounter in Karelia

Earlier this week myself and Jeppan played another game in our ongoing Finnish Continuation War Campaign set in Karelia during winter 1941-42. The campaign uses the Chain of Command rules from Too Fat Lardies with the expansion Big Chain of Command.

Army Lists, Scenario and Terrain

We have modified the exisisting army lists to reflect this period of the war.
We played an expanded and modified version of the 'Patrol' scenario from the rulebook.This is essentially an encounter scenario, where two forces of roughly equal size, and without much support, bump into each other in the open.

My Soviet force consisted of:
  • 1 Infantry Platoon (Regular)
  • 1 Tank Platoon with 3 T-34/76 M41.

Jeppan's Finns fielded:
  • 1 Infantry Platoon (Regular)
  • 1 Tank Platoon with 2 T-28E and 2 BT-7
 The terrain is snow-covered woods with a few farmhouses, fields and low hills.

Contact!

Both sides advanced onto the table and (unsurprisingly) bumped into each other in the middle of the table. The Finns used their superior leadership to maneuver infantry sections rapidly forward and grab control of some farmhouses and woods on the flanks, while their tanks advanced up the middle of the table.


The Soviets aren't so flexible, so had to concentrate their infantry on their left flank and centre of the table, with the tanks on the right. In previous games the Finns have managed to knock out many Soviet tanks with molotov cocktails and explosives, so I tried to get the tanks to protect each other.

Getting Stuck-in

The Soviet infantry tried to advance on their left flank and centre to get get into superior positions, but the Finns beat them to it and established powerful bases of fire on the Soviet left suported by the 2 Finn BT-7s. This effectively pinned the Soviet infantry in some woods and behind a hill.


Only one Soviet section managed to advance into cover slightly farther forward, but was then struck by enfilade fire from flank and front.
Soviet attempts to knock out the Finn BT-7s with AT handgrenades damaged, but did not knock out, the BT-7s and they continued to menace the Red infantry.

In all this, the Finn tanks and infantry inflicted quite a few casualties on the Red infantry. Things weren't looking too good for the Soviet foot-sloggers. If the Finns could keep the pressure up, the Soviet infantry would be forced to withdraw (the Red infantry platoon's morale was getting quite low).

Heavy Metal - Soviet Style

While the Red infantry were being pummeled, the Soviet tanks were doing a lot better.
The T-34 are very fast and managed to advance rapidly to a position where they could engage the Finn T-28Es, while keeping an eye on a sneaky Finn section creeping up behind some woods.


My T-34s were very lucky in securing hits on the T-28s and damaged both quickly (I had very lucky die rolls to hit). The T-28s were not as lucky and their return fire was largely ineffective.
Soon both T-28s were disposed of (one knocked out, the other forced off-table).

The Red tank platoon also managed to concentrate fire on the Finn section lurking in the farm houses and Woods with their molotov cocktails. Subjected to concentrated tank fire the Finn section finally routed.

So at this point, the Finns were wearing down the Soviet infantry on the left flank, while the Soviet tanks were victorious on the right. And both sides were losing morale rapidly.....

End-Game

To save their hard-pressed infantry, the Soviet tanks advanced to engage the Finn infantry and the remaining Finn BT-7s. The Finns, at the same time launched a bold offensive to knock out the Red infantry platoon before the soviet tanks could intervene.
The Soviets were lucky again, and T-34s managed to knock out a BT-7 while Soviet infantry had their revenge, and cut down charging Finn infantry that were just about to reach a Soviet Jump-Off Point (base).

If the Finns had managed to reach the Jump-Off Point, Soviet morale would almost certainly have collapsed. But these losses were too much for the Finns and they were forced to withdraw.

 This was a very enjoyable and even game. It could so easily have gone the other way. The T-34/76 are very, very good and in this game they made it count.

Sunday, March 8, 2015

AAR- Donnybrook, French- Indian War/ Captain Castroulle Strikes Again!

The French Secret weapon in this scenario...

In our last Donnybrook AAR Captain Castroulle and his French raiding force managed to steal a Strongbox from the the Good citizens of the settlement East Brumford. The raid was opposed by Captain Castoulle's arch nemisis Colonel Wilburforce -Smythe. The british Colonel almost, but not quite managed to stop this heinous act. A lone member of the French Compagnie de Marine got away with the strongbox. The French had some loose ends however. The idea was to steal the strongbox and kidnap some local officials. This part of the plan failed. British Rangers led by the galant Major Roy Rodgers managed to free the hostages before the French managed you get away with their human prey. It is now time for the second round in this game of foul play. Will the frontier put ablaze or will the good citizens of the Northwest frontier get a good might rest?


New Hannover

In this game the French is once more up to no good. They plan to find some new hostages and bring them to the other side of the waterway that marks the border between the British and French colonies. The French will attack the settlement of New Hannover and kidnap the magistrate with his family. The main French Force will attack from the North through New Hannover and once the hostages are French hands they will drag them to the nearby beach. At the beach canoes awaits them. The hostages will be terrordåd away in the Canoes. 

Just like last time this is a scheme that doesn't really goes planned. Colonel Wilburforce- Smythe is
nearby and has been tracking the French raiders for days. As the French plan is set into motion a nasty surprise awaits the Raiders of the French king.


The intial moves...

The French attacks New Hannover from two sides. The regular French infantry and the Compagnie de Marine attacks from the East using the main road that leads to the settlement. The indians and the Coreur de Bois attacks from the North using the Woods as cover.

The French and their allies are closing in on New Hannover...

Since British already knows what is about to happen they rush in from the west. In game terms the French are deployed on the table comming from two directions. The British force arrives in piecemeal from the table edge representing the west. Each time card with a British unit is drawn they
move onto the table using the road that runs East to West.


Colonel Wilburforce-Smythe and the Grenadiers are moving in....


The first blod is drawn when Brittish grenadiers together with the Colonel spots a group of French luckers in the Woods. The grenadiers opens fire and half the French group of Coreur de Bois are gone. Since these French Wood skulkers are Elite and the best unit that the French can field this is quite a blow.


The opening firefight between the Grenadiers and the Coreur de Bois


 The French are a bit shaken after the firefight....


The next important move; the French attack through the settlement. The French infantry formed a during line that almost swept clear the streets( or at least the one road through) New Hannover. 
The Mohawk allied of Colonel Wilburforce-Smythe took the brunt of it. Decimated they had to run for cover.
The Mohawk are Moving in, soon to be shot down by the French

The French Line is formed, soon to deliver a deadline volley...


The Rangers fires back at the French line...

Next up, and this time better covered, were the expert marksman of British Rangers. The Table was turned and the French regrouped and moved away.
The French captures the Magistrate

The end moves. The Magistrate is freed.....


The Compagnie de Marine made rush for it and grabbed the magistrate and his family. However British infantry moved up from two directions. Grenadiers from behind and Infantry up front. The
Compagnie were caught between a rock and a hard place. The French Infantry made vain attempt to
stop this from hapening. However the British infantry finally assulted the Compagnie de Marine. The hostage was freed. Captain Castroulle had lost and he withdrew, cursing in coarse French. He swore that he would return....

This game featured the following forces...

French

3 Characters( including the Hero Captain Castroulle)
1 unit of Compagnie de Marine, Drilled, 8 figures
1 unit of French Infantry, Drilled, 8 figures
1 unit of Huron warriors, Drilled, 8 figures
1 unit of Coreur de Bois, Elite , 4 miniatures

British 

3 Characters( including the Hero Colonel Wilburforce-Smythe)
1 unit of Grenadiers, Drilled, 8 figures
1 unit of Infantry, Drilled, 8 figures
1 unit of Mohawk warriors, Drilled, 8 figures
1 unit of Rangers, Elite, 4 figures

 Concerning Indians: Please note that the term "Drilled" refer to the moral level in this game, not that they in other respects were drilled soldiers

Objective of this game: the French should try to grabb the magistrate and his family. They are located in the center of the village. Once taken hostage they will be moved towards the beach and put in the Canoes waiting there. If that succeds the French have won the game. The British forces will win if if they stop this from happening.

That is all for this time....


Sunday, March 1, 2015

The Great Northen War Project -The Pskov and Västmanland Regiments 1708

The Great Northen War Project continues....

The Russian Pskov and the Swedish Västmanland Regiments 1708

I have now completed some infantry. There quite a few to go. The main plan was to set up the battle of Hollowcyn 1708. That is quite a large battle and fortunatly I am not alone in this mad venture. With the Russians below there is still around 10 similair sized units to be painted. The main problem at the moment is finding a suitable manufacturer for all those Russians. The Swedes seems to be well covered by a number of companies, especialy when the new Warfare minature series hits the market. The Russians puh!, Well I have to check out a number of ranges and see what fits......

The Russian Pskov Infantry Regiment comes from a rather unique range. It's not really a commercial manufacturer behind it as such. It's a Club Project from a club called "Carolinen".
Carolinen is not a wargaming club, rather club for people painting and collecting Tin soldiers. Sören and I was invited to visit their annual Chrismas Bazaar and I  bought these Russians....
 The Pskov Infantry Regiment 1708

I am not familiar with all details, but if I am not mistaken the sculptor is the reknowed Charles Stadden. The scale is supposed to be 28mm and though being typical old school minatures they do fit in size with typical 28's ,the kind of miniatures that we usually paint up for our projects. They might not be as detailed as the rest of the miniatures that lands on my table, but they do have certain charm. 

More Swedes...

The Swedes below are supposed to represent the Vastmanland Regiment. The minatures are mainly 
from Wargames foundry, but I managed to get hold of some sample minatures from Warfare
M iniatures a while ago( The officers and the grenadiers). The clothing indicate a cold Northen
climate, but I assume that these gentlemen are just marching on cold morning ;)

The Västmanland Regiment 1708