If you've read this blog before, it will probably not come as a huge surprise that it was part of our ongoing club campaign set in the Swedish-Polish War in the 1620s.
This time, we were a total of 6 players with 3 on the Swedish side and 3 on the Polish side. This game was intended as a cavalry battle, so only mounted troops and commanded shot units were allowed. Each player could use 12 army points. This meant that each player had 2 or 3 units to run.
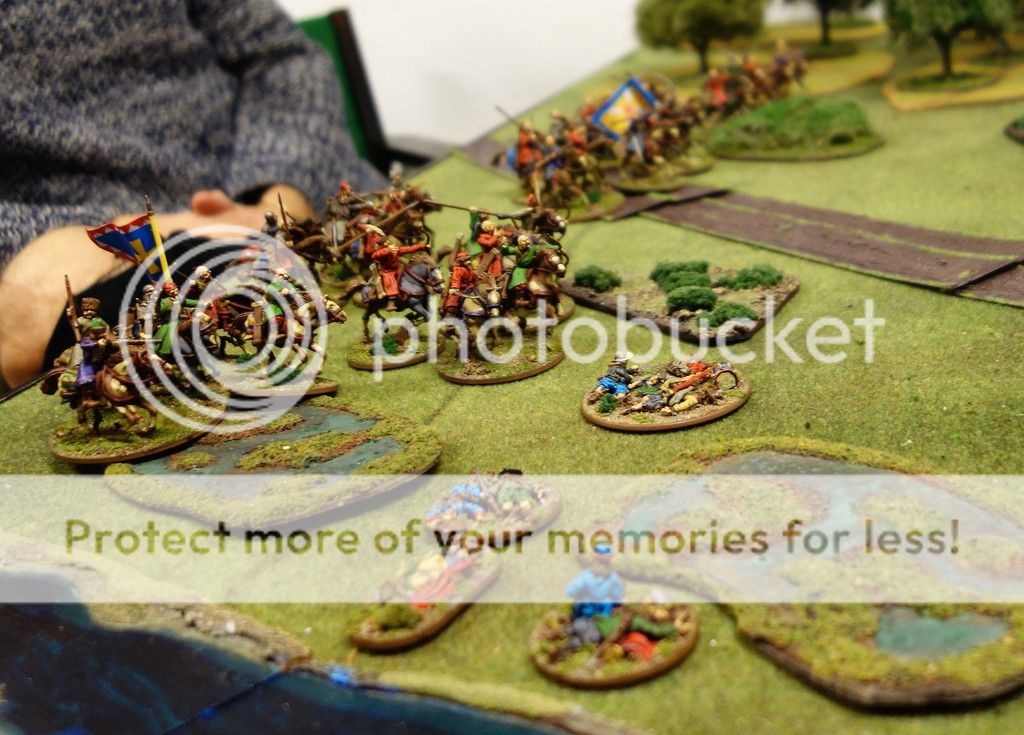 |
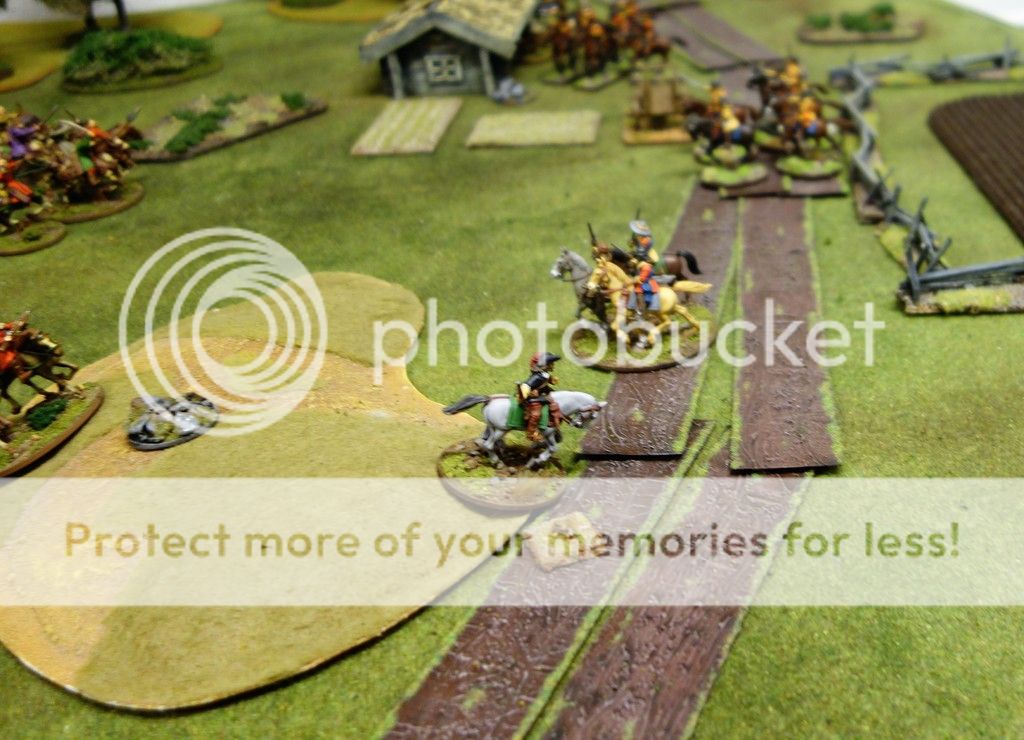
The Tatars arrive.
|
The other two commands on the Swedish side each consisted of 3 units of Aggressive Gallopers. One of Swedes and one of Scots mercenaries.
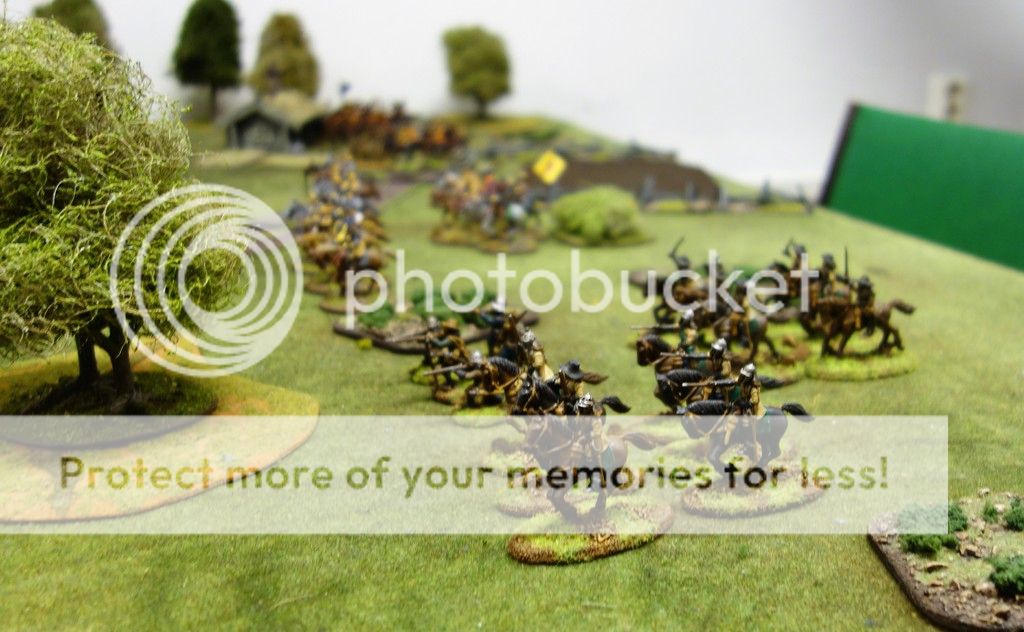 |
| The Swedish cavalry and commanded shot advance. |
In this game the victory conditions involved controlling as many of 3 objectives as possible for as long as possible. On the Swedish right flank, there was an objective in a village, while the centre had an objective on a hill.On the left there was a bridge that was also an objective.
 |
| The Scots cavalry rush forward |
 |
| The Tatars skirmish against charging Swedish cavalry supported by commanded shot |
In this the Flemish and Tatars were largely successful.
The Swedes quickly won control of the objective in the village, while the Flemish took the bridge. That left the central hill objective, and the fighting was most intense there.
 |
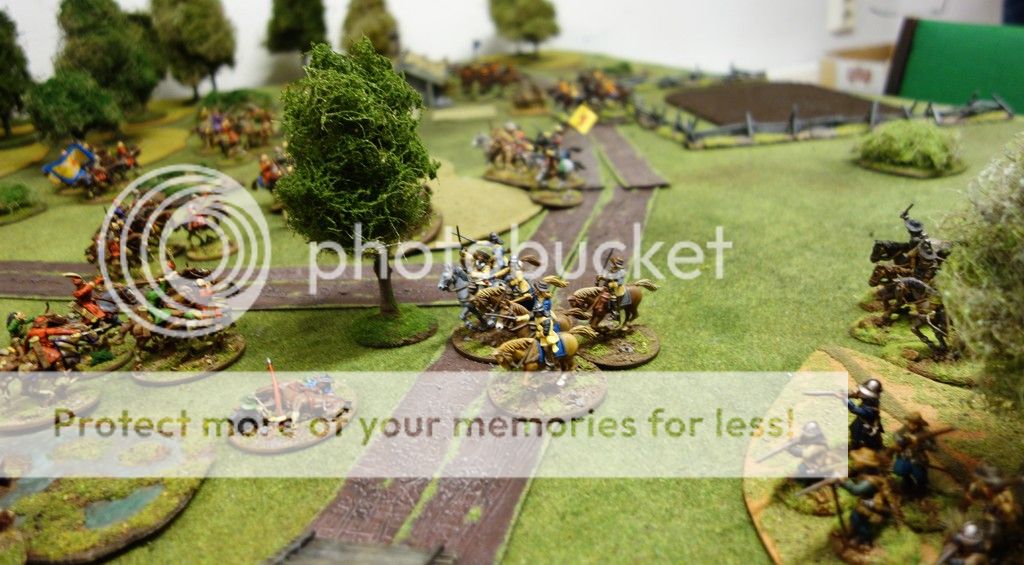
| Swedes and Tatars contest the central hill |
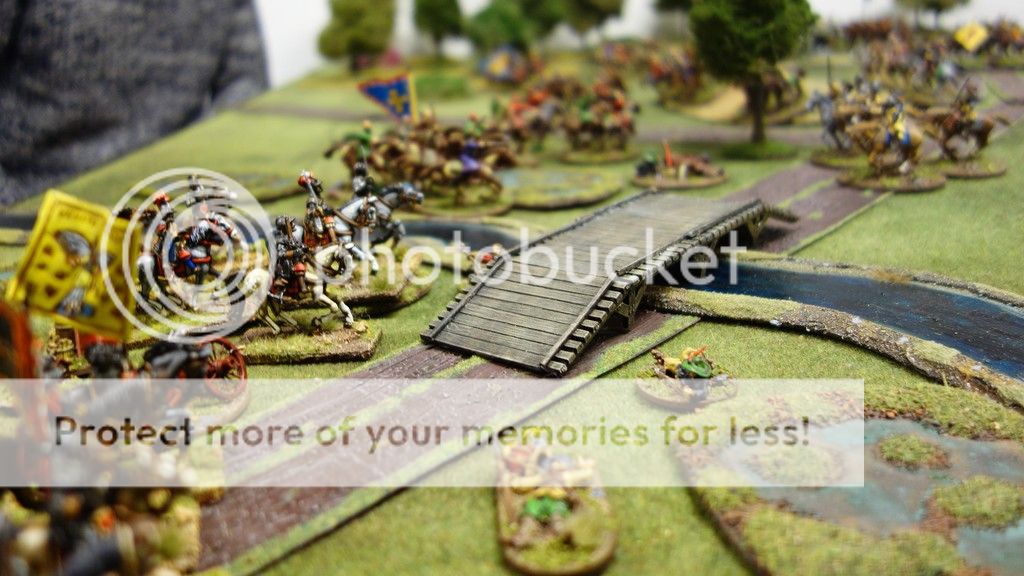 |
| The notorious Flemish Mercenaries approach the bridge. |
 |
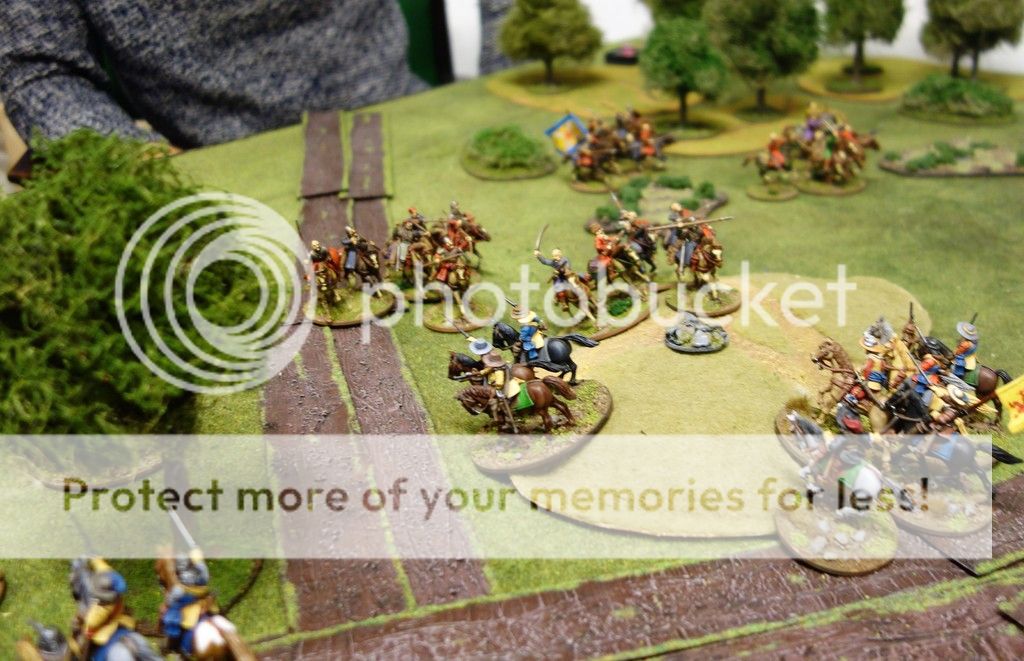
| The initial Swedish charge inflicts some losses on the Tatars, but is eventually repulsed with even greater losses to the Swedes. Darn.... |
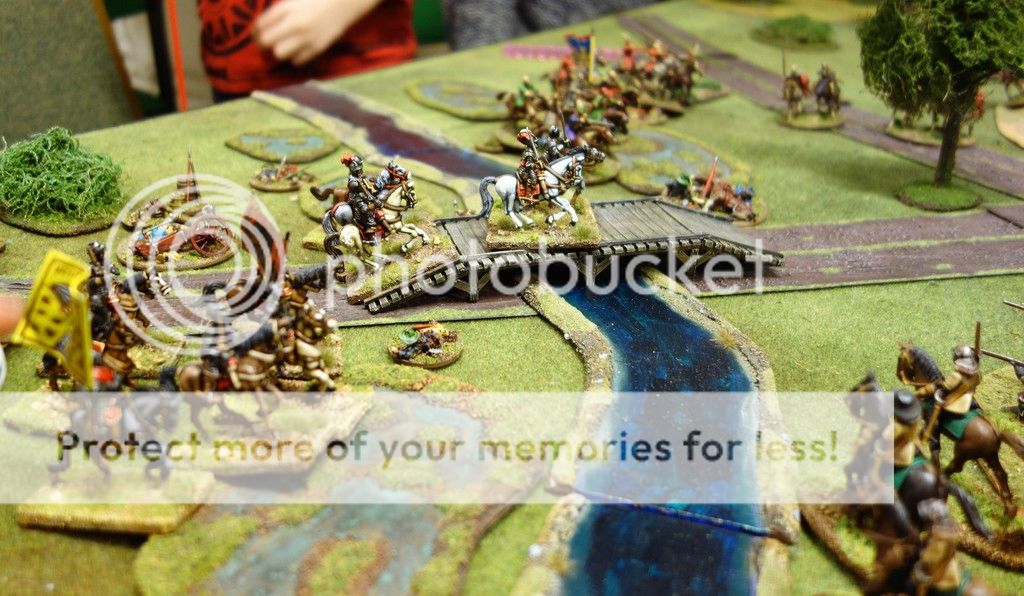 |
| Swedish Cuirassiers face their Flemish counterparts across the river. |
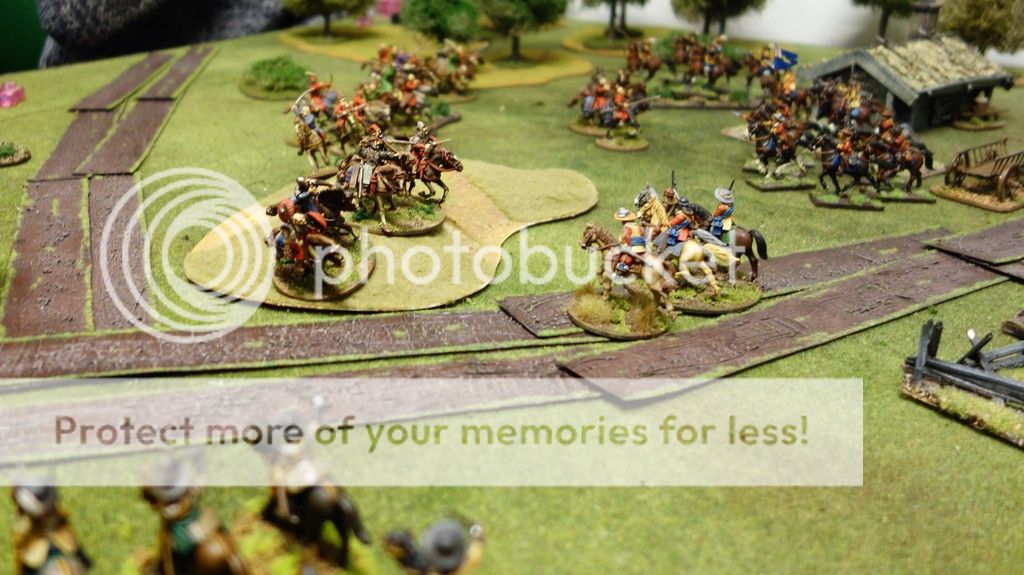 |
| The climax of the battle. The Tatars have secured the hill, but the Swedish cavalry prepares a final charge |
 |
| Henrik the Hammer charges the Tatars. it is the last attempt to turn the tide... |
Amazingly, it managed to survive some Tatar shooting, but the last survivors fell when the wily Tatars lured them into some bad going.
So this was indeed a Swedish defeat, although Henrik claims that it was a moral victory for him personally....
And yes, Henrik did survive, although he was wounded. He will recover in time for the next battle, though......
As ever, this was another fun game of Pikeman's Lament.
Exellent AAR !
ReplyDeleteYes, excellent AAR! Did you find any difficulty (say with activations?) with more than one player per side?
ReplyDeleteThanks.
DeleteIn this game, each player ran his own separate Company (so 3 each side), which simplified things a lot.The only thing was for the players on each side to discuss and decide on the order in which we wanted to activate our units if, for example units from two different players wanted to charge the same unit.
No problem as long as you're playing with reasonable people.
What a great report!! more please!
ReplyDeleteThanks. We'll see what we can do. We hope to get another game next week.
DeleteThe great and impressive report
ReplyDeleteThanks for sharing
I would also see more...