Musket Mayhem is our home-grown set of rules that a few of the club members are developing. Several previous posts on this blog have featured these rules already, and they are still far from finished, but we're getting there.
Here's a short AAR from one of our test games in a campaign using our new Austrian and Ottoman Turk armies set during the Great Turkish War, culminating in the siege of Vienna in 1683. This was the last major effort by the Ottoman Empire to conquer Austria. Some more historical background can be found here: The Great Turkish War and here: Vienna 1683.
The armies of the period were very colourful and the campaign of 1683 involved military units from all over Europe and the Middle East.
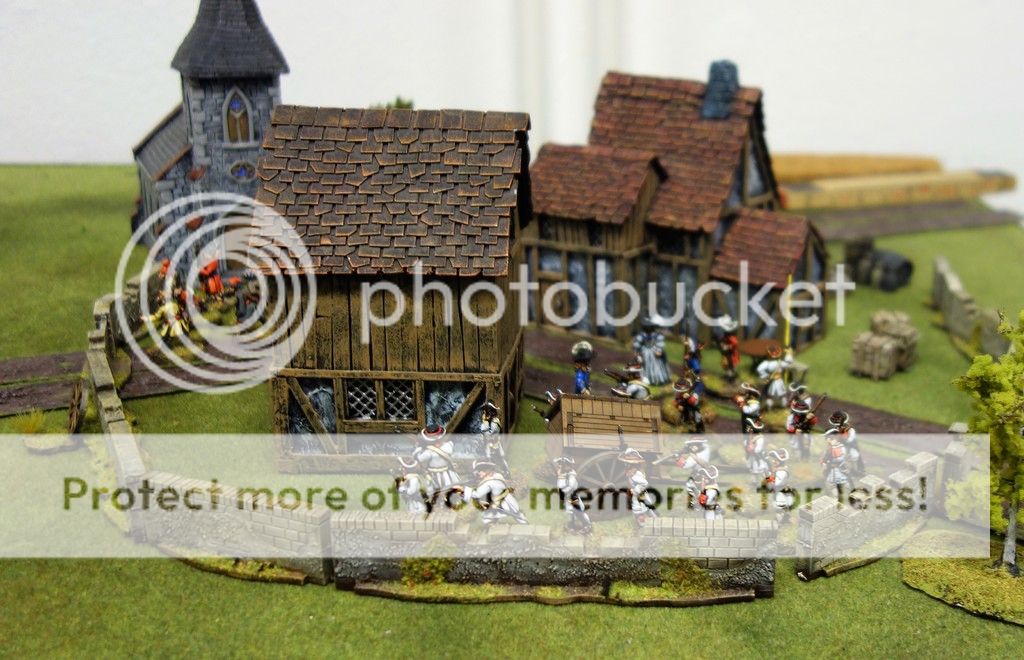
In this scenario, my Ottomans are attacking Jeppan's Austrian village. The village is protected by a small wall, not proper fortifications in game terms, and defended by a small garrison.
To complicate matters for the Turks, the Austrians have dispatched a relief force to aid their garrison. The Ottomans arrive at the village at the same time as the Austrian relief force. So the scenario is a race. Can the garrison hold off the attackers long enough for the relief force to arrive?
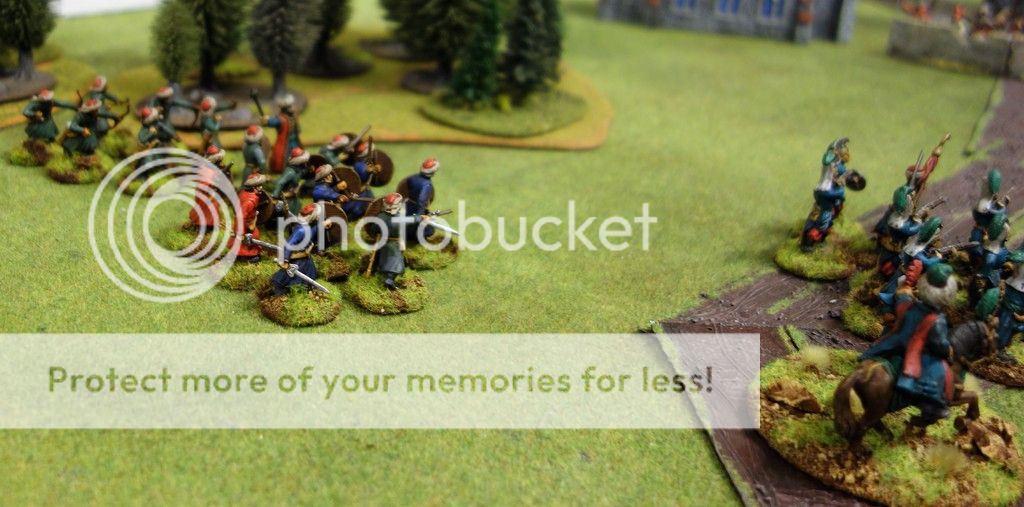 |
| Ottoman Siege Pioneer storming party supported by archers advance on the village |
 |
| Ottoman Janissaries lead the assault under the watchful eye of the commander |
- 2 Units of Musketeers
- 1 Unit of Light Musketeers (Skirmishers)
Austrian Relief Force
- 1 Unit of Cuirassiers
- 2 Units of Musketeers
- 1 Unit of Pikemen
 |
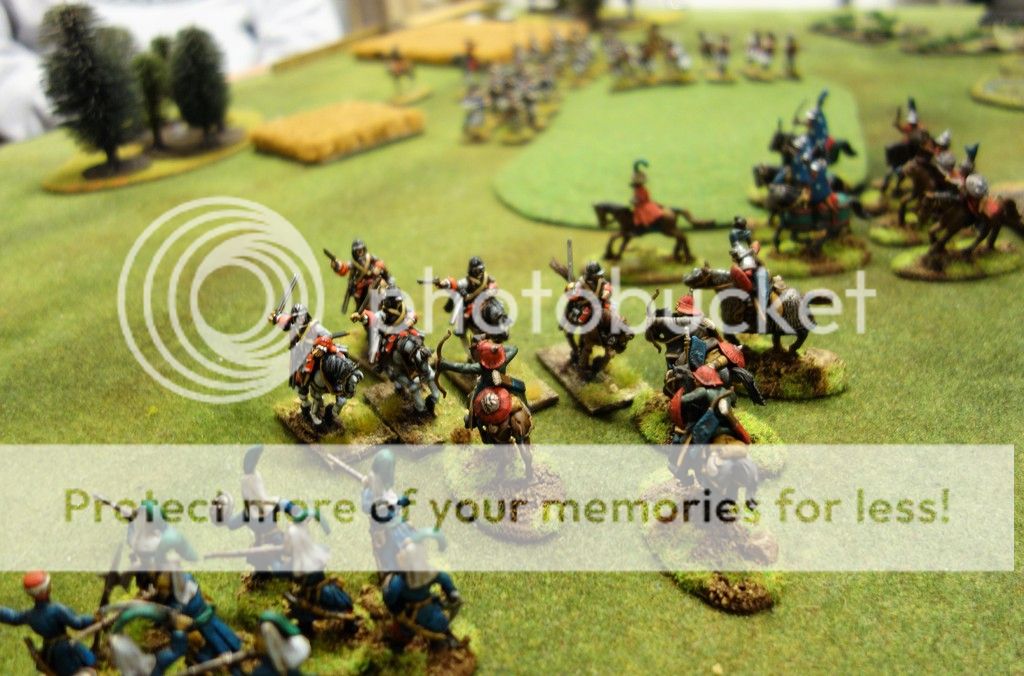
| Ottoman cavalry rush forward to protect the Janissaries' flank and delay the advance of the Austrian relief force. |
- 3 Units of Janissaries (primarily musketeers, but also close combat assault troops)
- 1 Unit of Siege Pioneer storming party (armed with melee weapons, pistols and grenades only)
- 1 Unit of Azab Light Archers (skirmishers)
- 1 Artillery Piece
- 1 Unit of Kapiqulu Spahis (Armoured Elite cavalry)
- 1 Unit of Tatar Light Cavalry (Skirmishers)
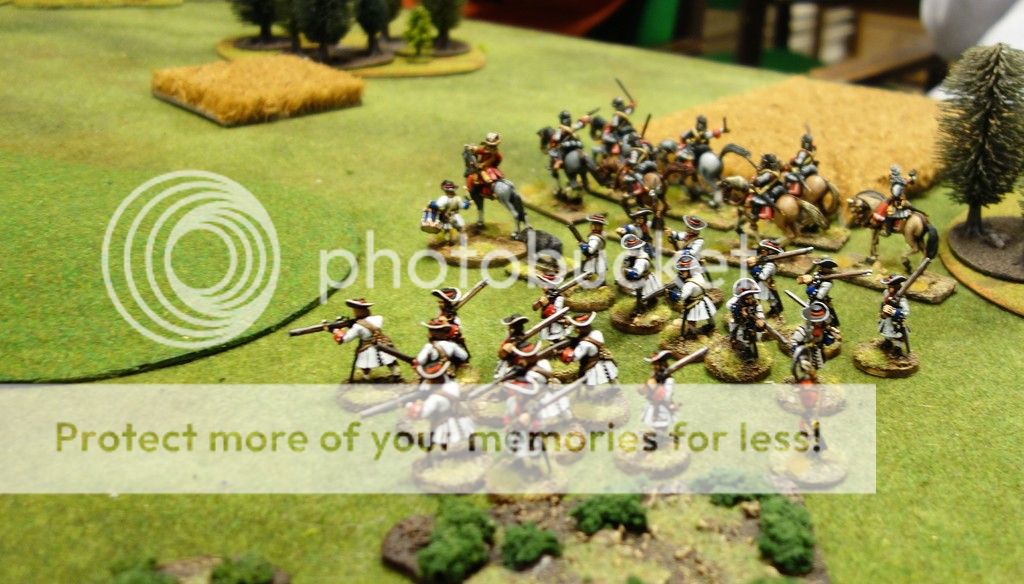 |
| The Austrian relief force on their way to intercept the Ottomans and save their comrades in the village. The Austrian commander is acccompanied by his pet pig. Who knows why? Odd people, the Austrians....... |
The village was on the Ottomans' left. The Austrian garrison deployed next to the village, while the relief force entered from the right flank.
My Ottomans could enter all along the long table edge. I chose to enter the infantry and the artillery opposite the village while the cavalry entered on right flank.
Our plan was to delay the advance of the Austrian relief force with the cavalry while the infantry rushed for the village. Not awfully subtle, admittedly. Bur if it works.....
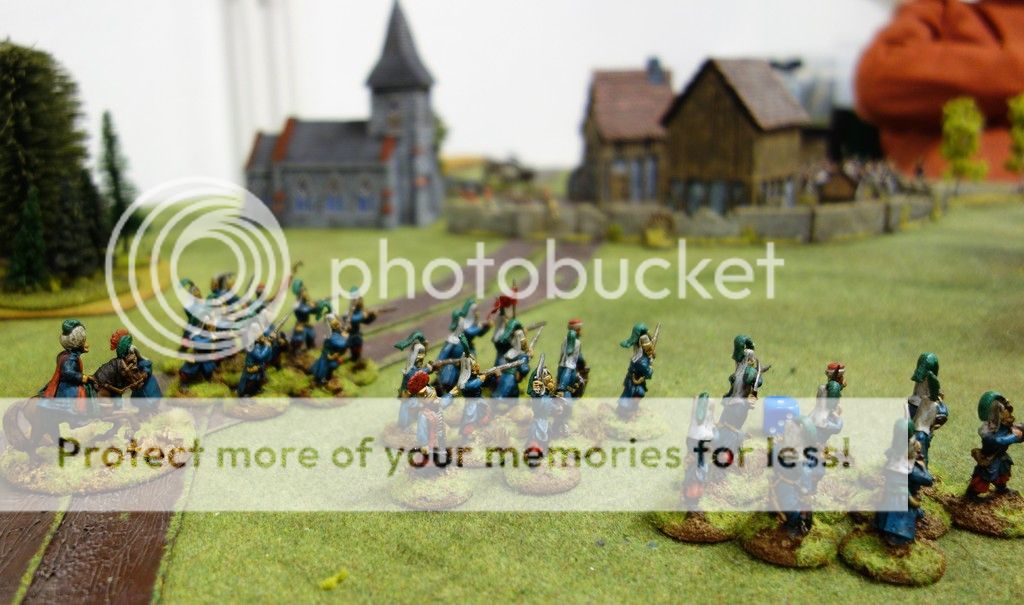
 |
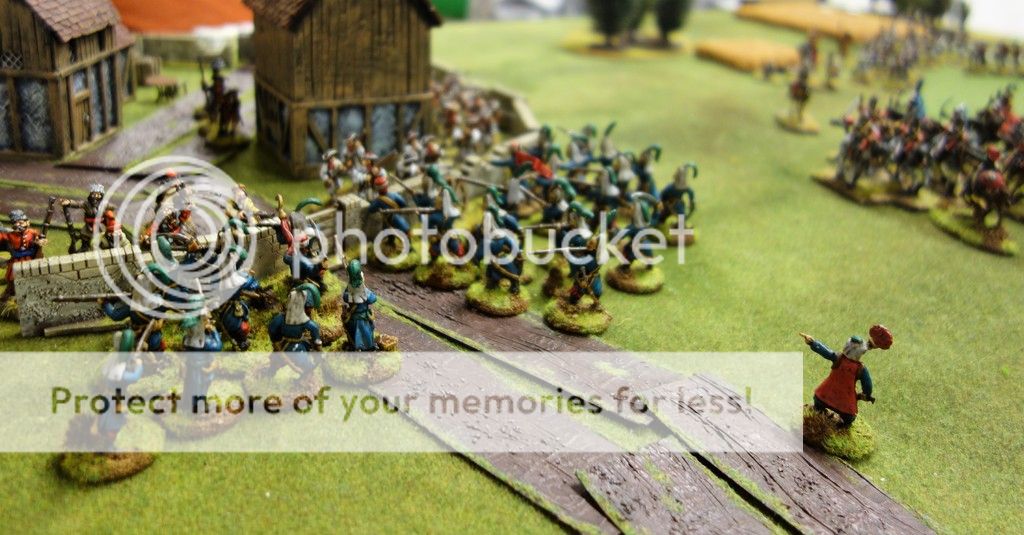
| The Janissaries advance as fast as possible towards the village. Will the Austrian relief force arrive in time to stop the Janissary steam-roller? |
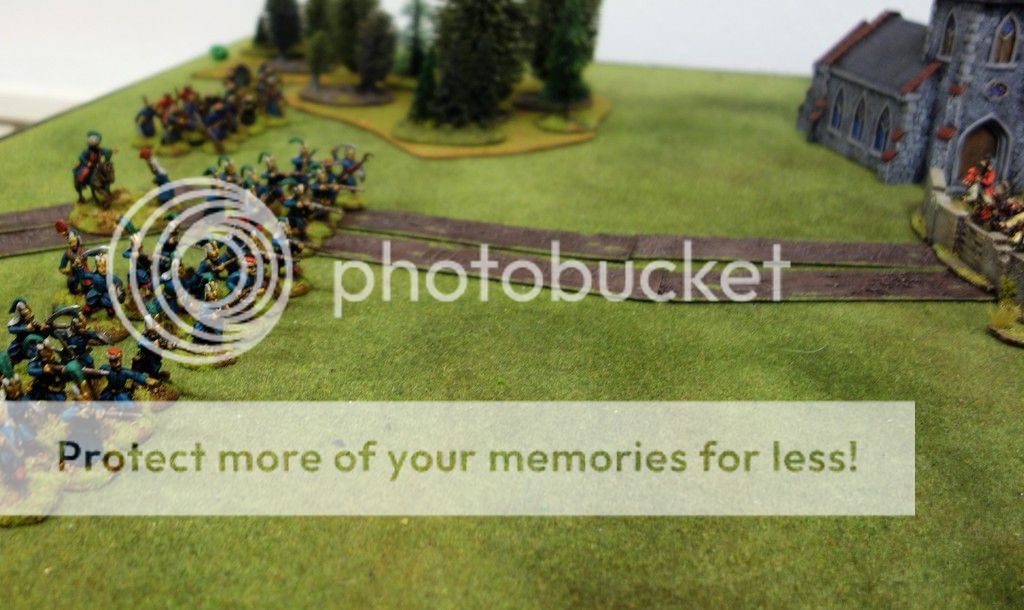
 |
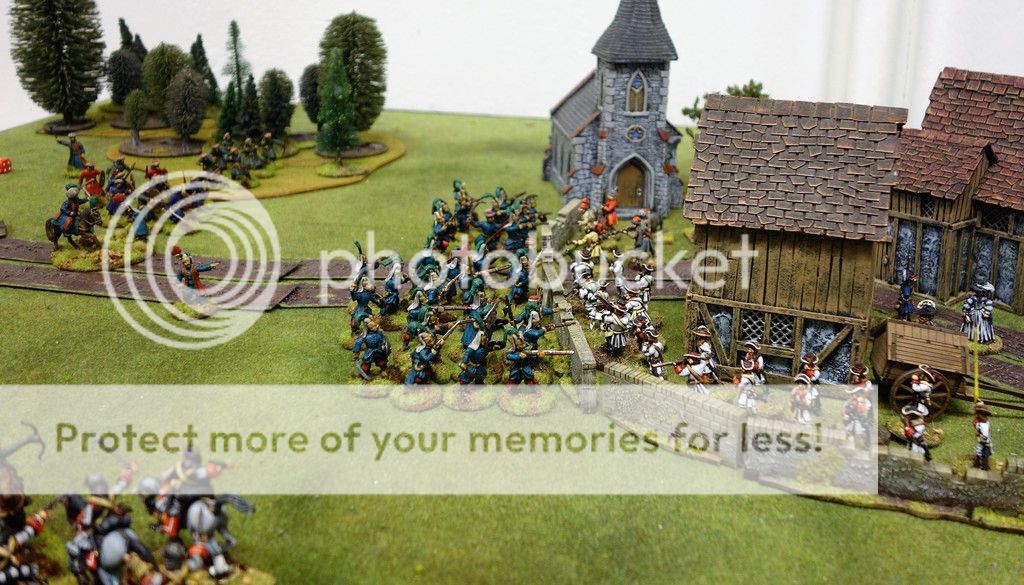
| The local Austrian garrison rushes to man the improvised defences before the Ottoman assault hits. |
Seeing this, the Ottoman cavalry commander wisely turned aside and sought cover behind a hill. The Tatar light horse is very fast and rushed out to skirmish against the Austrian cuirassiers.
The cuirassiers charged the Tatars and actually managed to catch their opponents.
 |
| The Austrian cuirassiers valiantly charge into the Ottomans' Tatar allies to clear the way for the Austrian infantry to reach the village. They inflict heavy casualties on the Tatars, but their reckless charge have carried them deep into the Ottoman force..... |
 |
| The Austrian cuirassiers are trapped as the Turkish Spahis charge in to relieve their Tatar comrades. The Turkish artillery struggle to keep up with the rapid advance. |
 |
| The climax of the fight. The Janissary assault crashes into the austrian units manning the village perimeter before the defenders have time to form a proper fighting line. Will the Janissaries' ferocity in close combat be enough to overcome the Austrian musketeers protected by the wall? The Janissary commander is 'leading' his troops from a safe position in the rear. The Pascha will have to discuss that with him later..... |
The end came very quickly indeed. The Ottoman cavalry charged into the ongoing cavalry melee in support of their Tatar comrades. The Austrian cuirassiers hung on grimly but were suffering heavy casualties, while the rest of the Austrian relief force were still much too far away.
 |
| Another view of the decisive attack. The Austrian musketeers are overrun as the Janissaries flood into the village and win the game. The Austrian relief force was too slow, and failed to stop the headlong charge of the Turks. |
In the event, the Janissary charge was successful and both of the defending Austrian units were eliminated. They did manage to eliminate one of the three Janissary units, but this was not enough. A lone Austrian musketeer unit was left facing two surviving Janissary units inside the village.
And with that the game was over with an Ottoman win.
The rules worked well, we think. But the scenario needs a little tweaking to give the defender's relief force a better chance of making it to the village in time. In this instance, they really did not have much chance to accomplish much.
A very bright, colourful looking game that sounded like a lot of fun.
ReplyDeleteThanks. And yes, it was a fun game with lots of maneuver and colourful units.
DeleteThe magnificent painting works, and the use of color.
ReplyDeleteGreat photos too.
East starts from the Balkans ...
Thanks. It was fun painting the Turks,as they have very colourful and varied dress.
Deleteframaroot
ReplyDeleteframaroot apk
videoder apk download
videoder for windows
videoder for pc
videoder for android
direct download links for each device is given.
ReplyDeletescreenshot mac os
I am looking for and I love to post a comment that 'The content of your post is awesome' Great work!