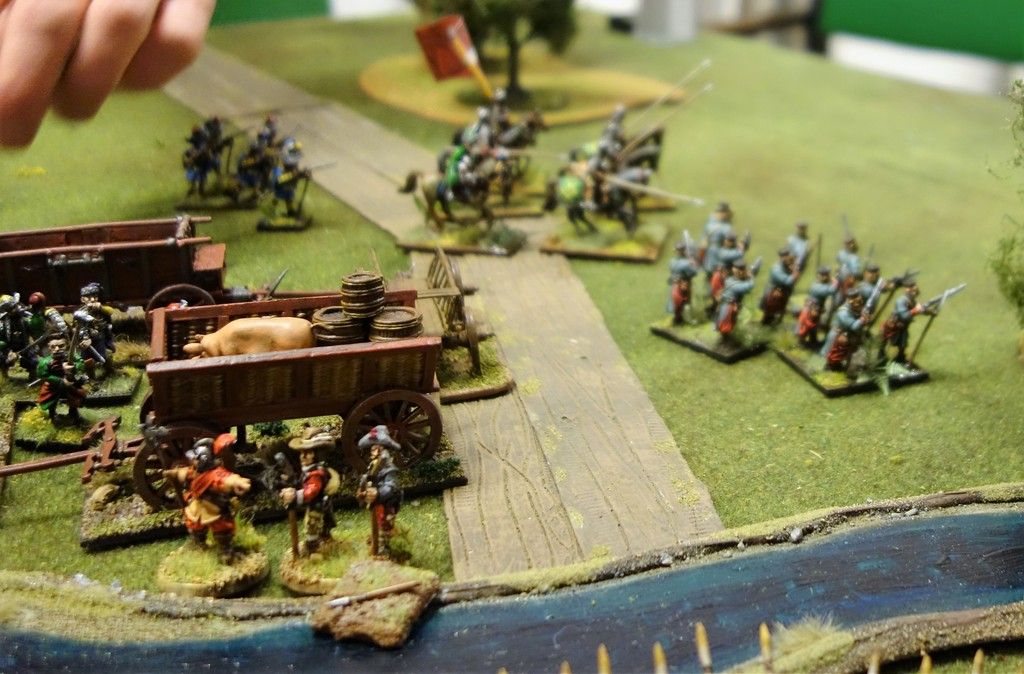
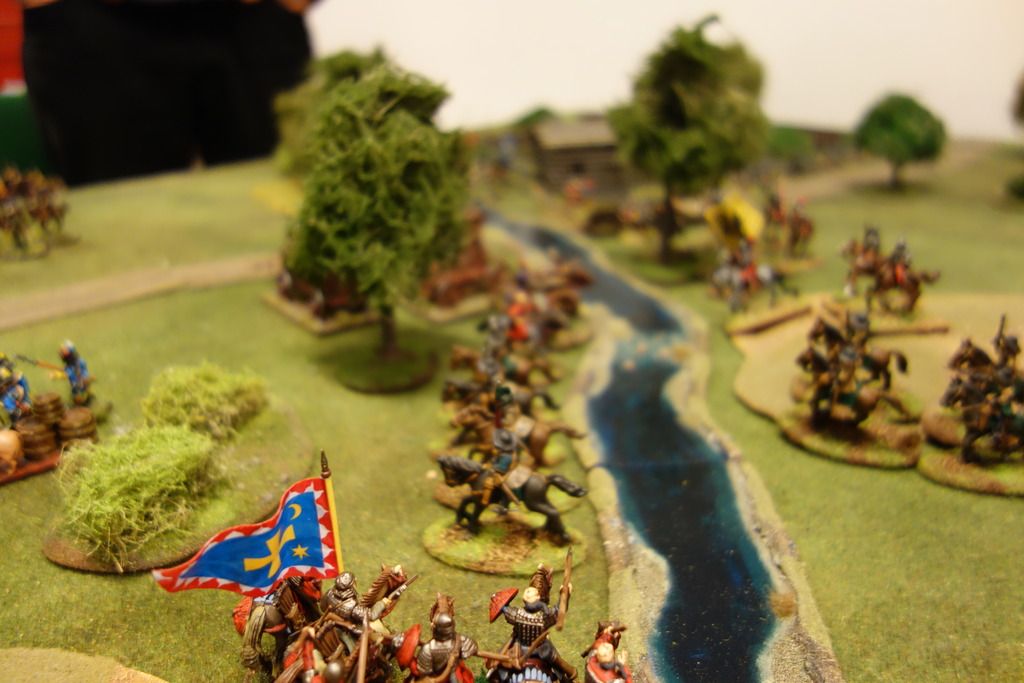
Earlier this week we had another most enjoyable game of Pikeman's Lament at the club. As usual this was part of our ongoing campaign set in 1625 during the Polish-Swedish War in the area of Kokenhausen in today's Latvia.
This scenario is called Defending the Supplies and featured the sneaky and underhanded Poles raiding a Swedish supply base. The supply base consisted of two lightly entrenched areas, each with 2 supply tokens. Each supply token was worth a variable number of Honour points. The Polish mission was to steal as many of these supply tokens as possible and carry them off-table to gain these Honour points, while the Swedes needed to stop them and retain control of the supply tokens, and thus the Honour points. The side with the most Honour Points at game end wins this mission.
 |
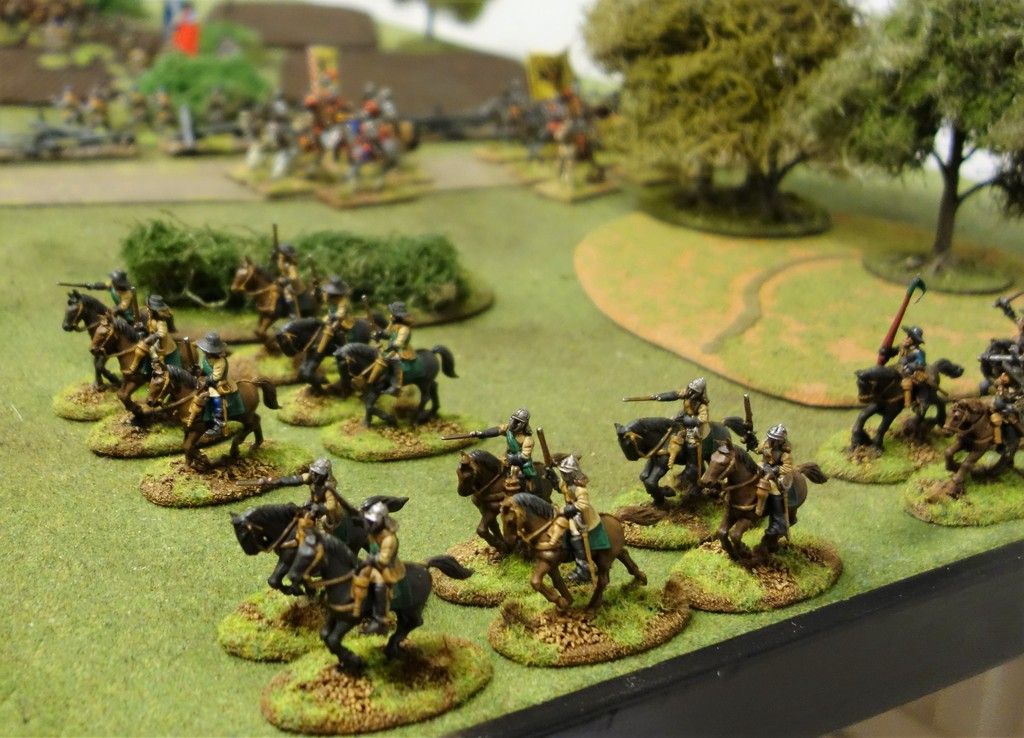
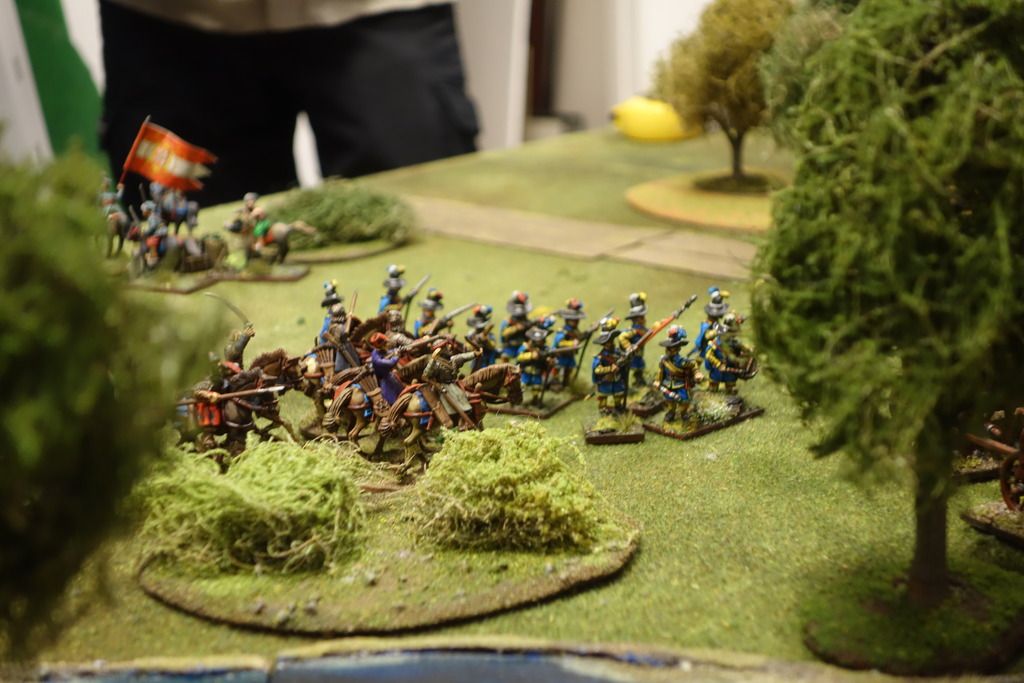
| The Västgöta cavalry contingent advances with the Flemish and Scots visible in the background. |
The Swedish and Polish main forces set up near the short table edges. The Swedish supply base was located in the middle of the table, slightly closer to the Polish short table edge, and defended by a couple of units of skirmish musketeers (Commanded Shot).
The Swedish force consisted of 3 Companies of 16 points each. The Polish forces had 2 companies of 24 points each (so 48 pts total per side, a fairly large game). After the recent string of glorious Swedish victories, the esteemed mercenary commander van Kökkenpanne had switched sides again and was now fighting for the Swedes.
The Polish Companies:
Hetman Shere Khan - Cossacks
3 x Heavy Cossack cavalry (Trotters in game terms) - One of which was led by the Hetman
2 x Light Cossack cavalry (Veteran Dragoons)
Shere Khan is actually a Tartar, but for some reason his Polish employers insist on calling him a Cossack. This annoys him immensely, but what can one do?
Rotameister Kowalski - Poles
1 x Haiduk Forlorn Hope (Aggressive Forlorn Hope) - led by Kowalski himself
1 x Pancerny lancers (Gallopers)
1 x Reiters (Trotters)
1 x Krakow Militia Musketeers (Shot)
1 x Haiduk Musketeers (Veteran Shot)
The Swedish Companies:
Captain Henrik 'the Hammer' - Västgöta Ryttare & attached units
1 x Västgöta Ryttare (Elite Gallopers) - led by Henrik
1 x Mercenary German Reiters (Trotters)
1 x Krak's Djurskyttar (Veteran Dragoons)
Lieutenant Darrcounter - Mackays Regiment of Scots
1 x Pikemen (Pike) - led by Darrcounter
1 x Lancers (Aggressive Gallopers)
1 x Borderers (Trotters
2 x Skirmishing Musketeers (Commanded Shot)
Lieutenant van Kökkenpanne - Flemish Mercenary Company
2 x Skirmishing Musketeers (Commanded Shot) - defending the supply base
2 x Flemish Curassiers (Elite Trotters) - one of which was led by van Kökkenpanne
As the Swedes needed to move fast to intercept the Poles, I chose to field an entirely mounted force for the Västgöta contingent.
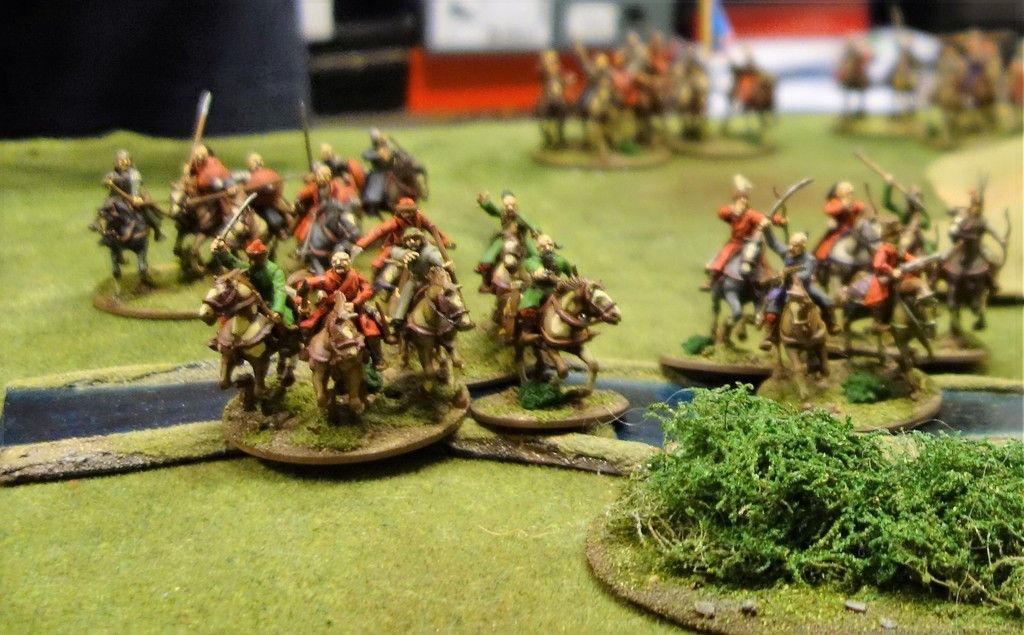
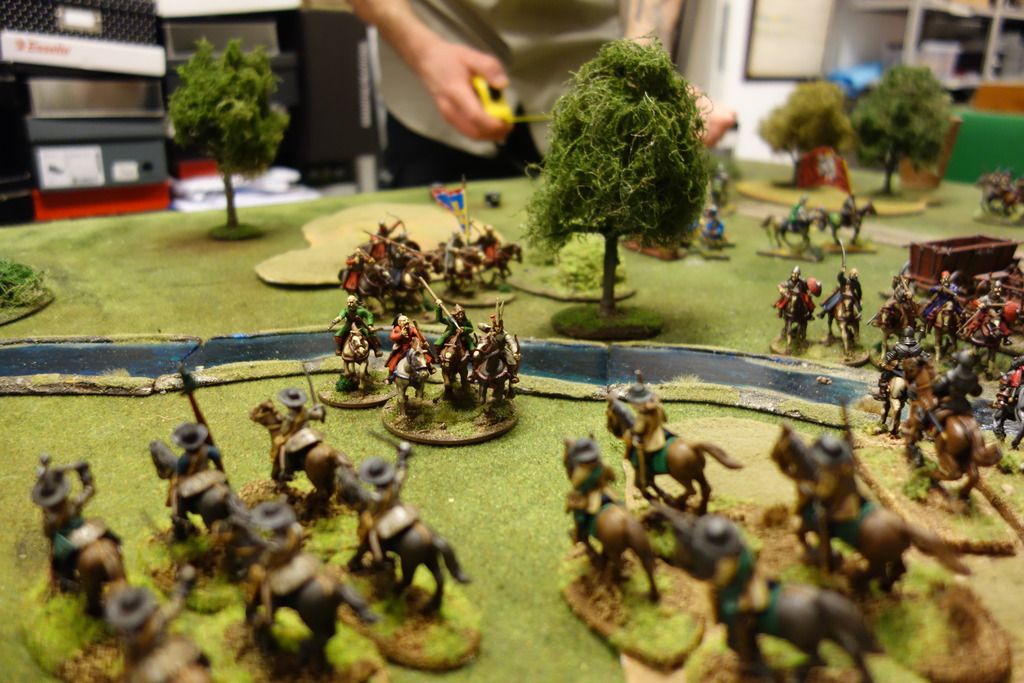
The Cossack command was deployed on the more open flank while the Rotameister's Poles deployed the opposite the closest of the Swedish supply bases.
 |
| The Cossacks are coming! |
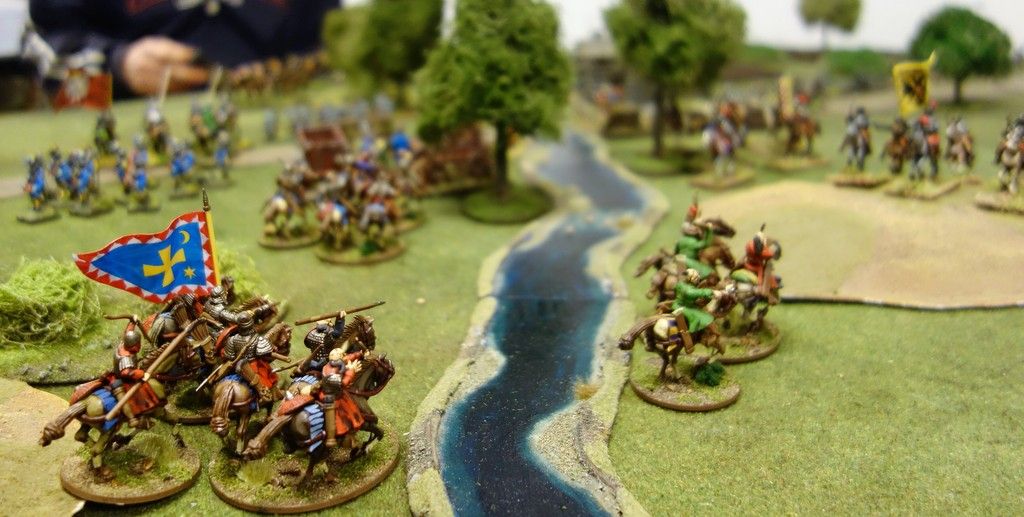
The Swedish force deployed with the Flemish Curassiers in the centre, the Västgöta Ryttare on the left flank (facing the Cossacks) and the Scots on the right flank (facing the Rotameister's force).
 |
| The Flemish Curassiers advance down the road. |
So the scenario was basically a race with Poles dashing in to eliminate the small supply base garrison and carry off the supplies as the Swedes rush to stop them.
As attackers in this mission, the Poles moved first. Both sides enjoyed fairly good command dice so both armies moved forward quite quickly.
Very soon the Poles were in range of the first supply base and prepared to assault the lone Flemish Commanded Shot unit defending it. But the brave Flemish fired first and managed to hit the Polish Reiters and force them to fall back in disarray. So first blood to the good guys!
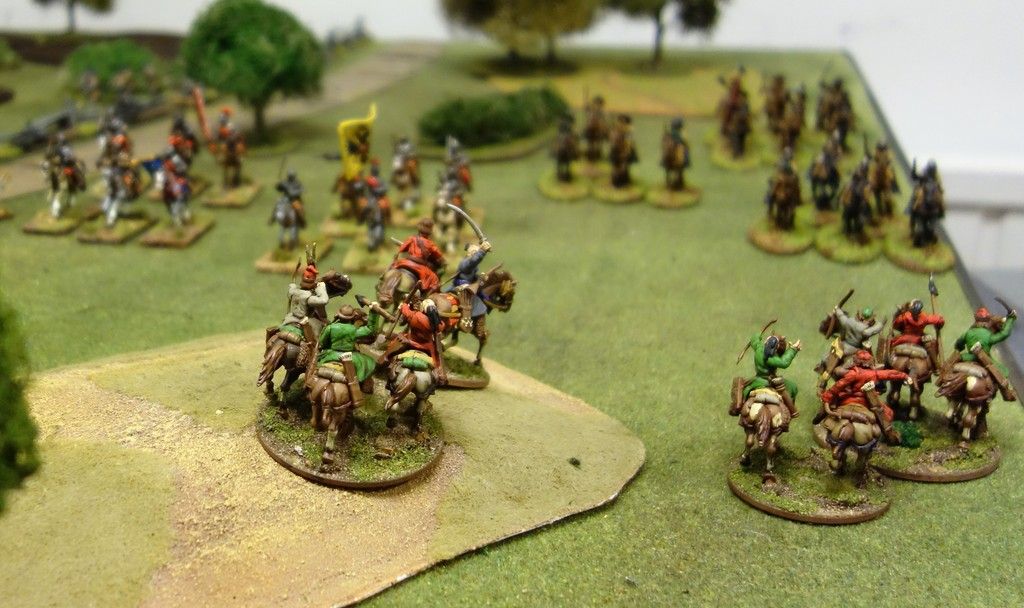
Meanwhile the Cossacks surged across a small stream to engage our hero Henrik's Västgöta units and a long range duel broke out between the Cossack light horse and the Swedish Dragoons and mercenary Reiters.
 |
| Cossack light cavalry skirmishing against the Swedish and Flemish horse |
On the Swedish right flank the Scots moved forward while the Poles prepared to asssault the supply bases. All in all, it was quite tense race.
The doughty Flemish muskeeters in the first supply base had forced back the Polish Reiters, but were then assaulted by the Haiduk Forlorn Hope and forced out of their position.
 |
| The cavalry battle rages on |
Still, they managed to inflict some losses on the Rotameister's best unit. Unfortunately the Polish Reiters quickly rallied and rushed forwad to steal one of the supply items and started to move off with it as the rest of the Polish contingent surged forward to try and assault the second supply base before the Flemish and Scots intervened.
On the Swedish left flank, the Västgöta contingent's Dragoons and Reiters took some losses fighting the Cossack light cavalry, but managed to inflict even more severe losses on their opponents and forced them back. The Cossack commander reacted to this by sending forward a couple of his heavy cavalry units to support the failing light Cossack units.
 |
| The Cossacks are being forced back by the Swedish Västgöta cavalry and the Flemish Curassiers |
The Poles in the centre and on the Swedish right flank then sent in their main assault on the second Swedish supply base using the Haiduk Forlorn Hope and the Haiduk Musketeers supported by the Militia Musketeers, while the Polish Pancerny guarded the flank against the crafty Scots who had sent the Reiters and the Scots Lancers around the flank and were now in a position to seriously threaten the main Polish assualt from the flank as the Scots infantry held the centre. The Flemish Curassiers were now in position to start engaging both the Cossacks and the Polish infantry with their deadly caracole pistol volleys.
Meanwhile the sneaky Polish Reiters ran off the table with the first supply token. Darn.
 |
| The Krakow militia rush forward to put pressure on the second Swedish supply base as the sneaky Polish Reiters in the background ride off with the first supply token |
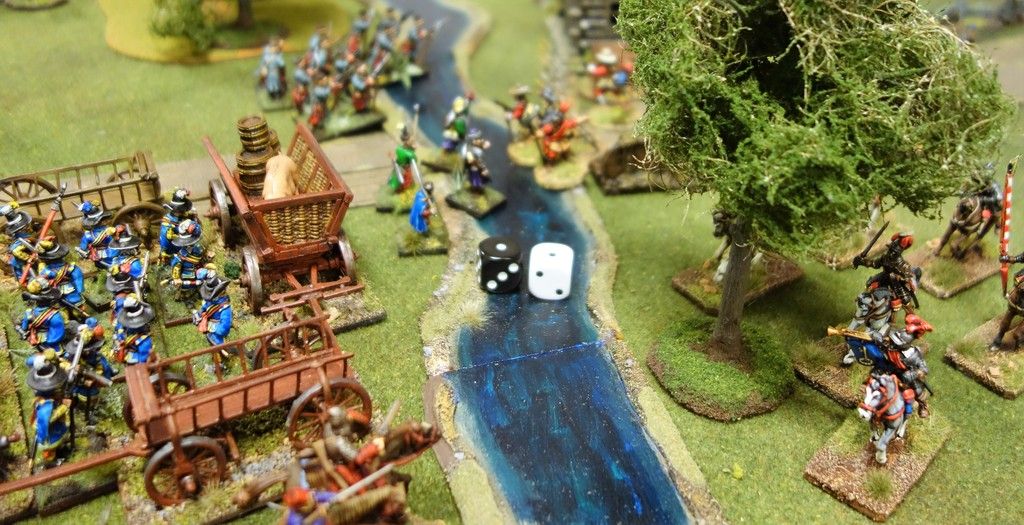
And now came the climax of the battle. The Polish Haiduks forced the second Flemish Commanded Shot unit to fall back with heavy losses as the Haiduk Forlorn Hope advanced into the small stream to assault the second Supply base. But then the Flemish Curassiers delivered a devastating salvo and decimated the Haiduk Forlorn Hope, hitting the Rotameister himself and forcing the Haiduks to flee. At this point the assault stalled and the Cossack commander started sending uncomitted heavy cavalry to help in the centre.
 |
| Die Roll of Doom! Rotameister Kowalski is knocked out by a pistol volley from the Flemish Curassiers. |
And then the Cossacks suffered a comparable major loss as a horrible command die roll by the Polish Cossacks left one of their heavy cavalry units disrupted in front of the Västgöta cavalry.
 |
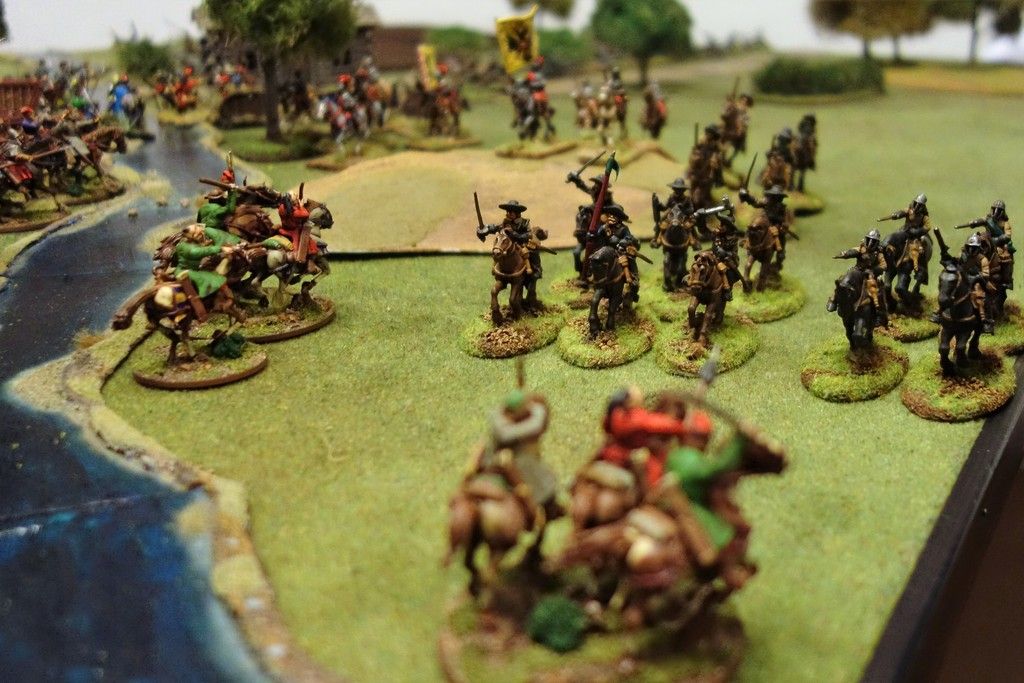
| Hammered! Västgöta Ryttare has just utterly destroyed a Cossack unit of Heavy cavalry and is just about to charge the hapless Cossack light horse. This is going to hurt..... |
Henrik 'the Hammer' seized this opportunity to live up to his name and immediately charged the unlucky Cossacks with his Västgöta Ryttare and utterly destroyed it.
 |
| Another view of Henrik's glorious charge. |
He then impetuously charged on to engage one of the remaining Cossack light cavalry units. This second unit managed to evade slightly, luring the Swedes into the bad terrain of the stream. Still, the Västgöta cavalry managed to win this fight too and found itself on the other side of the stream were it was fired on by the remaining Cossacks and suffered som casualties.
Sensing a looming disaster, the sneaky Krakow Militia Musketeers picked up the second supply taken from the first supply base that had been overrun earlier and ran for the table edge to at least gain some loot.
 |
| Repulsed! The Polish infantry attack stalls as the Scots menace the Polish flank and the Polish Forlorn Hope are decimated and forced back. |
The Scots mounted troops then attacked from the flank to stop the Krakow militia both from escaping with the supply token and to keep the momentum of the attack going. At the same time, the Haiduk Musketeers were hit by several volleys and wavered.
 |
| The final push. Depleted Polish infantry make a last desperate attempt to secure the second supply base. It's not enough |
The Scots Reiters attacked the Krakow Militia and forced them to drop the precious supplies. At the same time, the Scots lancers charged and destroyed the few remaining Haiduk Forlorn Hope and then continued on to strike the Haiduk Musketeers and took them out of the game.
Henrik withdrew the depleted Västgöta Ryttare back across the stream to get away from the Cossack firepower and brought up the Dragoons and Reiters to continue to wear down the enemy, while the Flemish Curassiers continued to pour salvoes into the reeling Cossacks.
Poles managed to drive off the Scots Reiters and regain control of the contested supply token and carry it off table while the remaining Cossacks and Poles continued to suffer serious casualties.
 |
| The end is near. Polish infantry take another supply token off table as the Swedish, Flemish and Scots apply increasing pressure. |
As the Poles managed to carry the supply token off table we decided to end the game. The Poles were clearly not going to be able to capture any more supplies and were under increasing pressure, so we assumed that the remaining Polish forces would withdraw.
So in the end, the Poles had managed to grab two supply tokens, while the Swedes retained control of two others. It so happened that the Supply tokens the Poles had taken were worth a total of 5 Honour points, while the supply tokens kept by the Swedes were worth 6 Honour points.
So the participating Swedish Companies gained 6 Honour points each, while the Polish Companies received 5, making this a Swedish victory by the slimmest of margins.
But, slim or not, it was another glorious victory for the forces of His Majesty the King of Sweden.
In the aftermath of the battle we needed to determine the fate of Rotameister Kowalski who had been knocked out during the game. And after some die rolling, it turned out that the Rotameister's tribulations on this day did not end by being hit by a pistol ball. The Rotameister was trying to escape while disguised as a nun, but this turned out to be a bad choice of disguise. An observant patrol of Västgöta cavalrymen spotted a portly and limping 'nun' with a rather extravagant moustache. Further investigation revealed the Rotameister's true identity, and he was led off to captivity by amused Västgöta troopers. The Rotameister was not amused, but allowed to ransom himself a few days later (losing most Honour points he had gained in the battle). By some miracle he was promoted anyway and gained the ability Patient. This allows him to have one of his units ignore tests for uncontrollable charges.
Henrik 'the Hammer' is more than satisfied with his day's work, having led a successful cavalry charge and gotten very close to another promotion.
van Kökkenpanne and Darrcounter were also well pleased. van Kökkenpanne was promoted and gained a new ability that allows him to automatically activate one unit for a Shot action, while Darrcounter's promotion gave him an ability that makes him a fearsome opponent in personal duels.


