Sunday, October 23, 2016

Battle of Wallhof 1626

A little while ago the club members got together to play another game using the upcoming Pikeman's Lament rules. This is part of our ongoing campaign set in the Swedish-Polish War of the 1620s, just before Swedish entry into the Thirty Year´s War.
This time we modelled the battle after the historical Battle of Wallhof on January 7, 1626.
More information can be found here: Battle of Wallhof
The Swedish Army under King Gustav II Adolf has decided on an assault on the Polish army camp. This takes the Poles by surprise, but they nevertheless manage to form line of battle behind a gently sloping ridge.
The Swedes approach the camp in battle formation and the battle became a fight for the ridge line. In the historical battle both sides´ forces consisted largely of cavalry, and we tried to portray this in our refight, although we probably used too much infantry on the Swedish side.
 In the historical battle the Swedes scored a major victory and for the first time the reformed Swedish cavalry managed to beat the formidable Polish cavalry with the support of detached bodies of musketeers integrated into the cavalry formations.
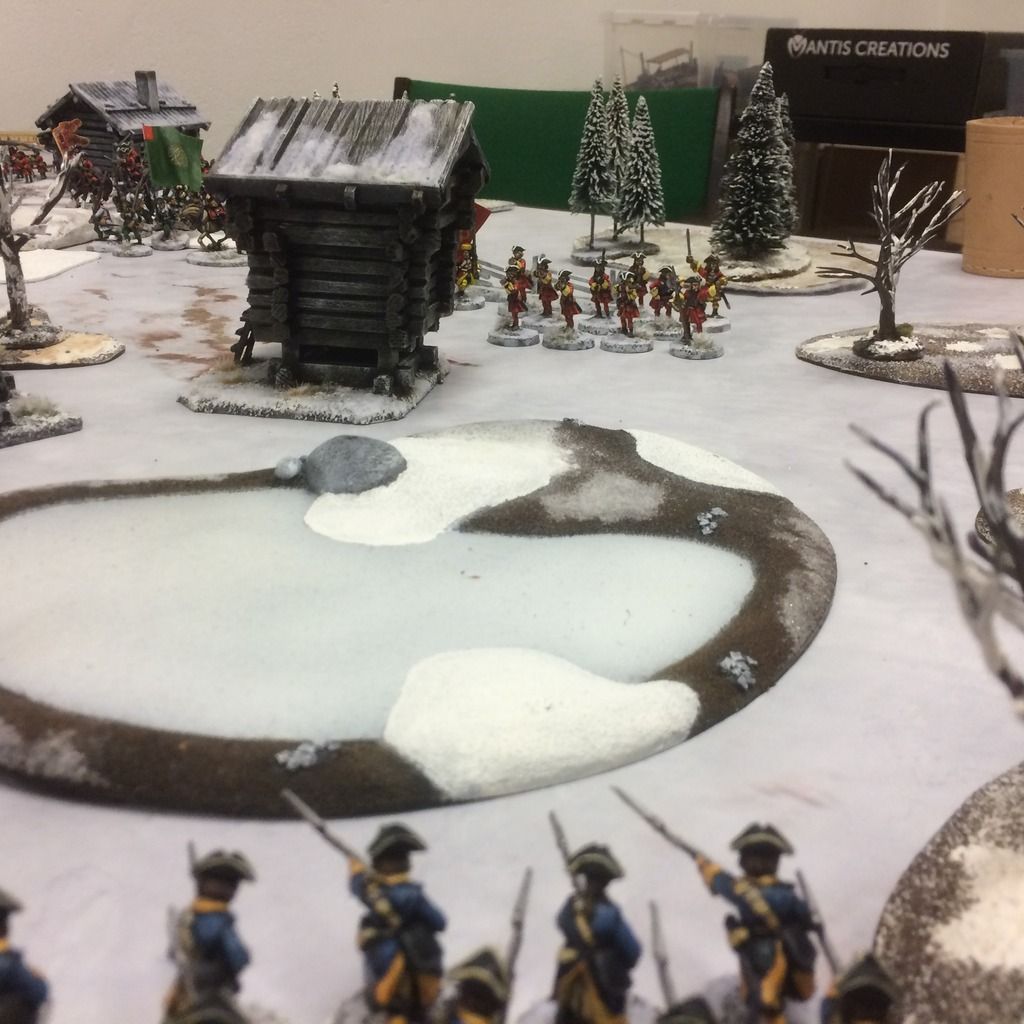
For our refight Dalauppror, who also designed the scenario, had built a really nice looking ridge line using our winter terrain pieces and a winter mat.
The victory conditions of the scenario were simple: force the enemy to withdraw.
The Västgöta Company deployed on the Swedish right wing.

Swedish Forces

Left Flank - Flemish Mercenaries, Captain van Kökkenpanne
2 units Elite Trotters (Cuirassiers)
1 unit Pikes
2 units Shot

 Centre - Scots Mercenaries, Captain Darrcounter
2 units Aggressive Gallopers
1 unit Pikes
2 units Shot

Right Flank - Swedes, Captain Henrik the Hammer
1 unit Elite Galloper
1 unit Trotters
1 unit Dragoons
1 unit Forlorn Hope
2 units Commanded Shot

The Scots Company in the centre with pikes supported by musketeers and cavalry in reserve.

Polish Forces

Left flank - Lihuanian Tatars, Rotmistrz Shere Khan
3 units of Trotters
3 units of Dragoons

Centre - Poles, Rotmistrz Janosz Kowalski
1 unit of Agressive Elite Gallopers (Hussar)
2 units of Elite Gallopers (Panczerny)
1 unit of Veteran Shot (Krakow)

Right Flank – German Mercenaries, Rittmeister Werner von Vögeli
4 units of Elite Trotters (Cuirassiers)
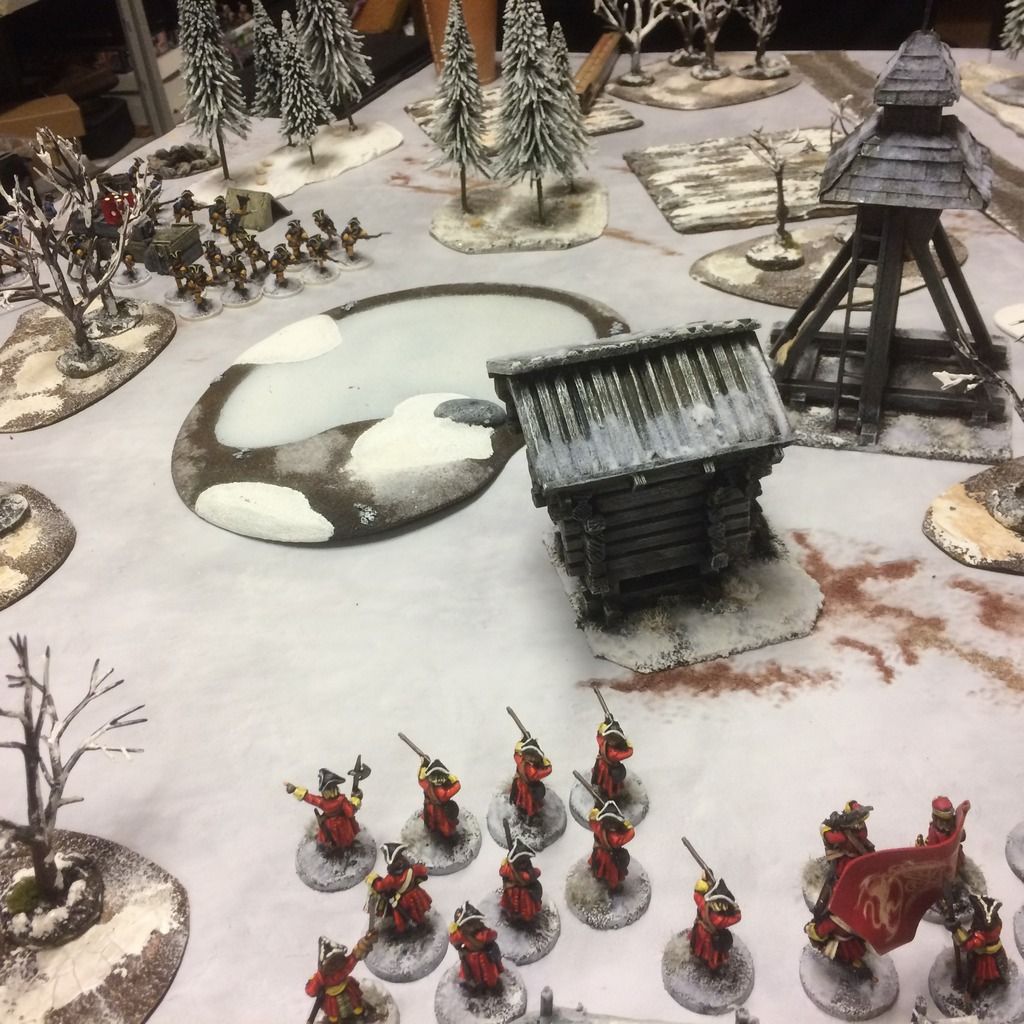
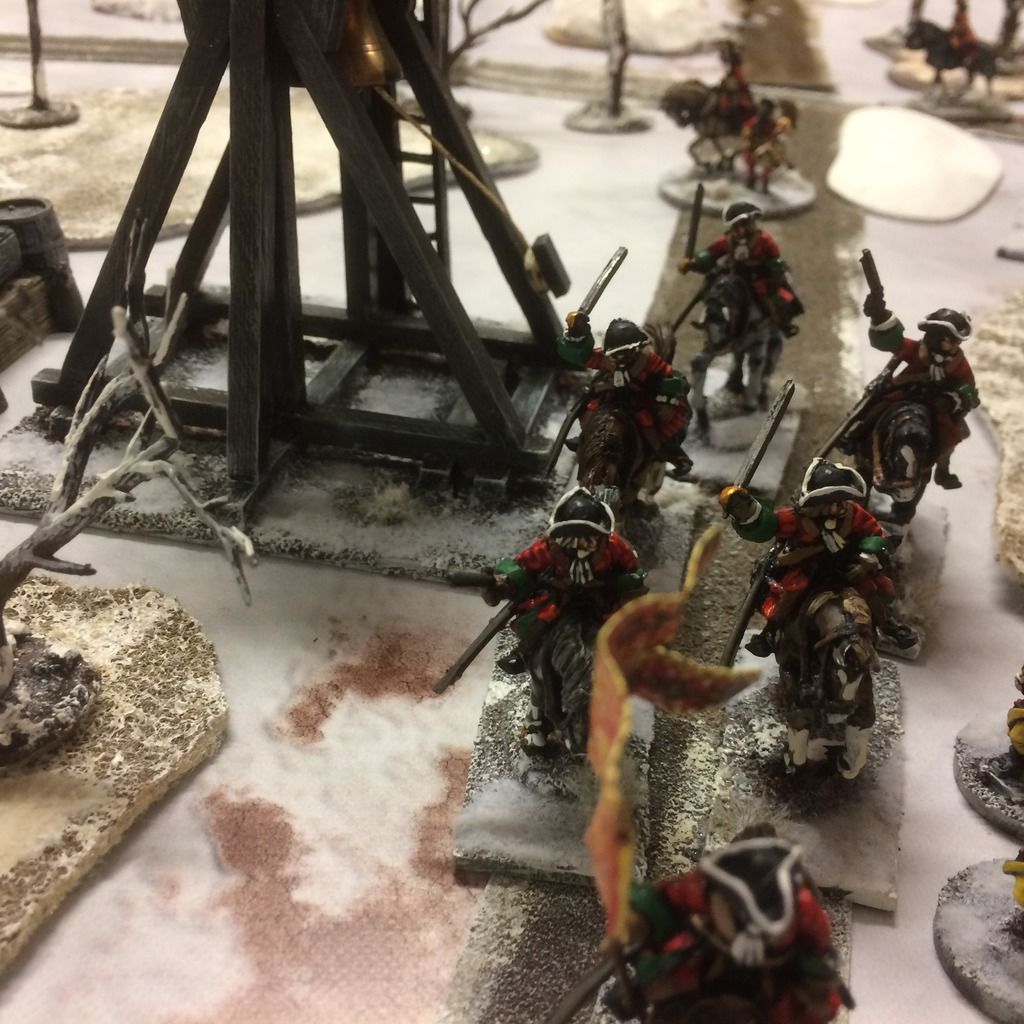
The Poles had enlisted a Tatar horde facing my Västgöta Swedes on the Swedish right wing.

Opening Moves

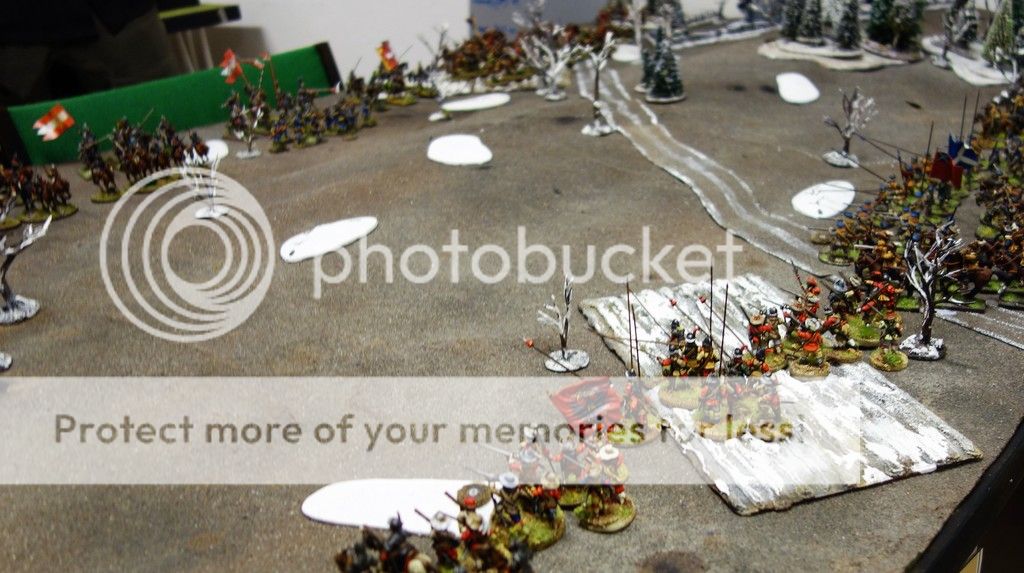
The Swedes moved first and basically moved forward in a line onto the slop of the ridge. On the right flank my Västgöta contingents sent the Forlorn Hope and skirmishing musketeers into the woods to prevent the Tatars from dominating the only extensive terrain providing cover.
The Polish host rolled forward on their side of the ridge and sent some units up onto the top of the ridge to engage the Swedish units on the other side.

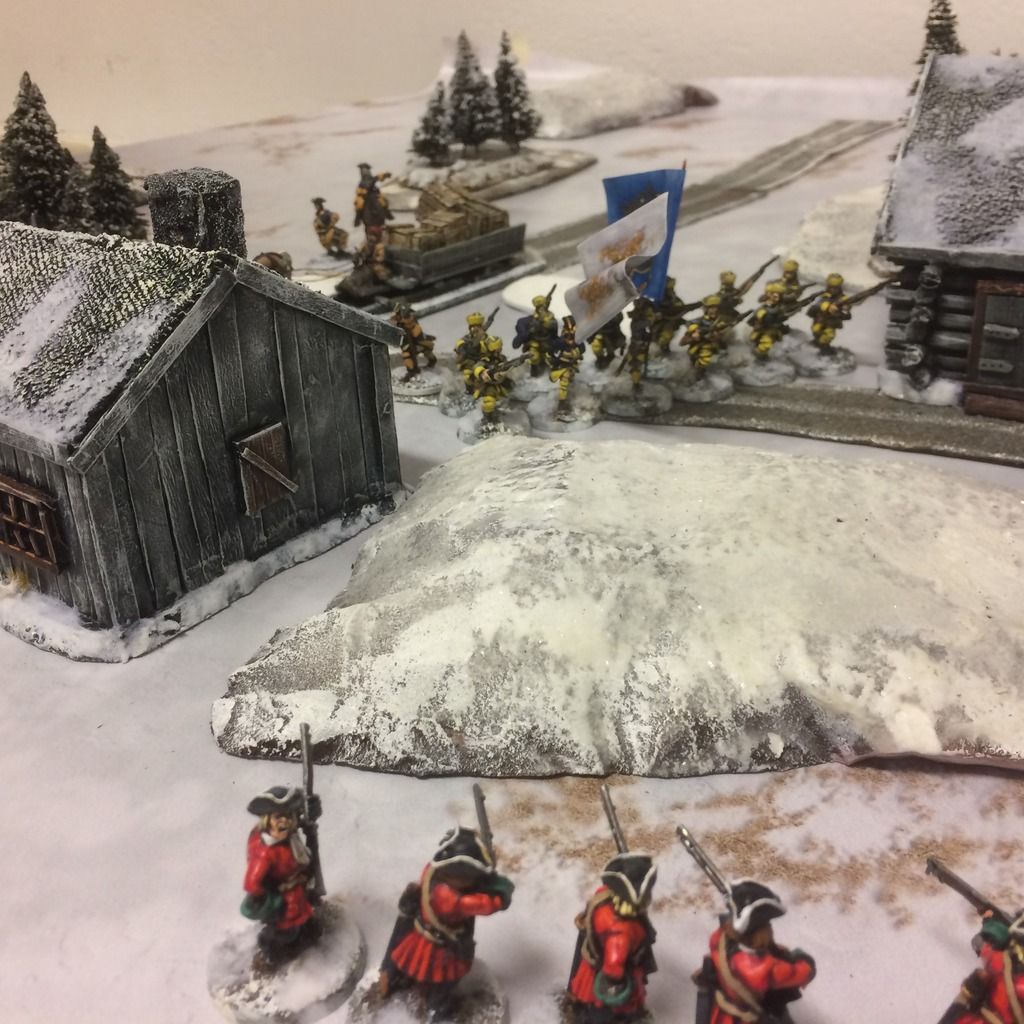
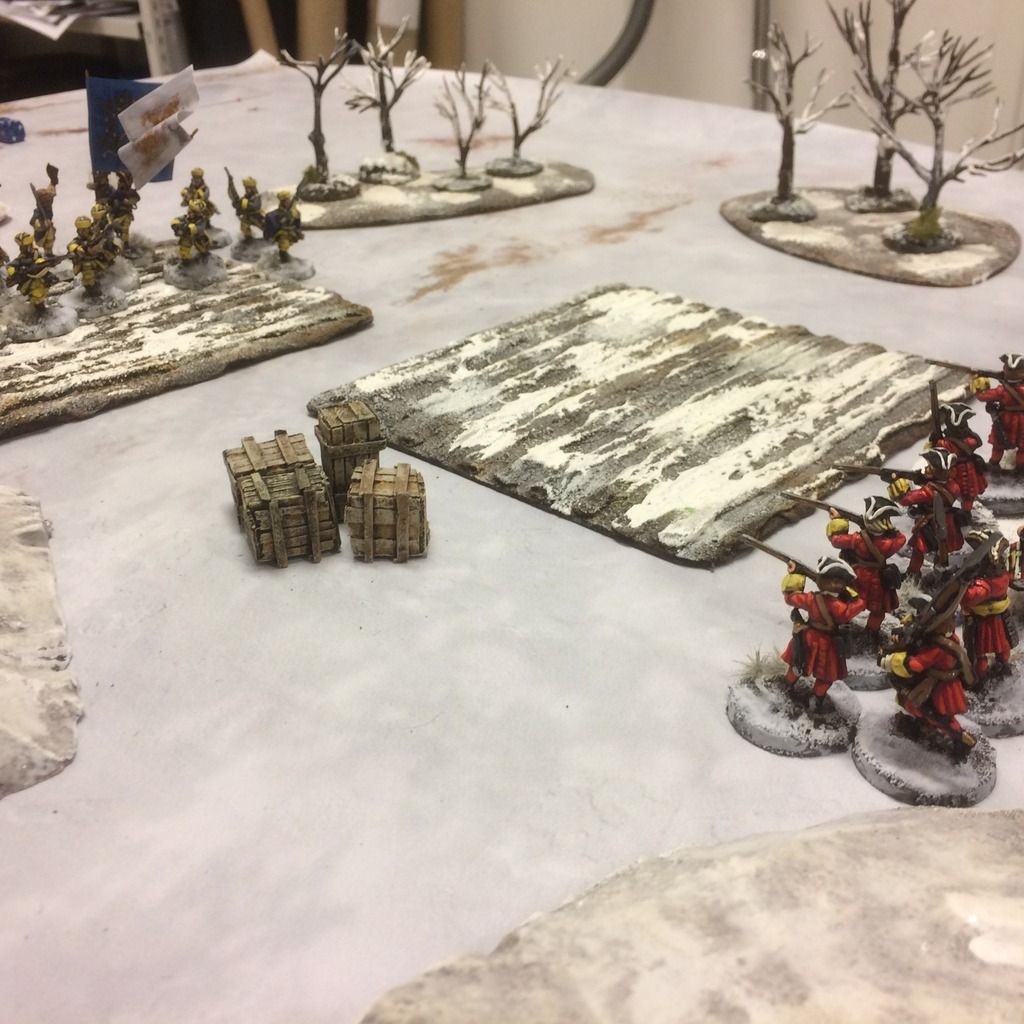
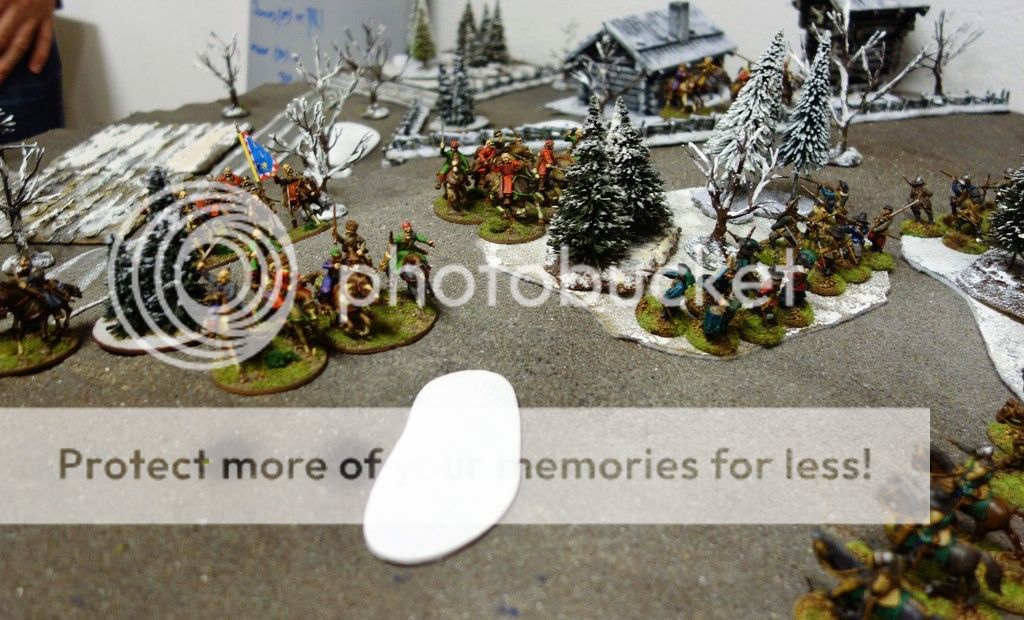
The Flemish Company in Swedish service, facing the German mercenaries in Polish service. the Scots and Swedes are visible in the background.
The initial part of the battle was very discouraging for the Swedes with the Flemish mercenaries suffering badly against the German mercenary Cuirassiers on the left flank. Van Kökkenpanne quickly lost the cavalry fight, but the Flemish infantry managed to remain in the fight.
At the same time on the right flank my own Västgöta contingent quickly lost the Dragoons to efficient Tatar light cavalry, and repeated fire from the Musketeers and Forlorn Hope only caused minor casualties to the Tatars.
The only success in the early game was the brave Pike infantry of the Scots contingent in the centre that quickly advanced up the ridge to push back the Polish musketeers and heavy cavalry.
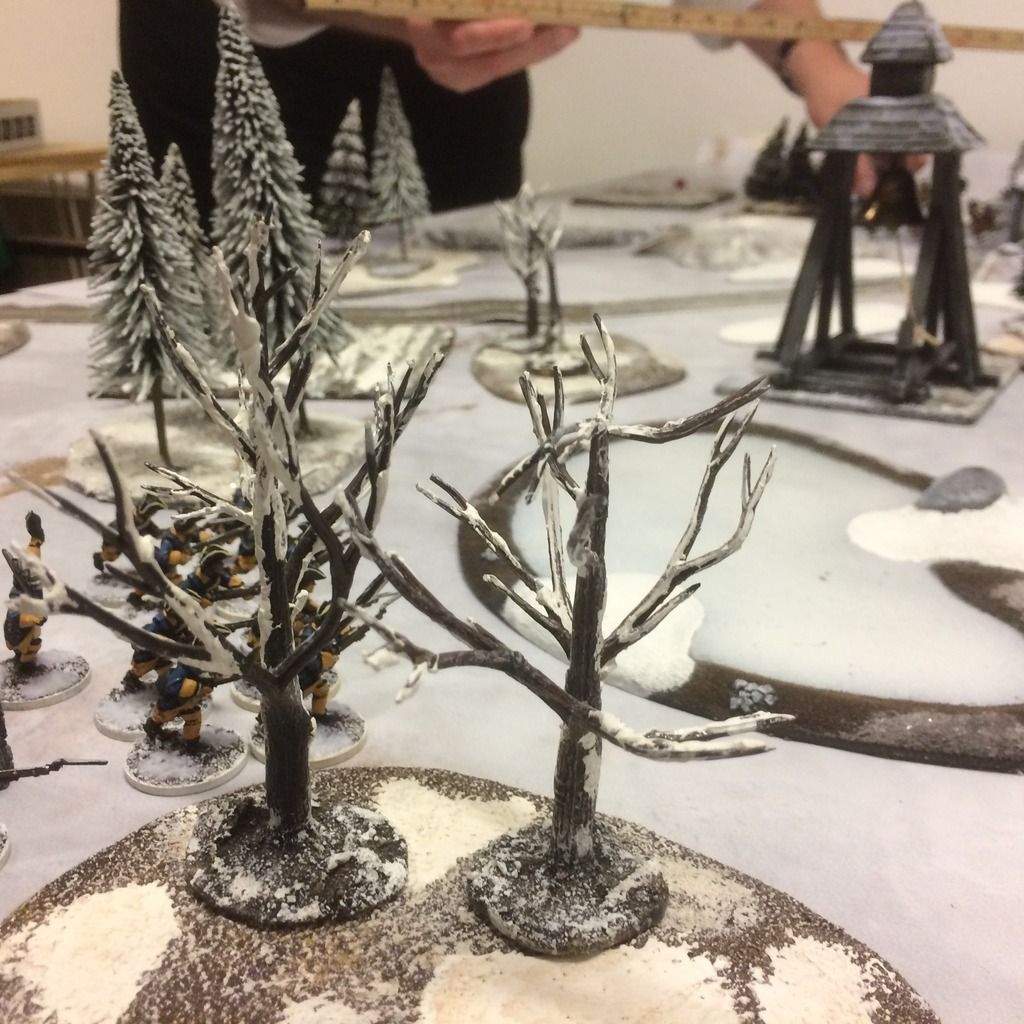
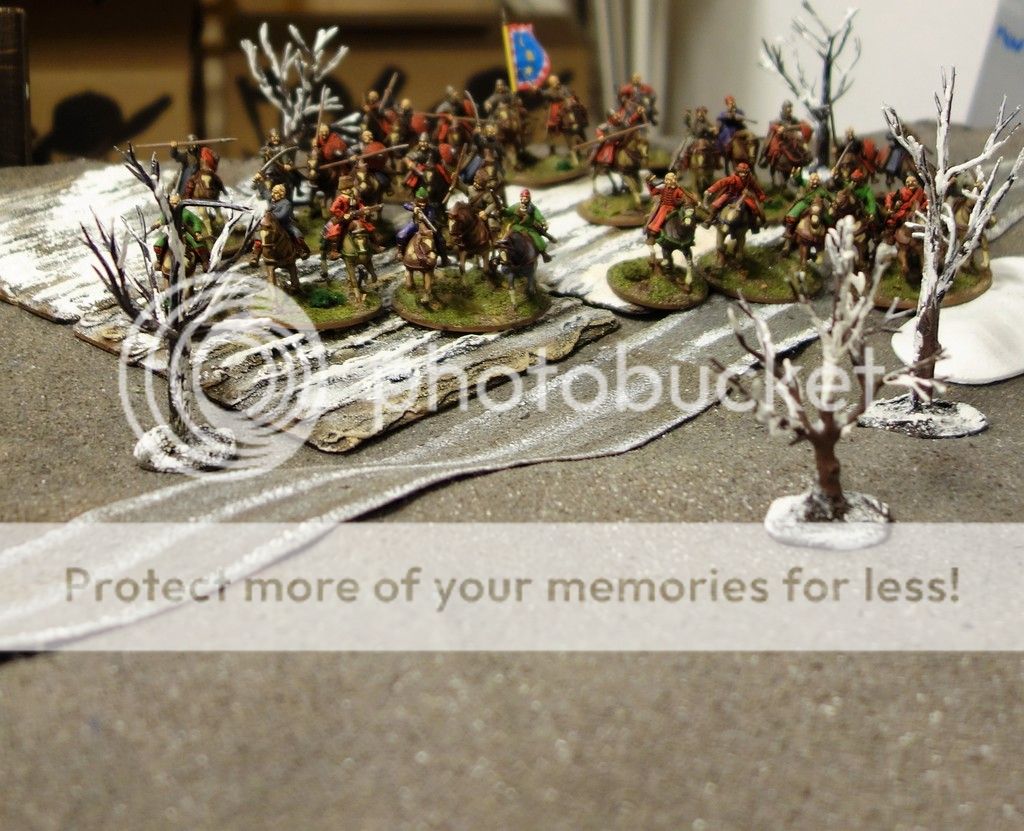
Swedes and Tatar advance onto the Ridg

Mid Game

Both sides hammered away at each other along the crest of the ridge.
In the centre, the Scots pike were particularly prominent and destroyed the polish musketeers and beat back several cavalry charges. They were supported by the Scots cavalry counterattacked the Polish and German cavalry that were giving the remaining Flemish and the Scots musketeers a very rough time.
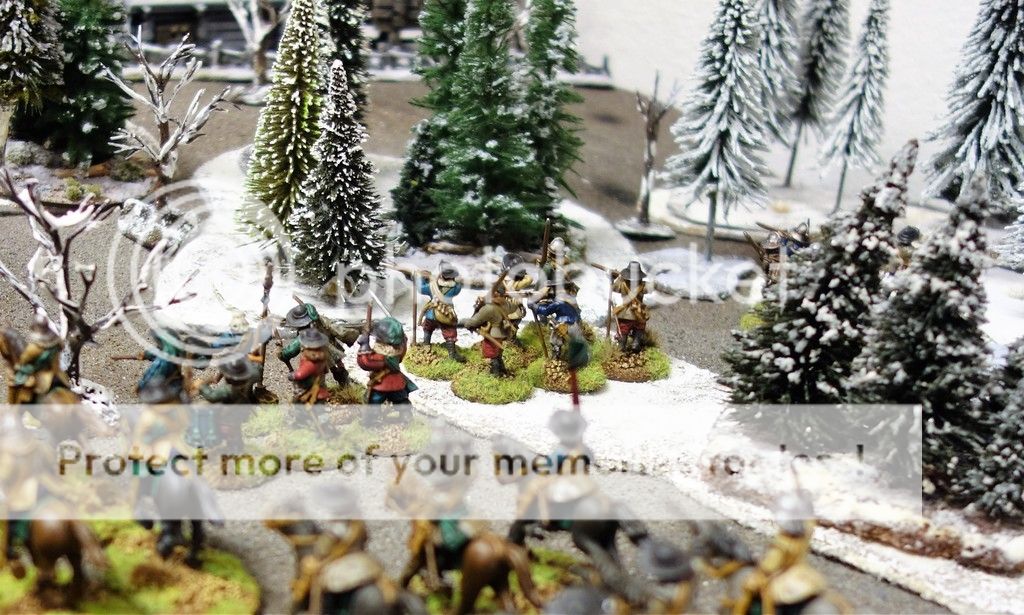
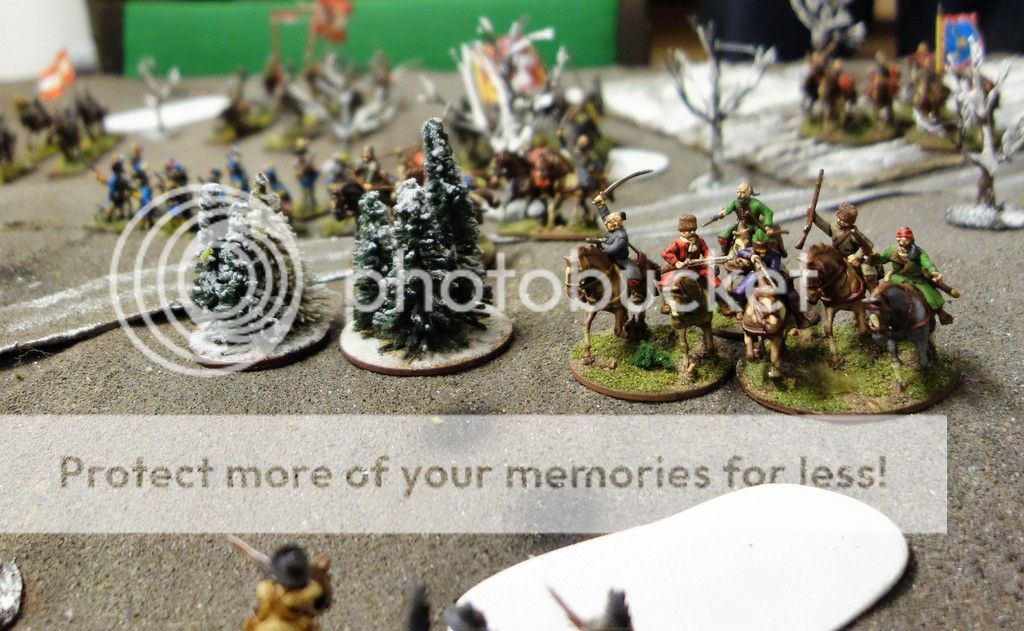
Swedes and Tatars skirmishing on the ridge

On the Swedish right, Henrik still had problems activating his units, but finally some of the shooting was having an effect on the Tatars.

Swedes and Scots on the ridgeline.

End Game

Gradually the Polish forces were ground down by continued fire from the Swedish ranks,  by the unrelenting assault by the lone Scots Pike unit and the Scots cavalry.
Finally the Polish losses had mounted to such a degree that the entire army gave way and headed for home.
The Scots pikemen have routed the Polish musketeers and are about to give the Polish cavalry a lesson.

Unfortunately, I got so caught up in the game, that I managed to forget to take photos about half-way through the game. Sorry about that.
The Flemish cavalry are routed by the German cuirassiers, but the Flemish infantry just refuses to give in....

So while our game the battle was a Swedish victory, it was a much more even contest than in the historical battle.

The Tatars and Swedes continue their firefight on the ridge just before the Swedes finally gain the upper hand.
Henrik “the Hammer” did not really make much of an impression, having failed any number of activation rolls. The fire of the Swedish units also had only limited effect.
But somehow Henrik managed to be promoted yet again, and can now proudly call himself Major. As part of the promotion he also gained the ability “Fencing Master” giving him increased chance of winning duels.


Sunday, October 16, 2016

GNW, Trondheim 1718, The Supply Train


Starving Swedish forces waiting for their supplies

Time to try out the classical Wagon Train Scenario. This is scenario no game rules can be without. So when we continued the work on our very own rules "Musket Mayhem" this had to tested with the rules just mentioned.

The basic outline of this scenario is that that one side is trying to protect a wagon train or a transport of some kind, moving from one end of the game board to the other. The opposing forces are trying to capture the train. Not too complicated but quite fun.

In our game the Swedish forces commanded by Colonel Jöns Von Djaefull are escorting a supply transport(consisting of a single sleigh). A third of the Swedish force is stationed at a supply depot at the other end of the game board(seen from Swedish main force). The Norwegians are trying to ambush the train and if possible capture it. As always the Norwegian side is boldly led by Colonel Castrullenfjord.  Both side has 5 units each. The Swedes win if they manage to safely transport the supplies to the supply depot. The Norwegian win if they manage to stop the transport and capture the supplies.
The battlefield....most of it anyway. The Swedish supply depot is to the left of the bell tower.


The Swedish supply train is on the move. The Ostrobothnians and Jämtlandians serving as close support


The Norwegians are moving in...unfortunately Castrullenfjord and his sub commander Flaeksnaes did not manage to get their orders trough and the Norwegian line was static for quite some time( In game terms: Snake eyes for the Norwegian player)

The Norwegian left wing advanced towards the supply depot...


A complete mess on the right flank...Dragoons making their way through the static infantry line. 

The defenders of the supply depot decided to go on the offensive....

Soon to face the opposition on the other side of the frozen pond....a few volleys later and the Norwegians were halted....the Norwegian commander was not amused 

The Norwegian Dragoons dismounted to face the Jämtlandians...

The Norweigan left flank has just been beaten...just few men are still standing...nothing could stop the Jämtlandians this time.

The Norwegian center attacked the Swedish pikes. First a attack by the Norwegian Dragoons(which failed). Then the Grenadiers attacked(and failed). Finally the 1st Trondheim managed to bring down the pikes. By then there weren´t much left to stop the Swedish supply train.

Castrullenfjord known that the battle is lost. He is sounding the retreat....


Well the game was rather swift....the Norwegians got stuck and the Swedes counter attacked. The Norwegian right flank was wiped out and the left was halted. The centre manged to reach the units escorting the supply train. However after a number of rather feeble attempts to take down the Swedish pikes the Norwegian realized that they had to abort the attempt to stop the Swedish supply train.

We ran this game with four players and one game master. It took roughly one and half hour. We are still quite pleased with the rules, although the Norwegian commander(your truely) is less pleased with his own performance.


Monday, October 10, 2016

Great Northen War, Trondheim 1718, Castrullenfjord bites the dust


Colonel Castrullenfjord bites the dust...well almost. He survived, but things did not exactly go his way.

The Danish-Norwegian army received som long awaited reinforcements - Dragoons. A small unit from the Nordenfjell Dragoons showed up on the battlefield. The units is capable of both mounted and dismounted combat. It looked spectacular, but did it pay off?

The Swedes attacked another Norwegian settlement(as usual), though the attack was expected an the Norwegians were supposed to be the more aggressive side. However the Swedish commander wasn't exactly playing a defence. Aggressive as usual the Blue and Yellow commander Colonel Jöns Von Djaefull ordered a full out counterattack. The Danish-Norwegian Commander messed up and once more his units got stacked up. What was supposed to be a offensive move turned out to be a bit too timid advance in the face of the oncoming Swedish horde.

The Norwegians getting stacked once more..

The Nordenfjell Dragoons are coming..


Colonel Castrullenfjord trying to sort  out a botched deployment....

Colonel Jöns Von Djaevull orders a full  out coordinated attack...GÅ PÅ!

The Swedes reached the objectives faster that the Norwegians. This is odd considering the Norwegian Dragoons on the table. In game terms we can blame it on the dice.

Finns in Swedish service are closing in on the main objective....

More Finns...

Jämtlandians attacking....

The Jämtlandians are closing in on their Objective....the Norwegians are forming up nearby

The Norwegians have formed firing line...waiting for command...that came too late. The enemy reached the objective before the order came....

Despite losses the Jämtlandians pushed through and seized the objective

Lt Col. Fleaksnaes is trying to direct the Nordenfjell Dragoons. 

Norweigan Grenadiers are contesting the main objective....
The enemy are a few too many and the cavalry is watching the action...the Swedes grabbed this one...
The 1st Trondheim is trying desperately to turn the tide...they attached the Finns through the woods..

Finally the Dragoons went into action, but by this time the Swedes had grabbed 2 out of three objectives.... this time Castrullenfjord lost...Jöns Von Djaefull won...


The rules are our very own Musket Mayhem- large scale skirmish rules. The development of these rules continues. We started with a rule set intended for the French-Indian War, but we have branched out to cover AWI as well and now finally the Great Northern War. The game development has been ongoing for more than a year. This was the first game were we tried the cavalry rules. We are quite pleased thus far, but there still a bit of tinkering.